Jellyfin Media Server
Introduction
Jellyfin is an open source media server designed to stream videos, music, TV shows and live television from a storage device or network TV tuner. Jellyfin has apps for desktops, iOS, Android, Xbox and smart TVs.
Installation
First install EPEL:
dnf install -y epel-release
Then install RPM Fusion:
dnf install -y --nogpgcheck https://mirrors.rpmfusion.org/free/el/rpmfusion-free-release-$(rpm -E %rhel).noarch.rpm https://mirrors.rpmfusion.org/nonfree/el/rpmfusion-nonfree-release-$(rpm -E %rhel).noarch.rpm
Next install CRB:
crb enable
Finally install Jellyfin:
dnf install -y jellyfin
First setup
Jellyfin runs on TCP Port 8096 by default. Open up the port:
firewall-cmd --zone=public --add-port=8096/tcp
firewall-cmd --runtime-to-permanent
You can now enable Jellyfin:
systemctl enable --now jellyfin
Configuration
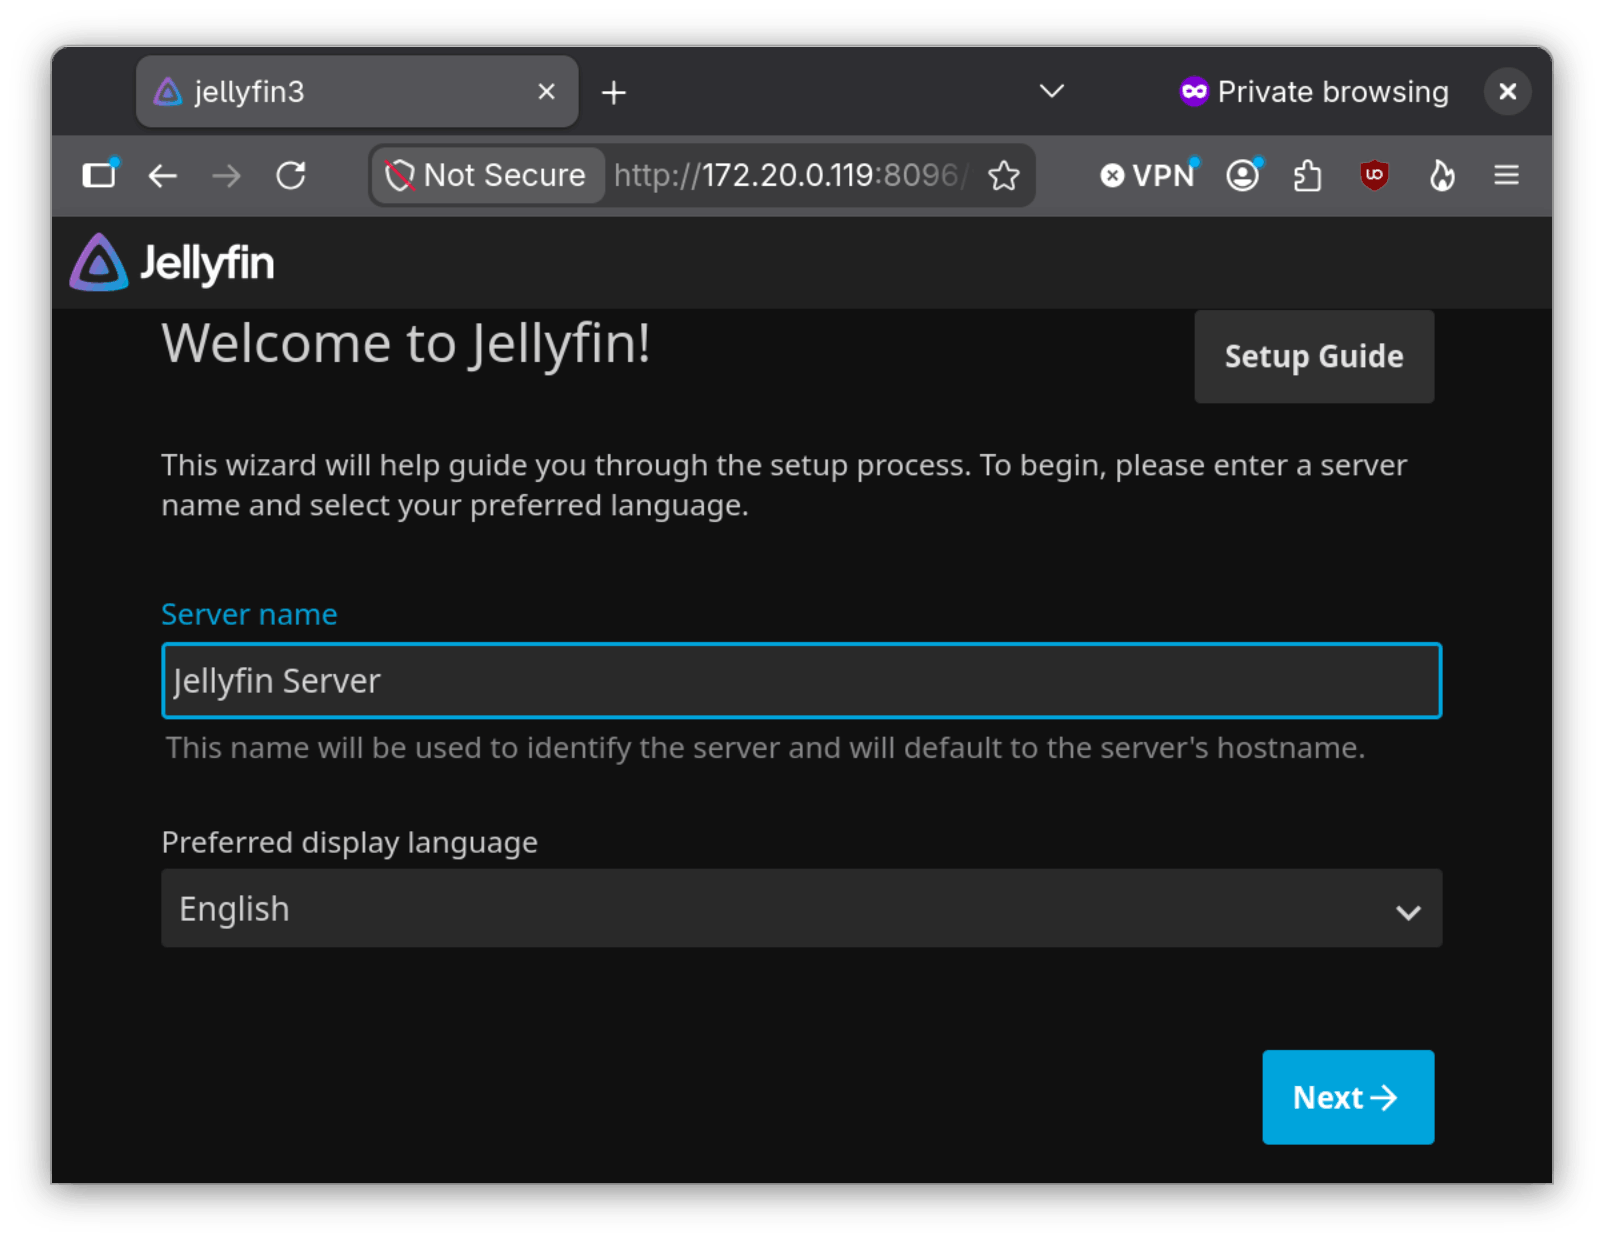
Open a browser to http://[IP]:8096, where [IP] is the IP address of your Jellyfin server.
Then enter the server name and select your language. Then select Next:
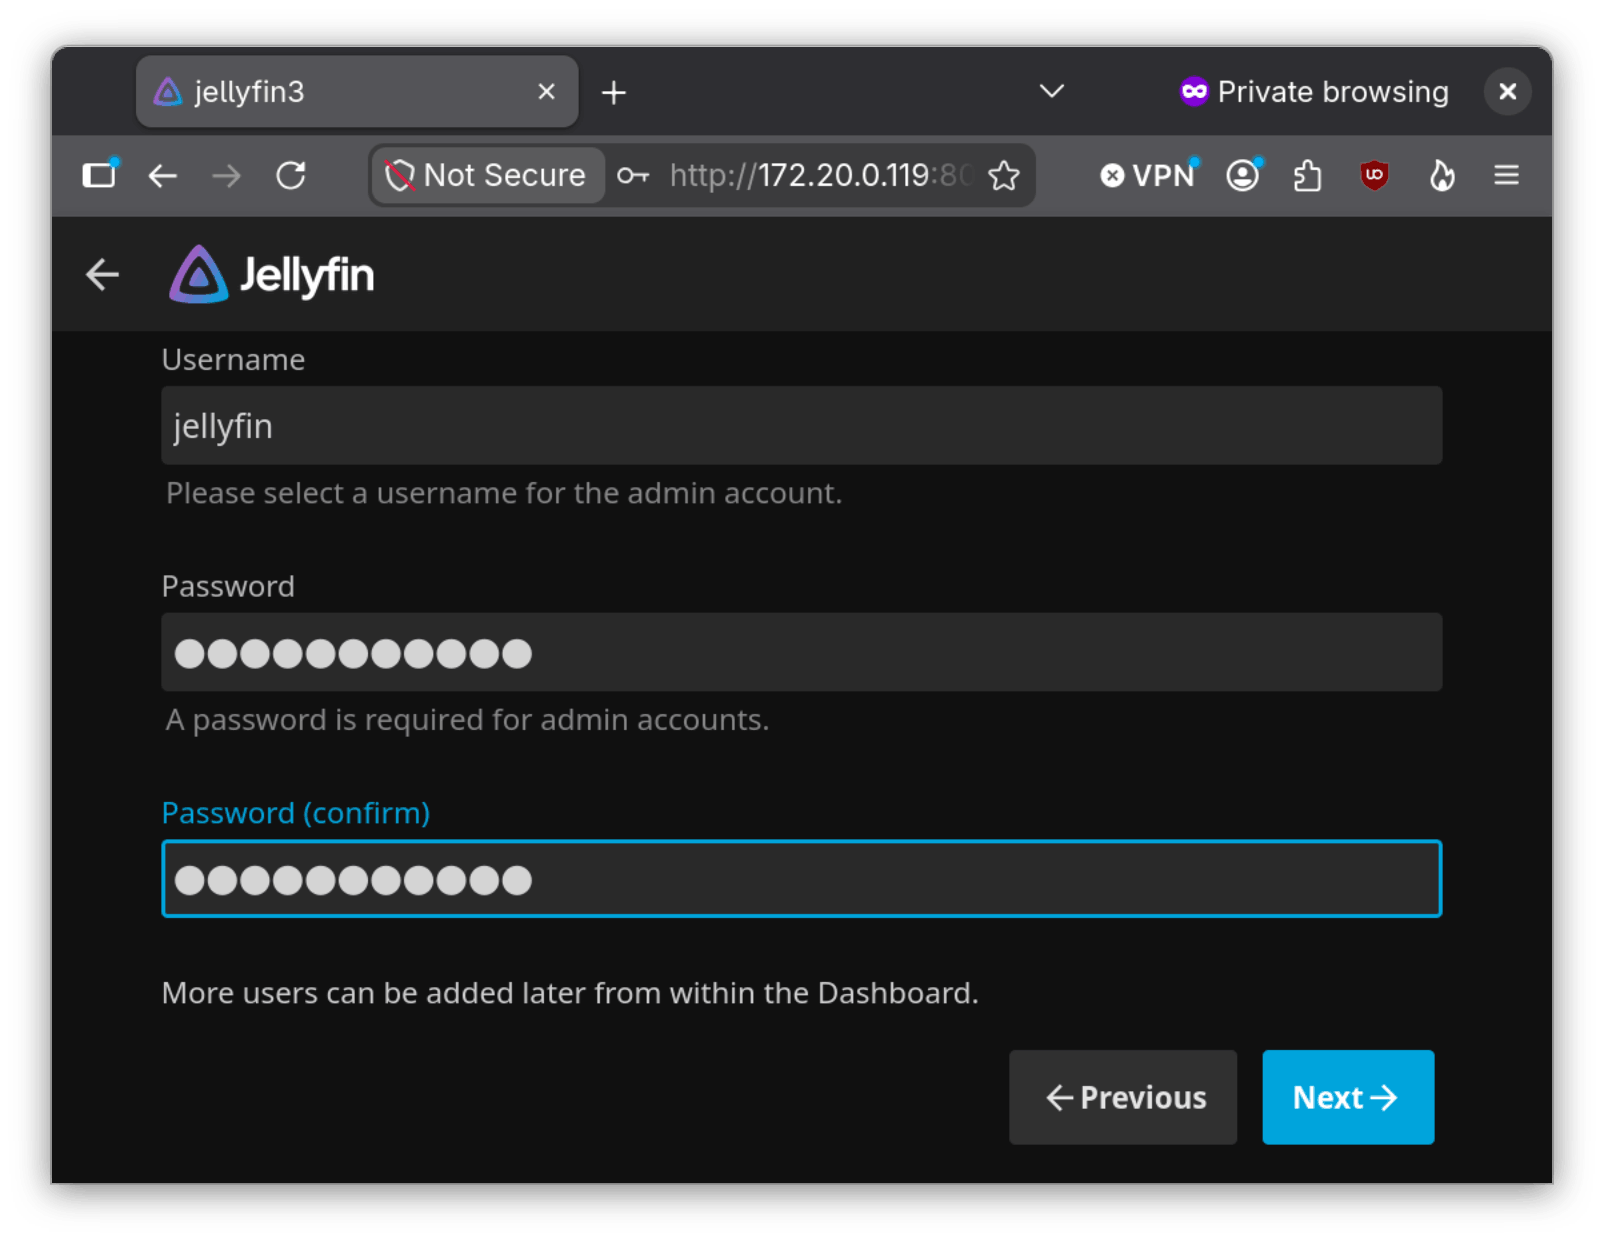
Now enter the administrator username and password, then select Next:
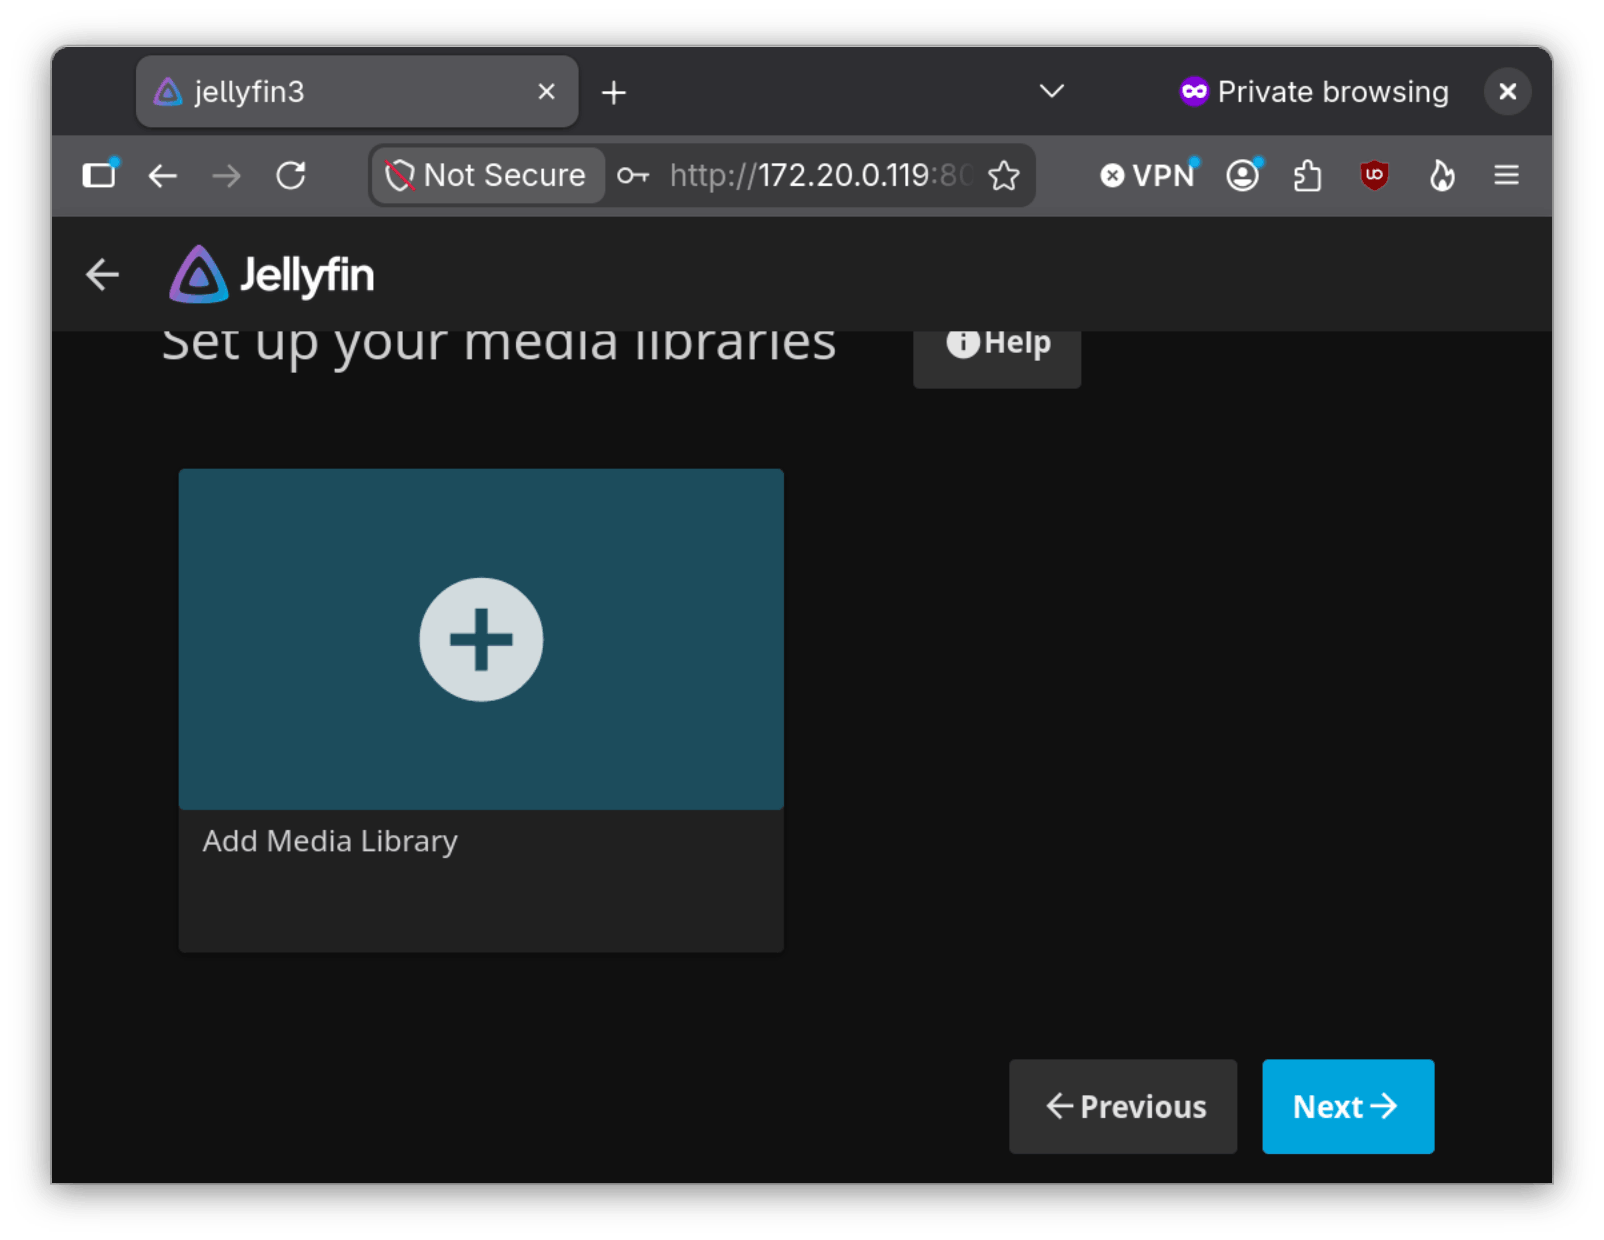
Click on Add Media Library:
Select the library type and type in the display name. For the sake of simplicity, we will select Movies:
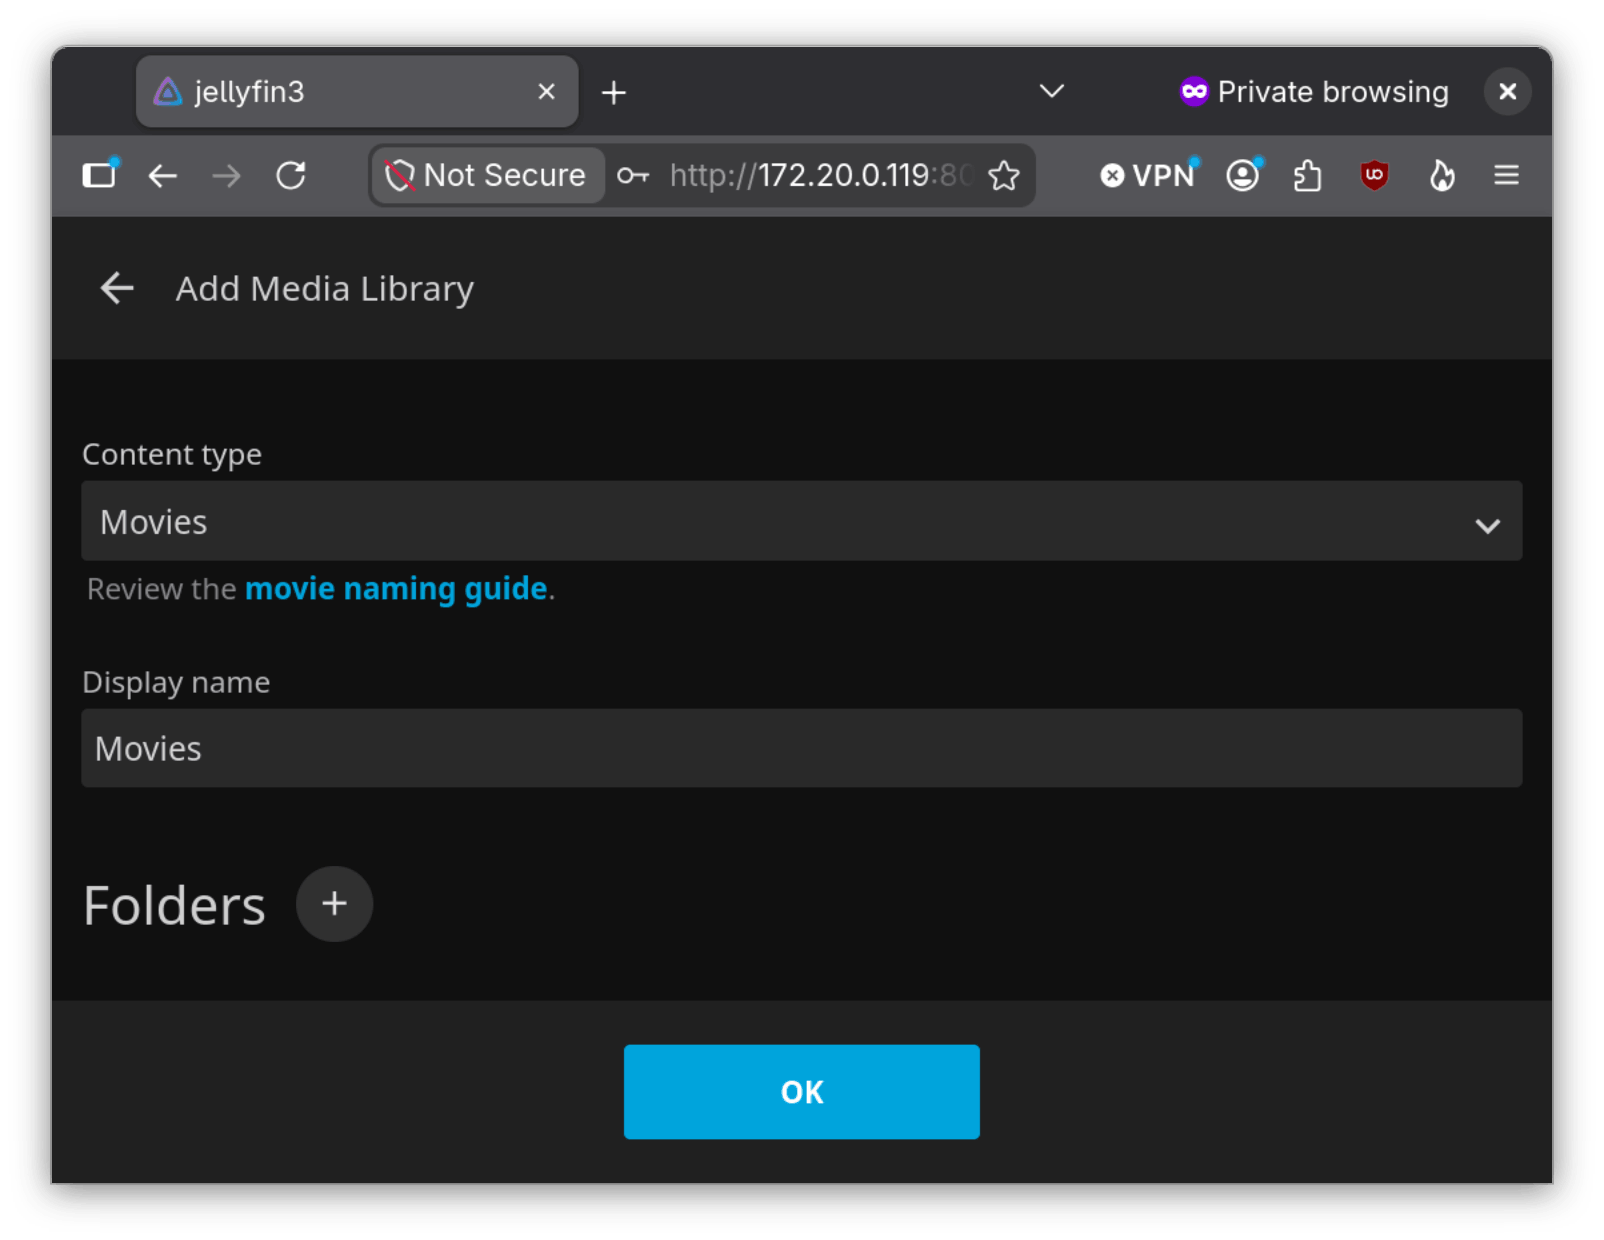
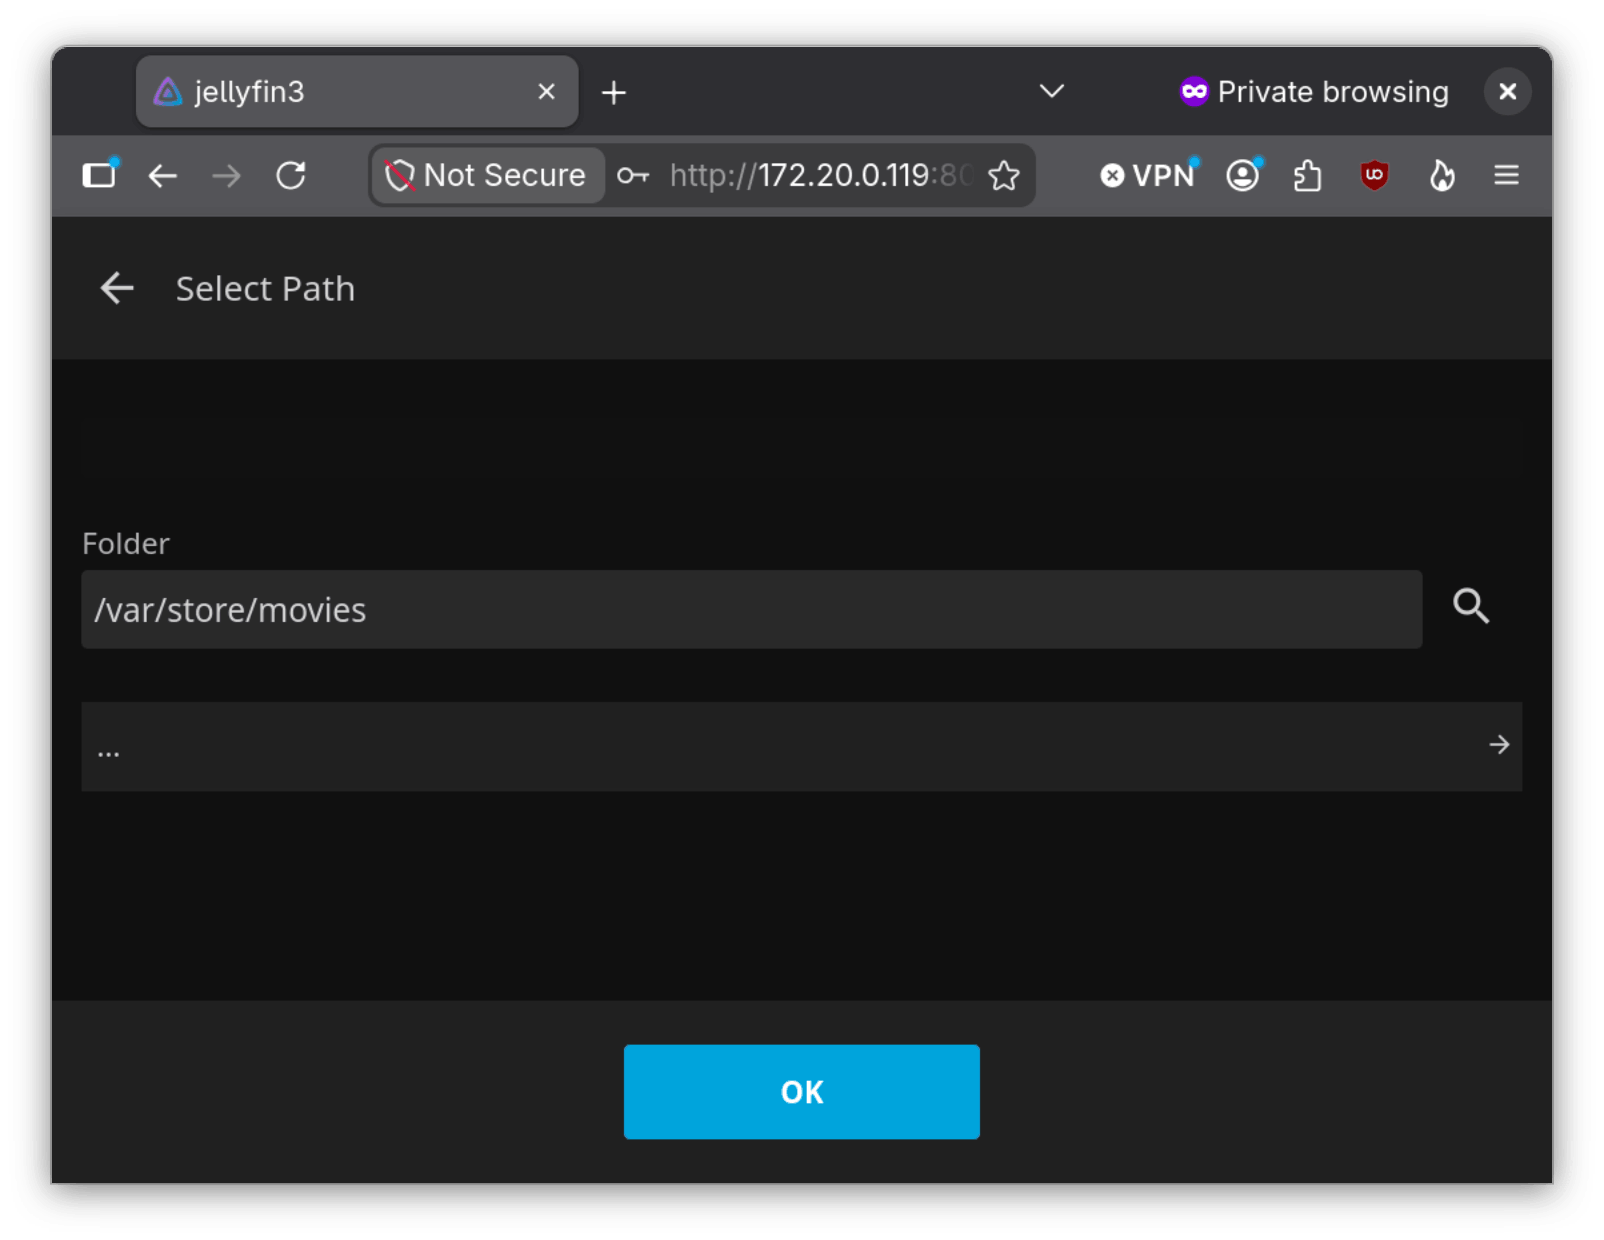
Go to the Folders section and click on the + (add) sign:
Enter in the folder location and select OK:
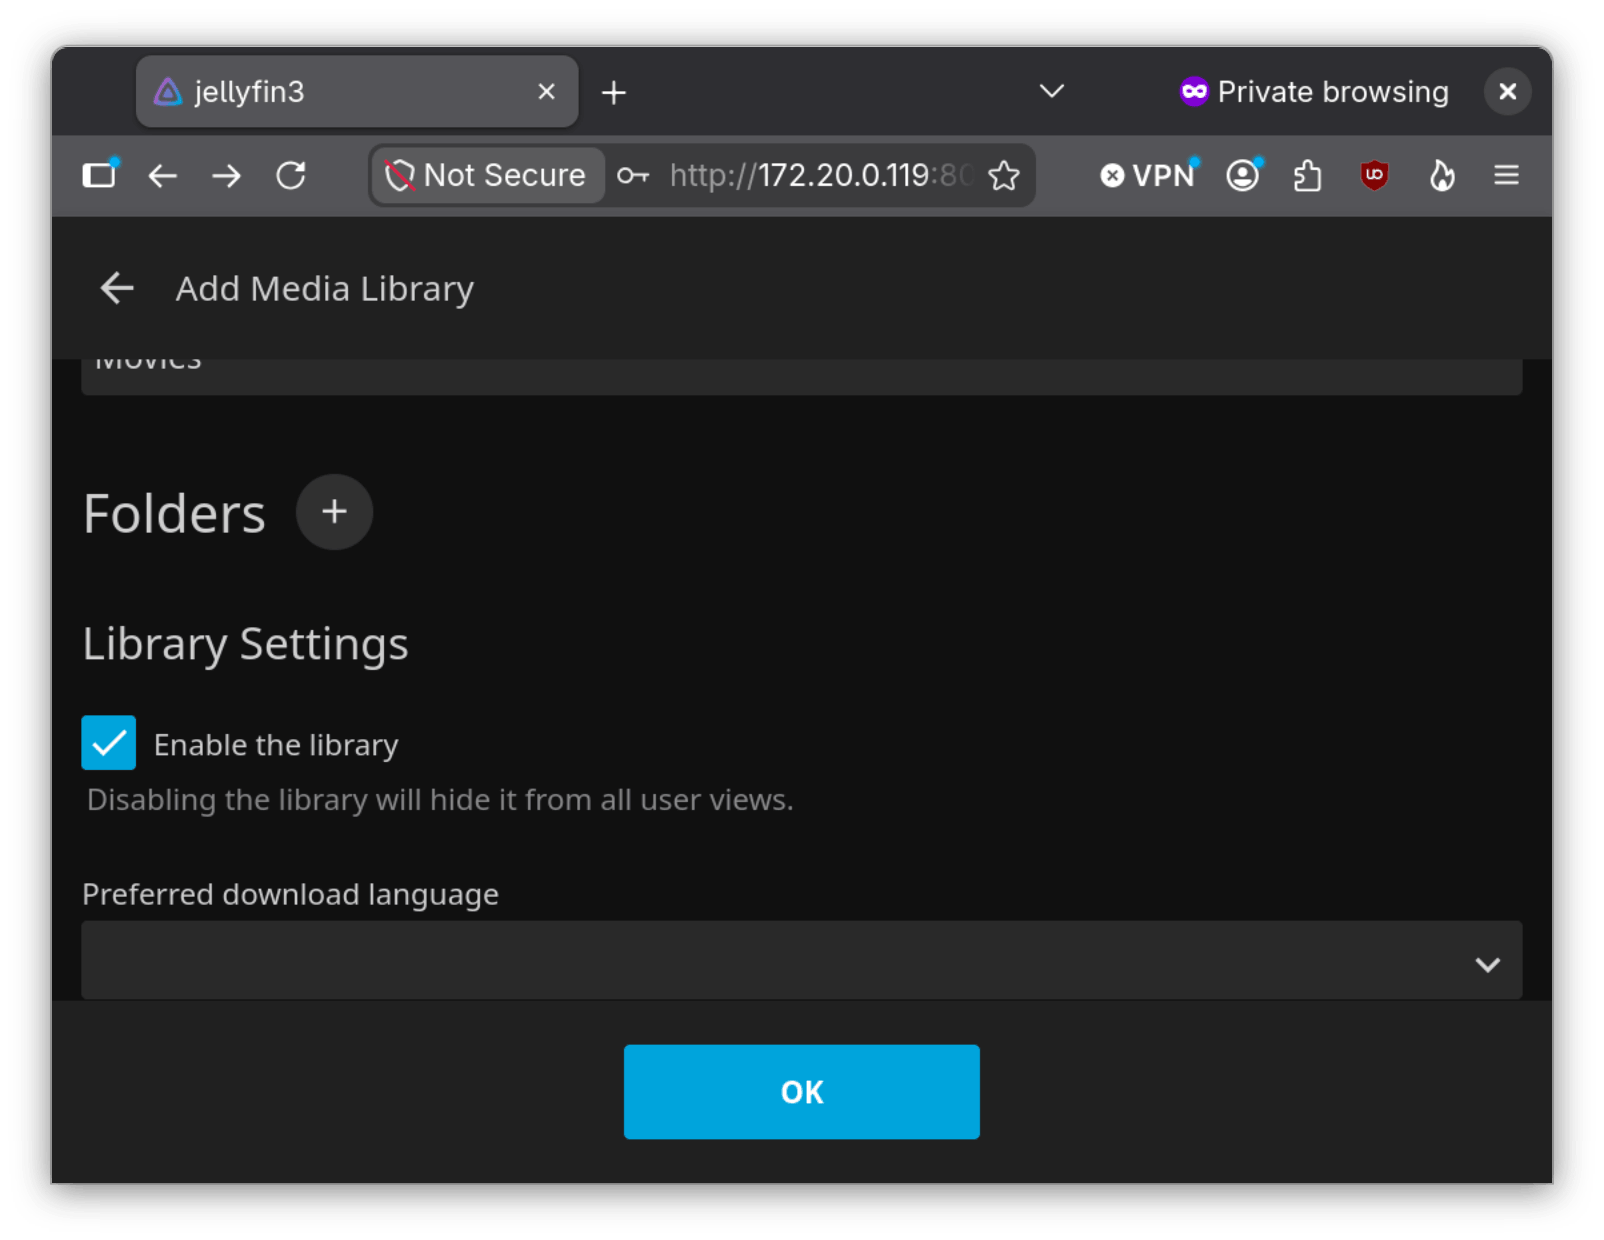
The rest of the sections are optional and should be self explanatory. You can look at them, or if you are in a hurry click OK.
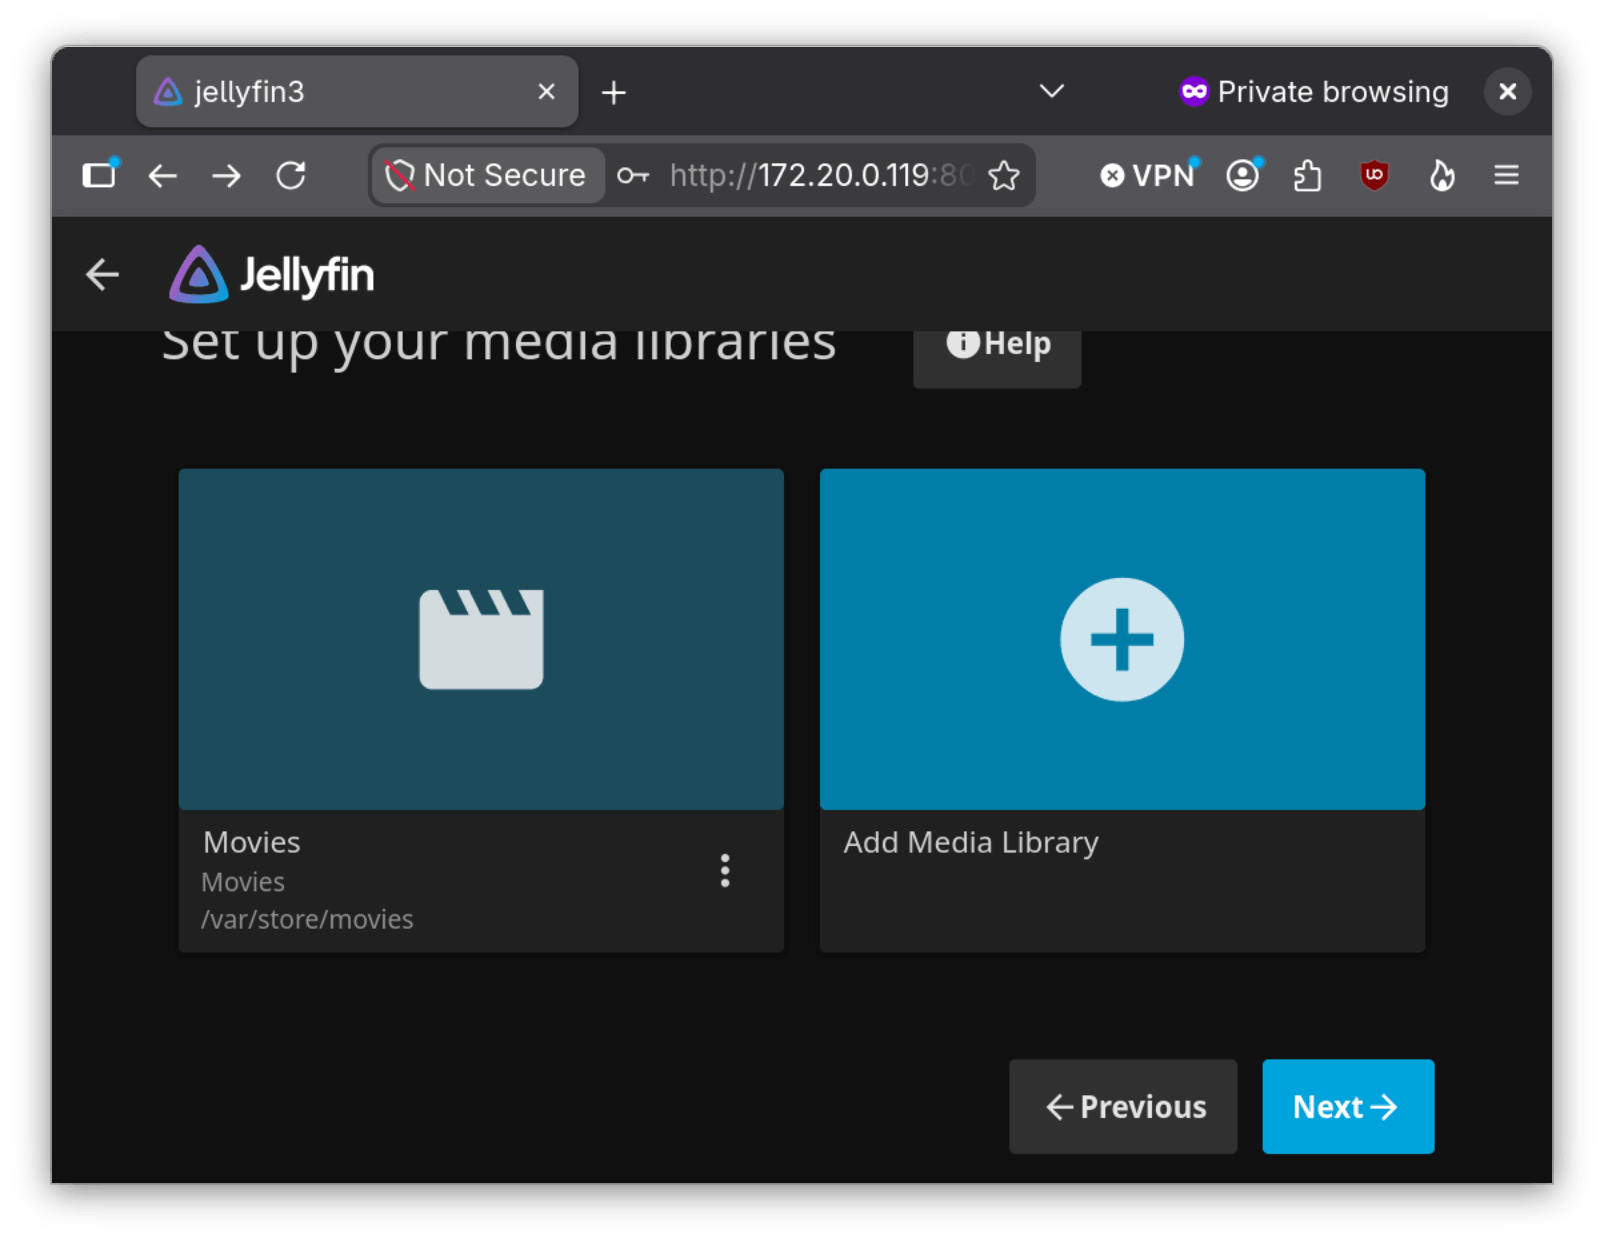
You can add more media libraries, or if you are done select Next:
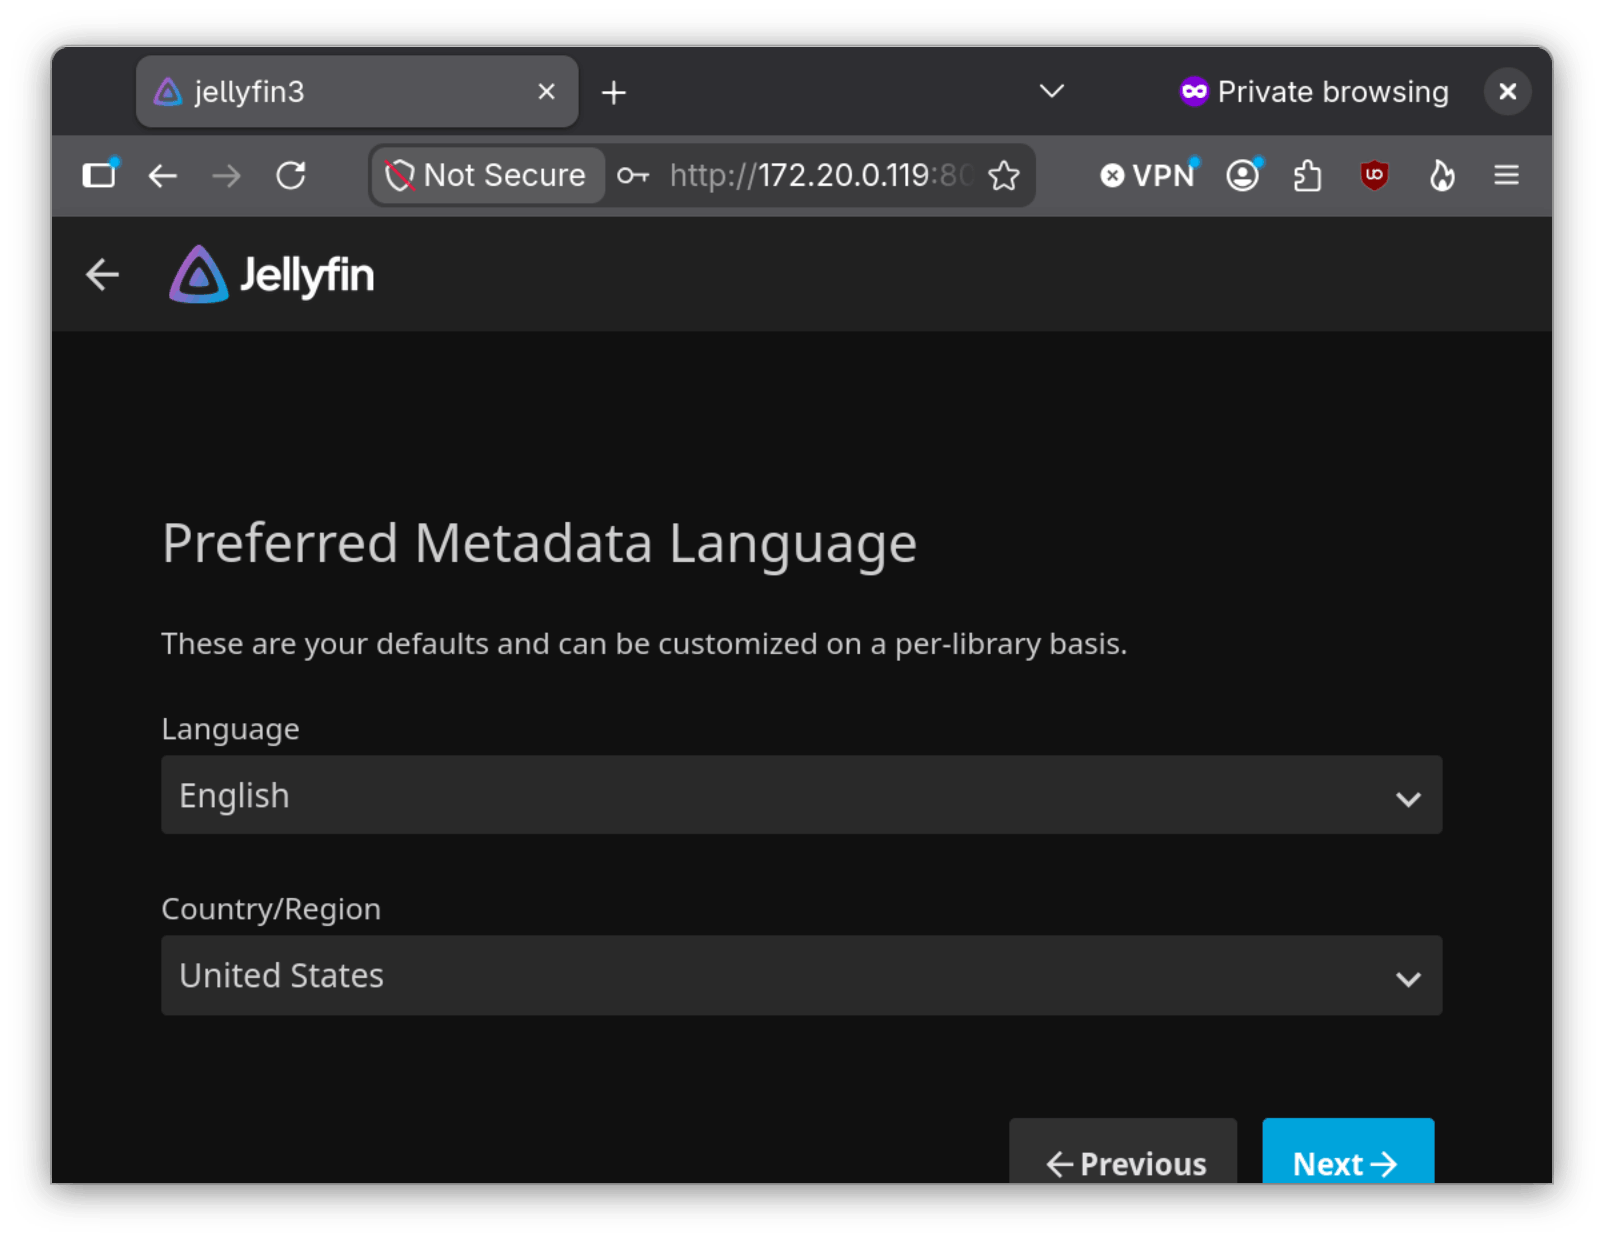
Select your preferred metadata language and country, then select Next:
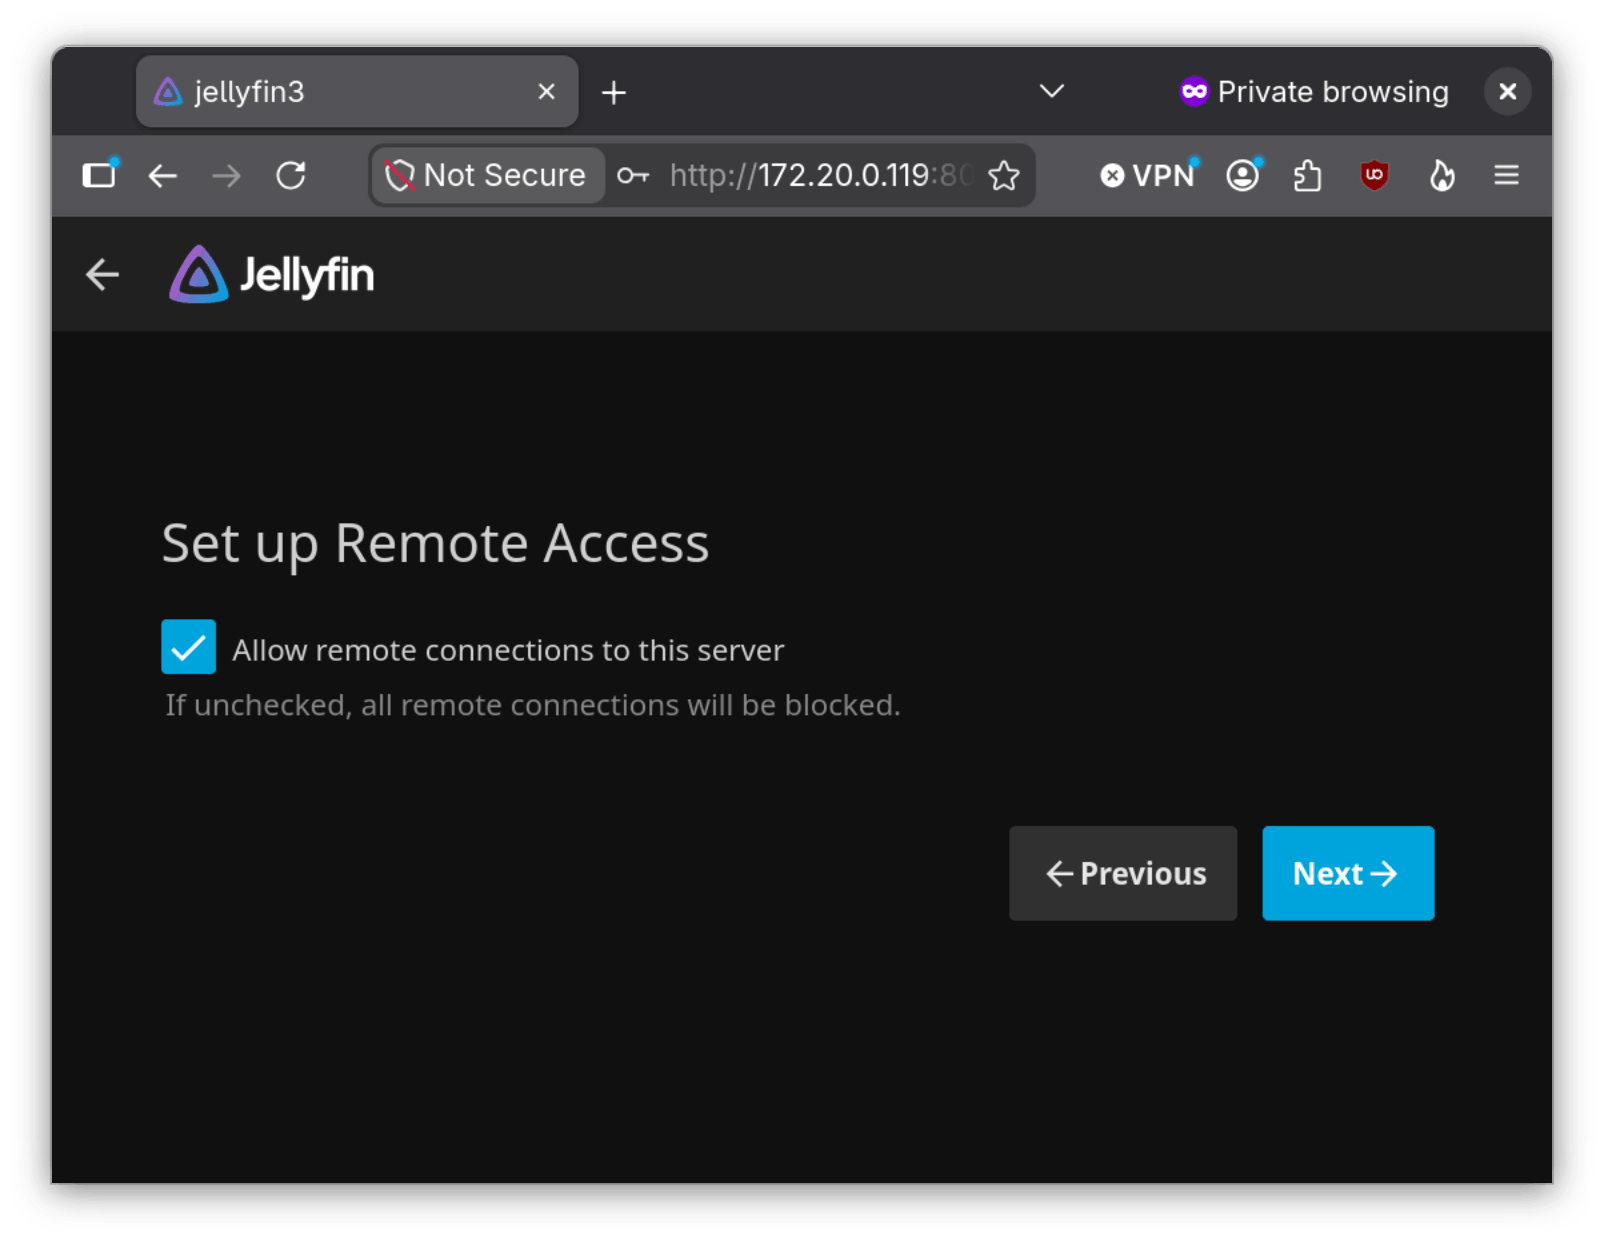
Check if we want to allow remote connections and select Next:
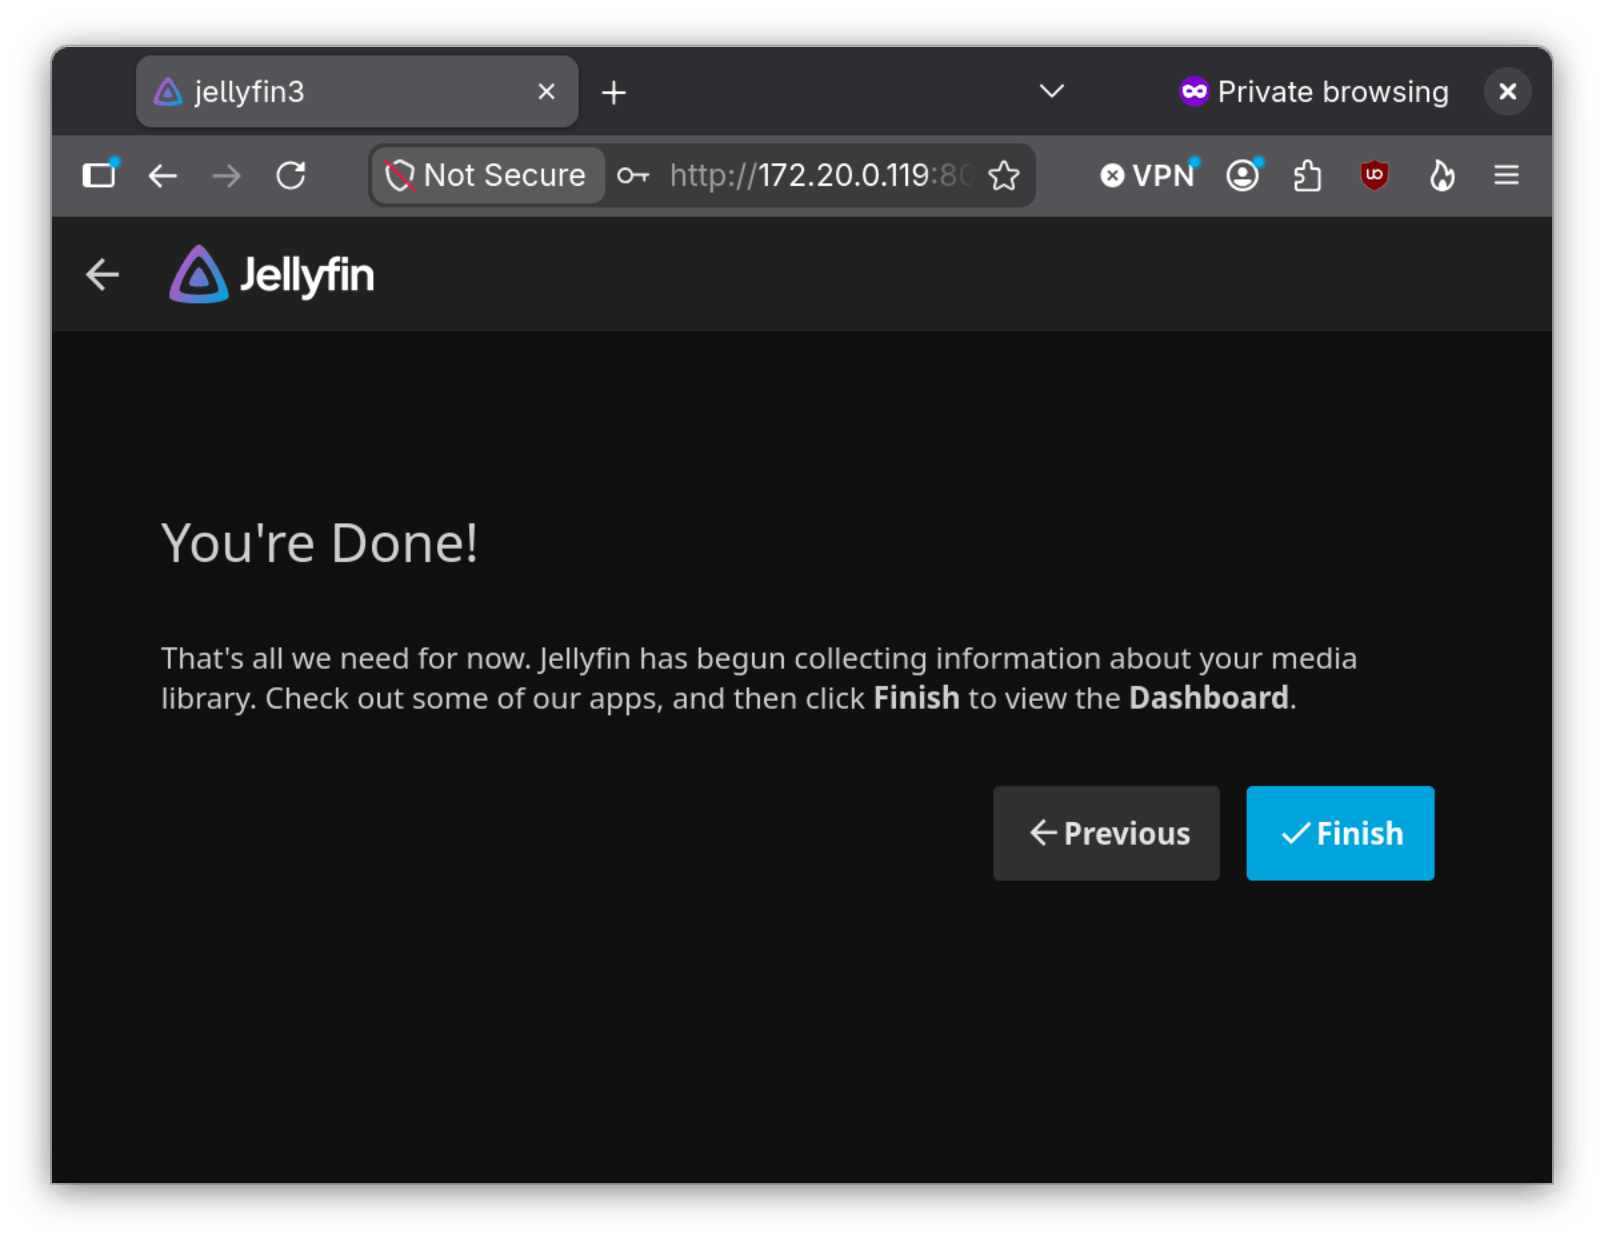
Finally select Finish:
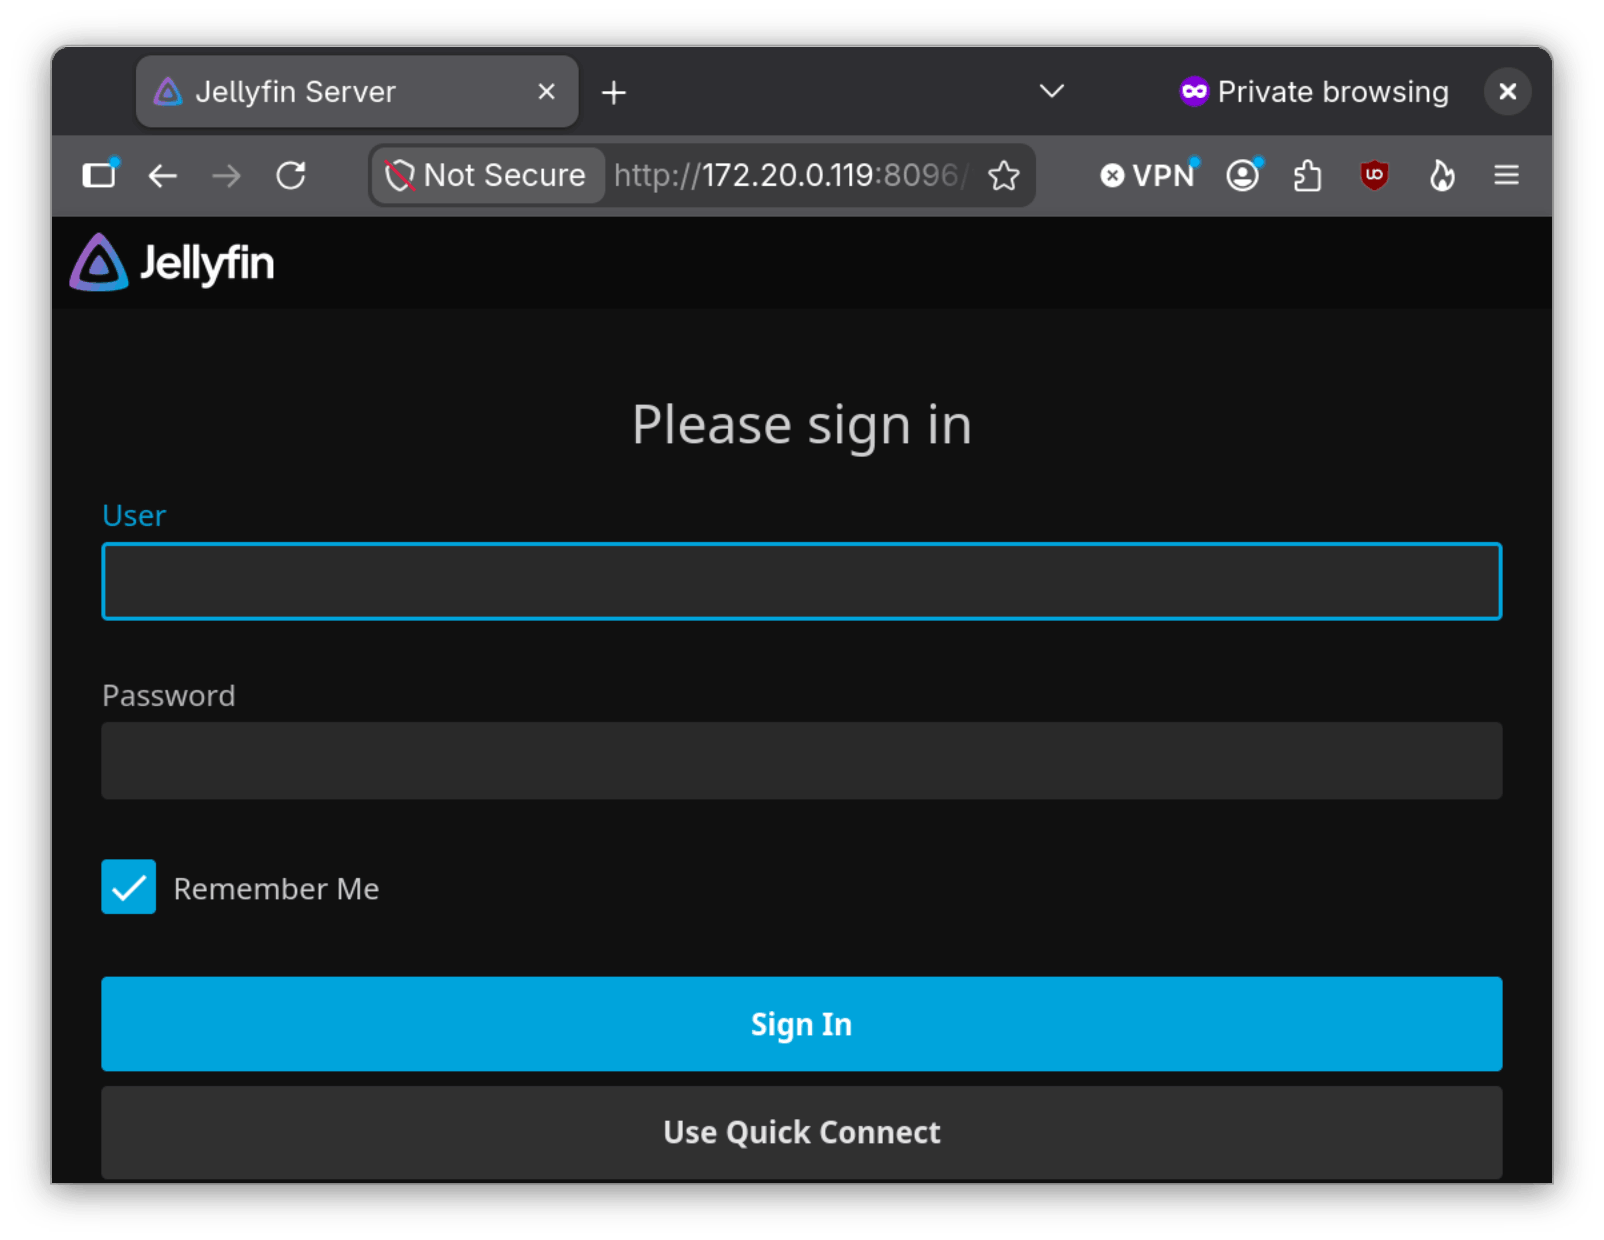
You should be able to log into Jellyfin from your browser. You can also add the server to smartphones, smart TVs or a load balancer.
Conclusion
For people who prefer owning entertainment over juggling subscription services such as Netflix, Disney+ or Max, Jellyfin is an excellent way to consolidate media on a home server or NAS. That way, you can watch owned movies or TV shows on any internet accessible device.
Author: Neel Chauhan