Transmission BitTorrent Seedbox
Temporary Hold
transmission-daemon is currently missing from the EPEL. It will probably be built. The Docs Team will continue to test availability in the EPEL as time allows. For now, your only option is to build the transmission package from source, and the instructions for doing that are currently missing here.
Introduction
BitTorrent needs no introduction, but if you are unaware, BitTorrent is a peer-to-peer file-sharing protocol. BitTorrent relies on multiple peers seeding (uploading) the requested file to you, but you also seed back to future downloaders.
Transmission is a popular open source BitTorrent client with multiple frontends and backends. Here, you will install the headless "daemon" backend.
In today's mobile-centric world, it makes more sense to run Transmission as a headless server than directly on a laptop or a desktop. This way, you can seed files 24/7 while a mobile device's battery life is not consumed when downloading.
Installation
To install Transmission, you first need to install EPEL:
dnf install -y epel-release
Then install Transmission:
dnf install -y transmission-daemon
First setup
Unlike most Linux daemons, Transmission sets up the configuration upon first startup, so start and stop Transmission with:
systemctl start transmission-daemon
systemctl stop transmission-daemon
After these steps, you will have a configuration file. It would be best to stop Transmission, as you cannot edit the configuration file while running.
Configuration
Configure Transmission:
cd /var/lib/transmission/.config/transmission-daemon
vi settings.json
Navigate down to the "peer-port" JSON entry, and if desired, replace the stock port with the desired port:
"peer-port": 51413,
Here, the author is changing it to 12345:
"peer-port": 12345,
Subsequently, navigate to the "rpc-password" JSON entry and change the password:
"rpc-password": "{9cfaaade11d56c8e82bfc23b696fa373fb20c10e4U2NXY3.",
Enter your plain text password here. If security is a worry, note that Transmission will encrypt the password upon the next restart.
If you want to allow access from other IP addresses, navigate to the "rpc-whitelist" entry:
"rpc-whitelist": "127.0.0.1,::1",
For instance, if you want to allow access to your desktop on IP address 192.168.1.100, you can add it to the comma-separated value:
"rpc-whitelist": "127.0.0.1,::1,192.168.1.100",
If you do not want an IP whitelist, you can disable it by setting "rpc-whitelist-enable" to false:
"rpc-whitelist-enabled": false,
When finished configuring, start and enable Transmission:
systemctl enable --now transmission-daemon
Firewall and network configuration
Subsequently, you will need to allow the respective ports 12345 (for BitTorrent) and 9091 (for Transmission's control panel) in our firewall:
firewall-cmd --permanent --zone=public --add-port=12345/tcp
firewall-cmd --permanent --zone=public --add-port=9091/tcp
firewall-cmd --runtime-to-permanent
If you are not behind a NAT-PMP or UPnP-enabled router, or connected without NAT, you must forward the BitTorrent port (12345 in our example). Each router is different, but as an example on the author's MikroTik router:
/ip firewall nat add action=dst-nat chain=dstnat dst-port=12345 in-interface=ether1 protocol=tcp to-addresses=SERVER_IP to-ports=12345
Replace SERVER_IP with the IP address of the server running Transmission.
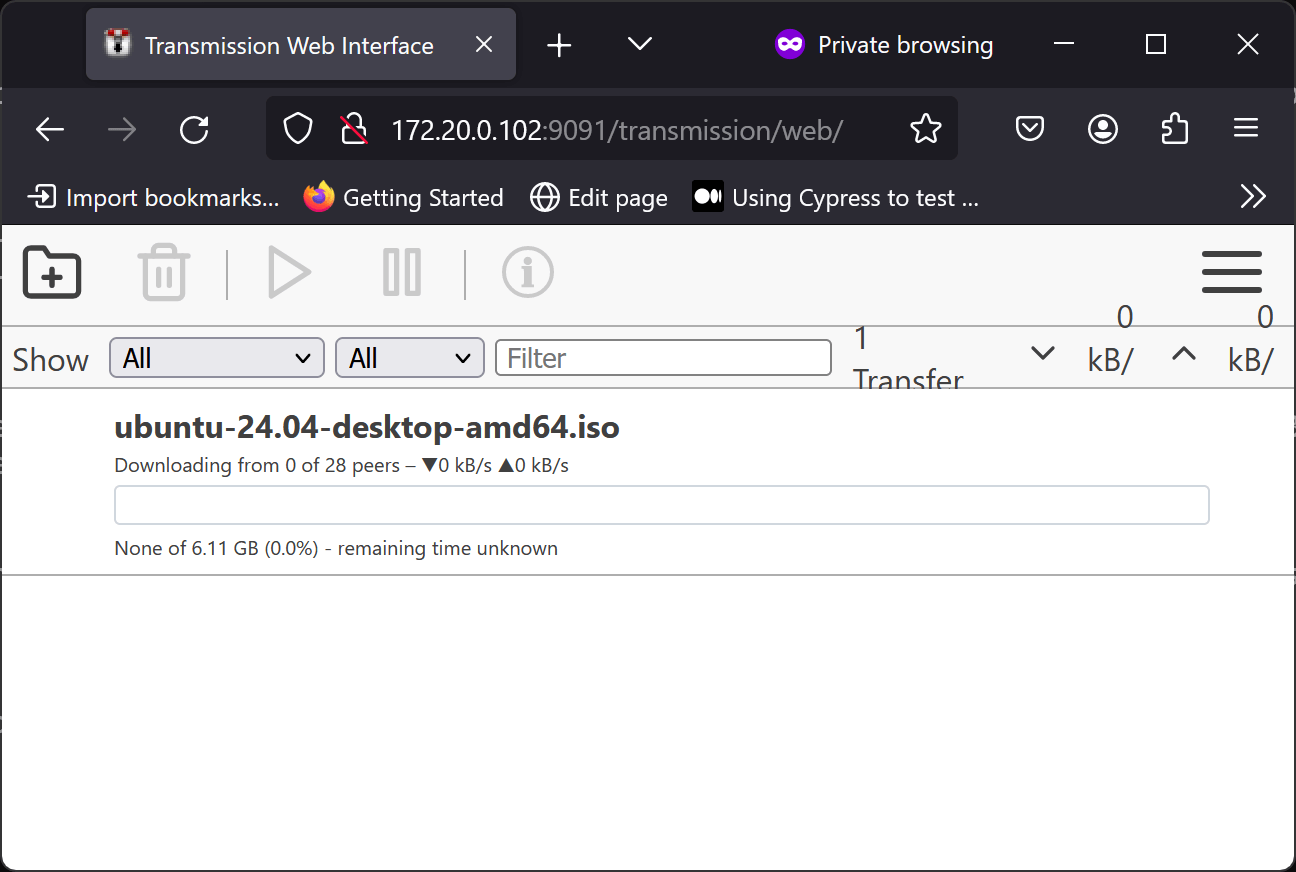
Testing Transmission
Navigate to the IP address running our Transmission server. As an example, you can download the torrent of a Linux distribution such as Ubuntu:
Conclusion
BitTorrent was designed in the early 2000s when most people connected to the internet via a desktop PC. While running BitTorrent on a laptop or phone is impractical, running it on a headless server via Transmission is perfect. In this way, you can seed files 24/7, yet our downloads will always be available.
Author: Neel Chauhan
Contributors: Steven Spencer, Ganna Zhyrnova