Chyrp Lite
Introduction
Chyrp Lite is an ultra-lightweight blogging engine written in PHP.
Prerequisites and assumptions
The following are the minimum requirements for using this procedure:
- The ability to run commands as the root user or use
sudoto elevate privileges - Familiarity with a command-line editor. The author is using
viorvimhere, but substitute in your favorite editor
Installing Caddy
We will use Caddy as the web server. To install Caddy, you need first to install the EPEL (Extra Packages for Enterprise Linux) and run updates:
dnf -y install epel-release && dnf -y update
Then install Caddy:
dnf -y install Caddy
Subsequently, open the Caddyfile:
vi /etc/caddy/Caddyfile
Add the following to your Caddyfile:
your.domain.name {
        root * /var/www/chyrp-lite
        file_server
        php_fastcgi 127.0.0.1:9000
}
Save the file with :wq! and then open the corresponding firewall ports:
sudo firewall-cmd --permanent --zone=public --add-service=http
sudo firewall-cmd --permanent --zone=public --add-service=https
sudo firewall-cmd --reload
Finally, start Caddy:
systemctl enable --now caddy
Installing PHP
Note
If you are running Rocky Linux 8.x or 10.x, substitute "8" or "10" next to the release in the Remi package install line.
To install PHP, you will need the Remi repository. To install the Remi repository, run the following:
dnf install https://rpms.remirepo.net/enterprise/remi-release-9.rpm
Then install PHP and the required modules:
dnf install -y php83-php php83-php-session php83-php-json php83-php-ctype php83-php-filter php83-php-libxml php83-php-simplexml php83-php-mbstring php83-php-pdo php83-php-curl
Next, open the PHP configuration file:
vi /etc/opt/remi/php83/php-fpm.d/www.conf
Go down to the listen = line and set it to the following:
listen = 127.0.0.1:9000
Exit vi with :wq! and enable PHP:
systemctl enable --now php83-php-fpm.service
Installing Chyrp
Now, we are going to install Chyrp Lite. Download the latest release:
cd /var/www
wget https://github.com/xenocrat/chyrp-lite/archive/refs/tags/v2024.03.zip
Next, decompress and move the extracted folder:
unzip v2024.03.zip
mv chyrp-lite-2024.03/ chyrp-lite
Set the correct permissions on the chyrp-lite folder:
chown -R apache:apache chyrp-lite/
Set up a data directory for storing the SQLite database:
mkdir chyrp-lite-data
chown -R apache:apache chyrp-lite-data/
Next, set up the SELinux file contexts:
semanage fcontext -a -t httpd_sys_rw_content_t "/var/www/chyrp-lite(/.*)?"
semanage fcontext -a -t httpd_sys_rw_content_t "/var/www/chyrp-lite-data(/.*)?"
restorecon -Rv /var/www/chyrp-lite
restorecon -Rv /var/www/chyrp-lite-data
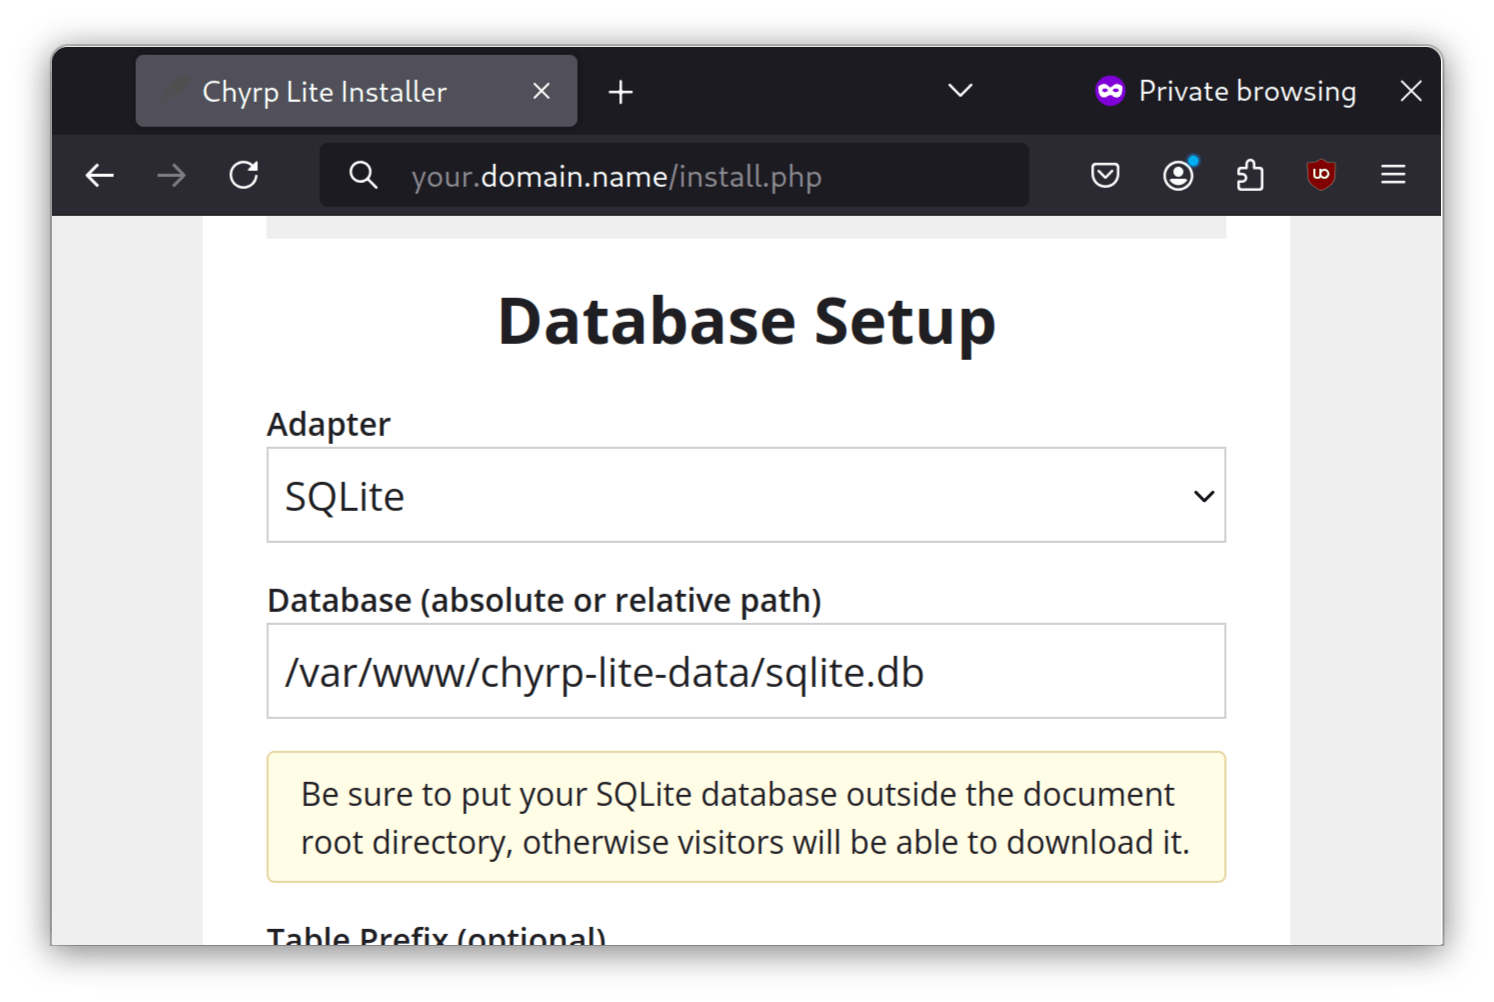
On a client machine, open up a web browser to https://example.com/install.php and run the installation program (replace example.com with your actual domain name or hostname):

In the Database section, select a pathname in the chyrp-lite-data directory made earlier, such as /var/www/chyrp-lite-data/sqlite.db.
Then, complete the other fields, which should be self-explanatory.
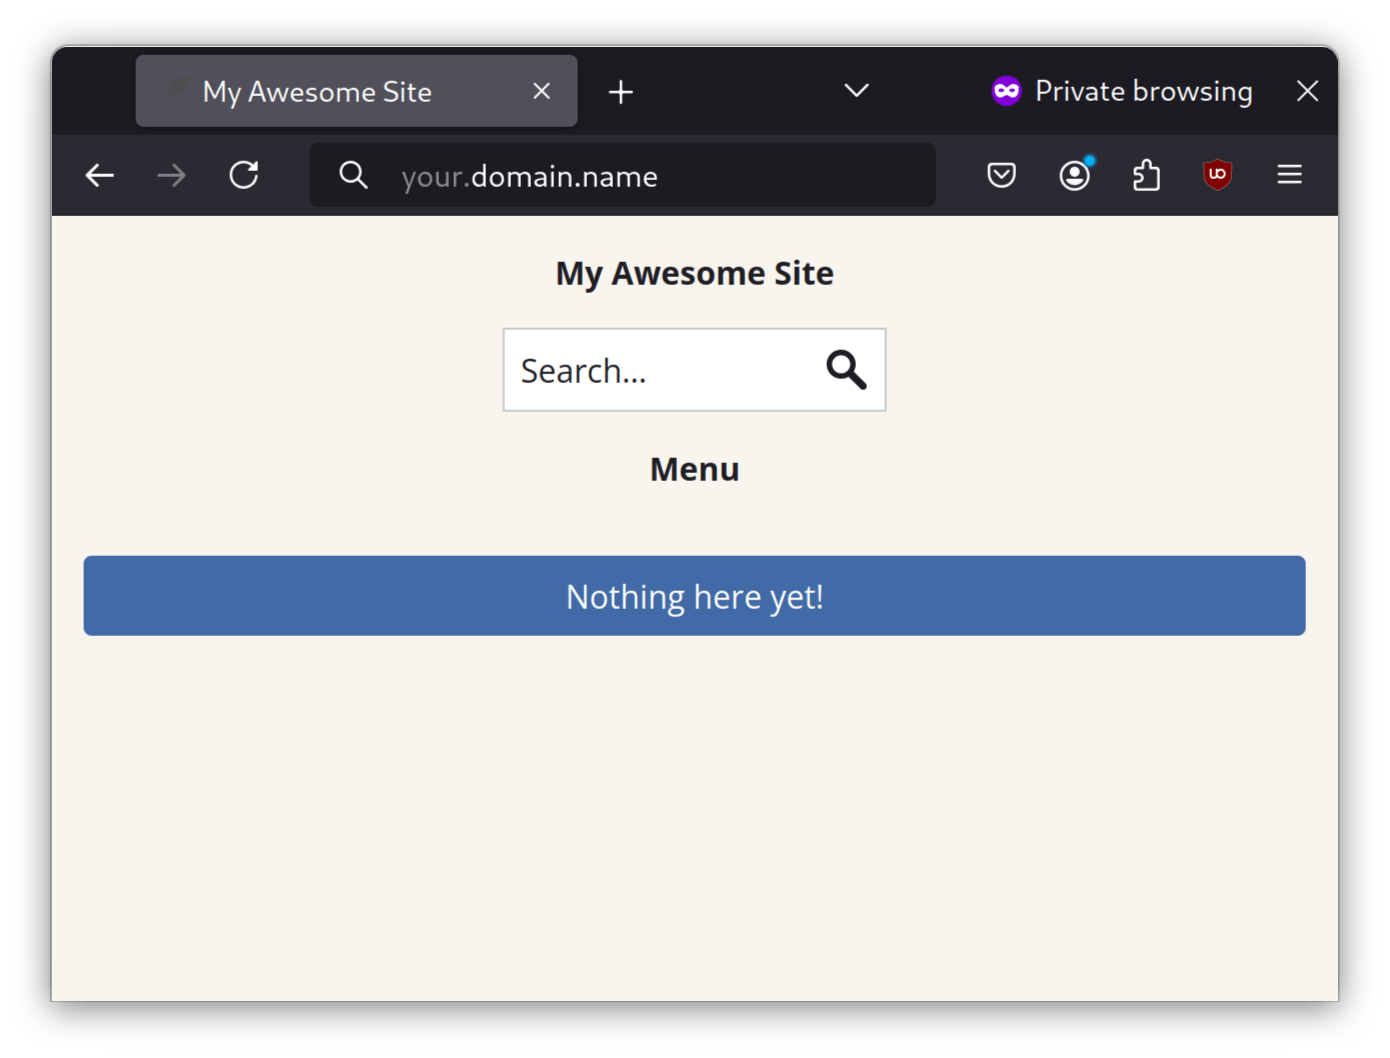
Next, click Install me and then Take me to my site. You should now be able to visit a completed installation of your Chyrp site:

Conclusion
Considering that WordPress has evolved into a Swiss army knife of web development, it is not surprising some webmasters (the author included) would prefer a lightweight blogging engine. Chyrp Lite is perfect for those users.
Author: Neel Chauhan
Contributors: Steven Spencer, Ganna Zhyrnova