Introduction
Thanks to the Rocky Linux development team, live images for several desktop installations are available, including KDE. For those that might not know what a live image is, it will boot up to the OS and the desktop environment using the installation media and give you a chance to kick the tires (try it out) before installing it.
Note
This procedure is specific to Rocky Linux 9. There is currently no procedure for installing KDE for earlier versions of Rocky Linux. Feel free to write one up!
Prerequisites
- A machine, compatible with Rocky Linux 9.0, (desktop, notebook or server) that you want to run the KDE desktop on.
- The ability to do a few things from the command line, such as test the image checksums.
- The knowledge of how to write a bootable image to a DVD or USB thumb drive.
Get, verify, and write the KDE live image
Prior to installation, the first step is to download the live image and write that to a DVD or a USB thumb drive. As stated earlier, the image will be bootable, just like any other installation media for Linux. You can find the latest KDE image in the download section for Rocky Linux 9 live images.
Note that this particular link assumes x86_64 as your processor architecture. If you have aarch64 architecture, you can use that image instead. Download the live image and checksum files.
Verify the image with the CHECKSUM file by using the following (note: this is an example! Ensure your image name and CHECKSUM files match):
sha256sum -c CHECKSUM --ignore-missing Rocky-9-KDE-x86_64-latest.iso.CHECKSUM
If all goes well, you should receive this message:
Rocky-9-KDE-x86_64-latest.iso: OK
If the checksum for the file returns OK, you are now ready to write your ISO image to your media. We are assuming that you know how to write the image to your media. This procedure differs depending on the OS, the media, and the tools.
Booting
This again is different by machine, BIOS, OS, and so on. You will need to ensure that your machine is set to boot to whatever your media is (DVD or USB) as the first boot device. You will see this screen if you are successful:
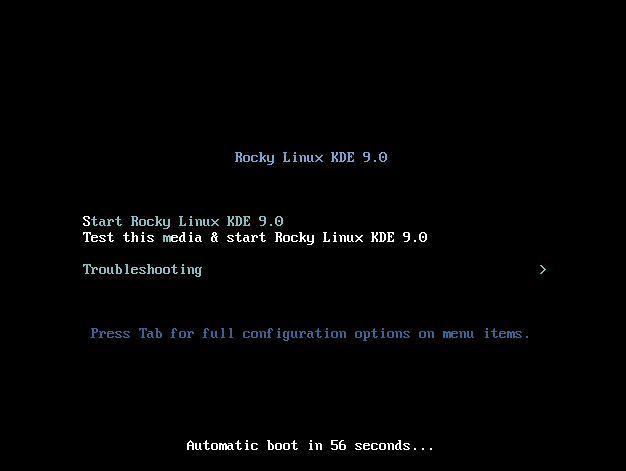
If so, you are on your way! If you want to test the media, you can enter that option first, or you can enter S to Start Rocky Linux KDE 9.
Remember, this is a live image. It will take some of time to boot to the first screen. Do not panic, just wait! When the live image is up, you will see this screen:
Installing KDE
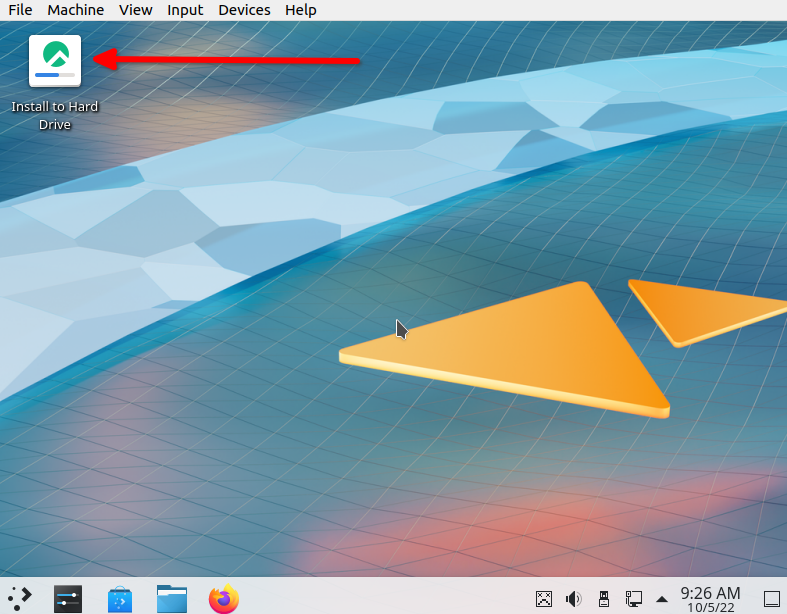
At this point, you can use the KDE environment and see if you like it. When you have decided to use it permanently, double-click the option to Install to Hard Drive.
This will start a pretty familiar installation process for those who have installed Rocky Linux before. The first screen will allow you to change to your regional language:

When you have chosen your language and clicked Continue, the install will advance to the following screen. We have highlighted things that you may want to change or verify:
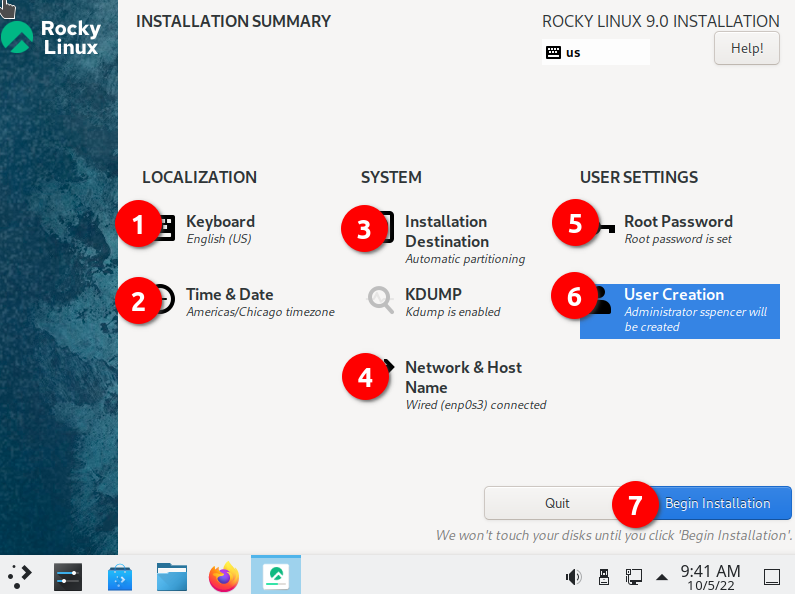
- Keyboard - Ensure that it matches up to the keyboard layout that you use.
- Time & Date - Ensure this matches up to your time zone.
- Installation Destination - You will need to click into this option, even if it is just to accept what is already there.
- Network & Host Name - Verify that you have what you want here. Provided the network is enabled, you can always change this later if you need to.
- Root Password - Go ahead and set a root password. Remember to save this somewhere safe (password manager), particularly if it is not something you use often.
- User Creation - Definitely create at least one user. If you want the user to have administrative rights, remember to set this option when creating the user.
- Begin Installation - When you have set or verified all of the settings, click this option.
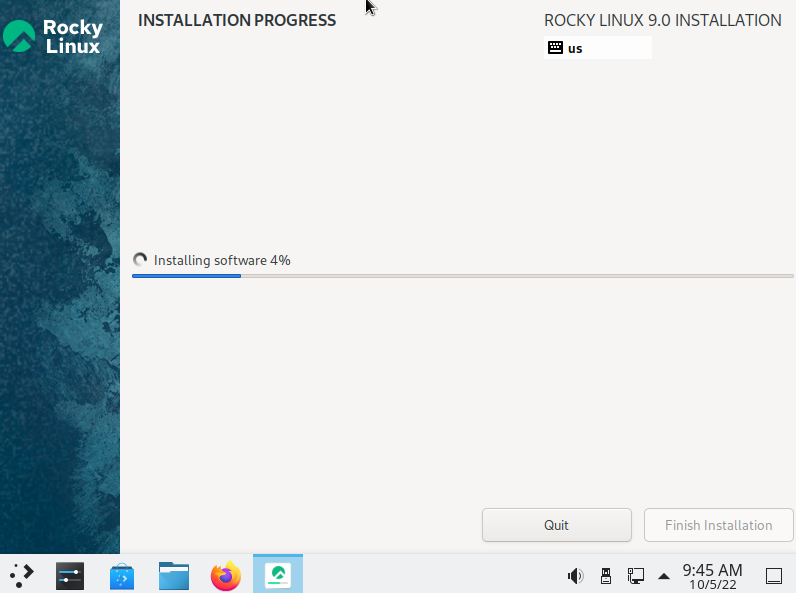
When you do step 7, the installation process will start installing packages, shown in this screenshot:
After the installation to the hard disk, you will the following screen:
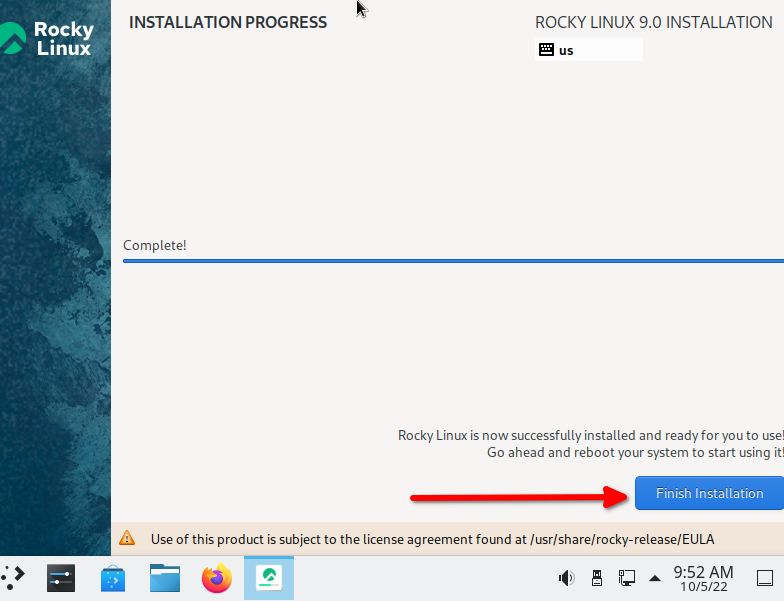
Go ahead and click Finish Installation.
At this point you will need to reboot the OS and remove your boot media. When the OS comes up for the first time, a configuration screen will appear:
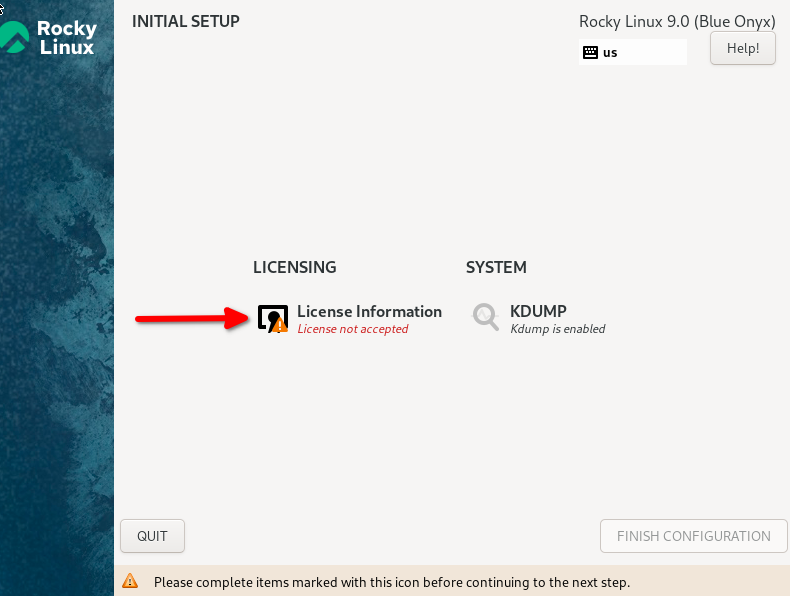
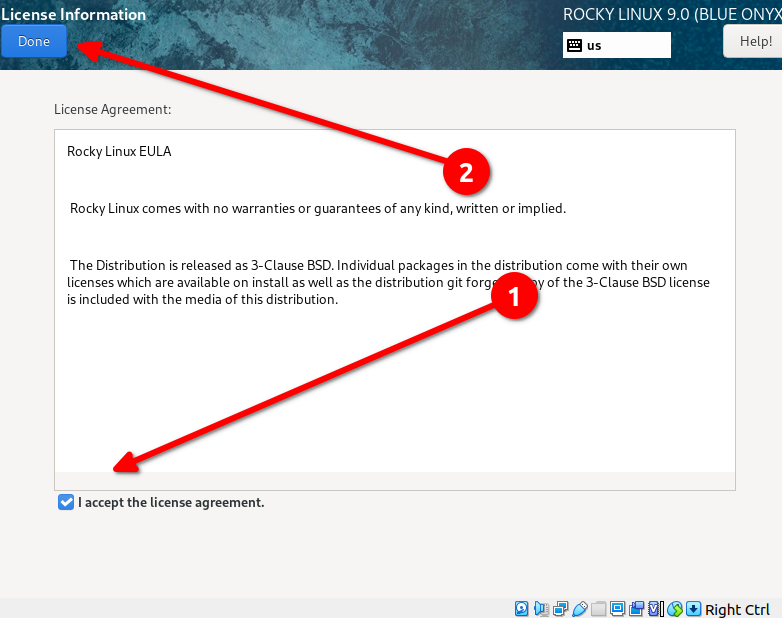
Click into the Licensing Information option and accept the EULA shown here:
Finally, finish the configuration:
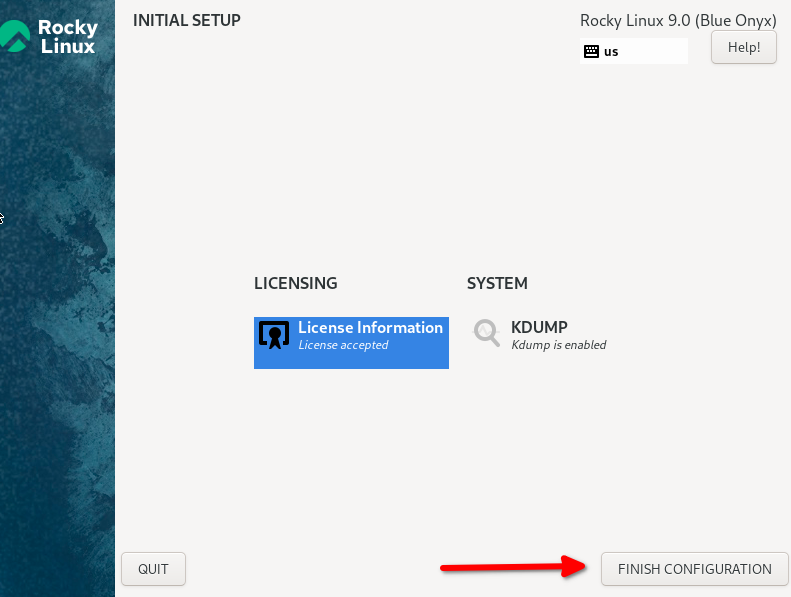
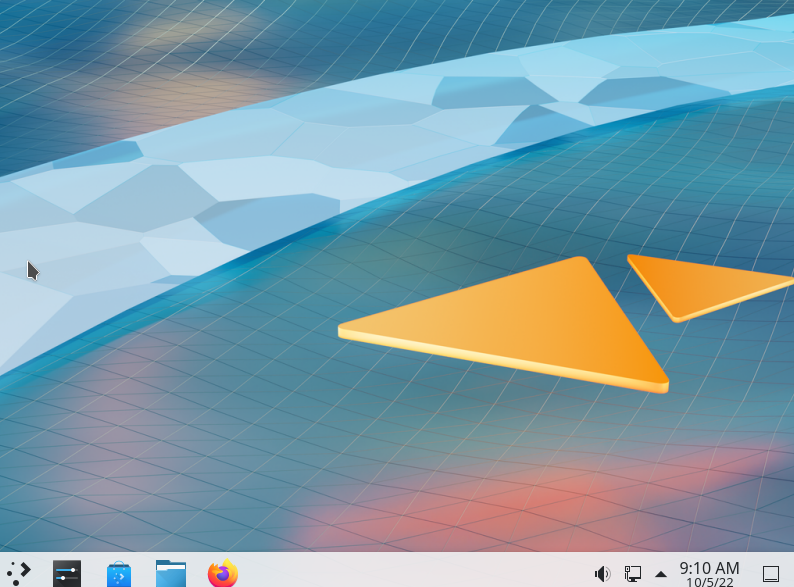
When this step finishes, the username that you created earlier will appear. Enter the password you created for the user and hit Enter. This will show you a pristine KDE desktop screen:
Conclusion
Thanks to the Rocky Linux development team, you can install several desktop options from live images for Rocky Linux 9.0. KDE is another option for those that do not like the default GNOME desktop and installation, with the live image, is not complex.
Author: Steven Spencer
Contributors: Ezequiel Bruni, Ganna Zhyrnova