Desktop Sharing via RDP
Introduction
If you want to share your (Gnome) desktop on Rocky Linux or access other shared desktops, this guide is for you.
For beginners, you will be using RDP. RDP stands for Remote Desktop Protocol, and it does exactly what that implies: it lets you view and interact with computers from afar, all with a graphical interface. However, you must quickly dive into the command line to set it up.
Note
By default, Rocky Linux allows you to share your desktop via another VNC protocol. VNC is serviceable enough, but RDP usually offers a much smoother experience and can handle weird monitor resolutions.
Assumptions
For this guide, the assumption is that you have the following set up already:
- Rocky Linux with Gnome
- Flatpak and Flathub installed and working
- A non-root user account
- Admin or sudo access and a willingness to paste commands into the terminal
- The X server (for sharing your desktop)
Info
A few projects are underway to make the Wayland display server and RDP play nice, and more recent versions of Gnome come with a built-in RDP server that does the trick. However, Rocky Linux's version of Gnome doesn't have that feature, so it's a lot easier to power your RDP session with x11.
Sharing your Rocky Linux Gnome desktop with RDP
You need an RDP server to make your Rocky Linux desktop-accessible remotely. For our purposes, 'xrdp' will be more than enough. You will need to use the terminal for it, though, because it is a CLI-only program.
Info
The xrdp package is in EPEL repository, which provides rebuilds of Fedora packages for every supported Enterprise Linux. If you have not enabled it, use the following commands. You should also enable CRB (called 'PowerTools' in Rocky Linux 8) before adding the EPEL repository.
In Rocky Linux 8, use these commands to add the EPEL repository:
sudo dnf config-manager --set-enabled powertools
sudo dnf install epel-release
In Rocky Linux 9, use these commands to add the EPEL repository:
sudo dnf config-manager --set-enabled crb
sudo dnf install epel-release
After adding the EPEL repository (or if you have already added it), use the following command to install xrdp:
sudo dnf install xrdp
Once you have that installed, you need to enable the service:
sudo systemctl enable --now xrdp
The RDP server should be installed, enabled, and running if all goes well. However, you will not be able to connect just yet; first, you will need to open the right port on your firewall.
If you want to learn more about how Rocky Linux's firewall app, firewalld, works, please see our beginner's guide to firewalld. If you want to get moved along, run these commands:
sudo firewall-cmd --zone=public --add-port=3389/tcp --permanent
sudo firewall-cmd --reload
For beginners, those commands open the RDP port in your firewall so you can accept incoming RDP connections. Then, restart the firewall to apply the changes. If you feel so inclined, you can reboot your PC just to be safe.
You should log out if you do not want to reboot. RDP uses your user account credentials for security. Logging in remotely while already logged into your desktop locally is not possible. At least, not on the same user account.
Info
You can also use the Firewall app to manage firewalld and open any ports you want. Watch this space for a link to my guide to installing and using the Firewall app.
Accessing your Rocky Linux desktop and/or other desktops with RDP
You have seen how to install an RDP server, and now you need an RDP client application. On Windows, the Remote Desktop Connection app does the trick quite nicely. If you want to access your Rocky Linux machine from another Linux machine, you will need to install a third-party option.
I highly recommend Remmina for Gnome. It is not complex to use, stable, and generally works.
If you have Flatpak/Flathub installed, you can open the Software app and search for Remmina.
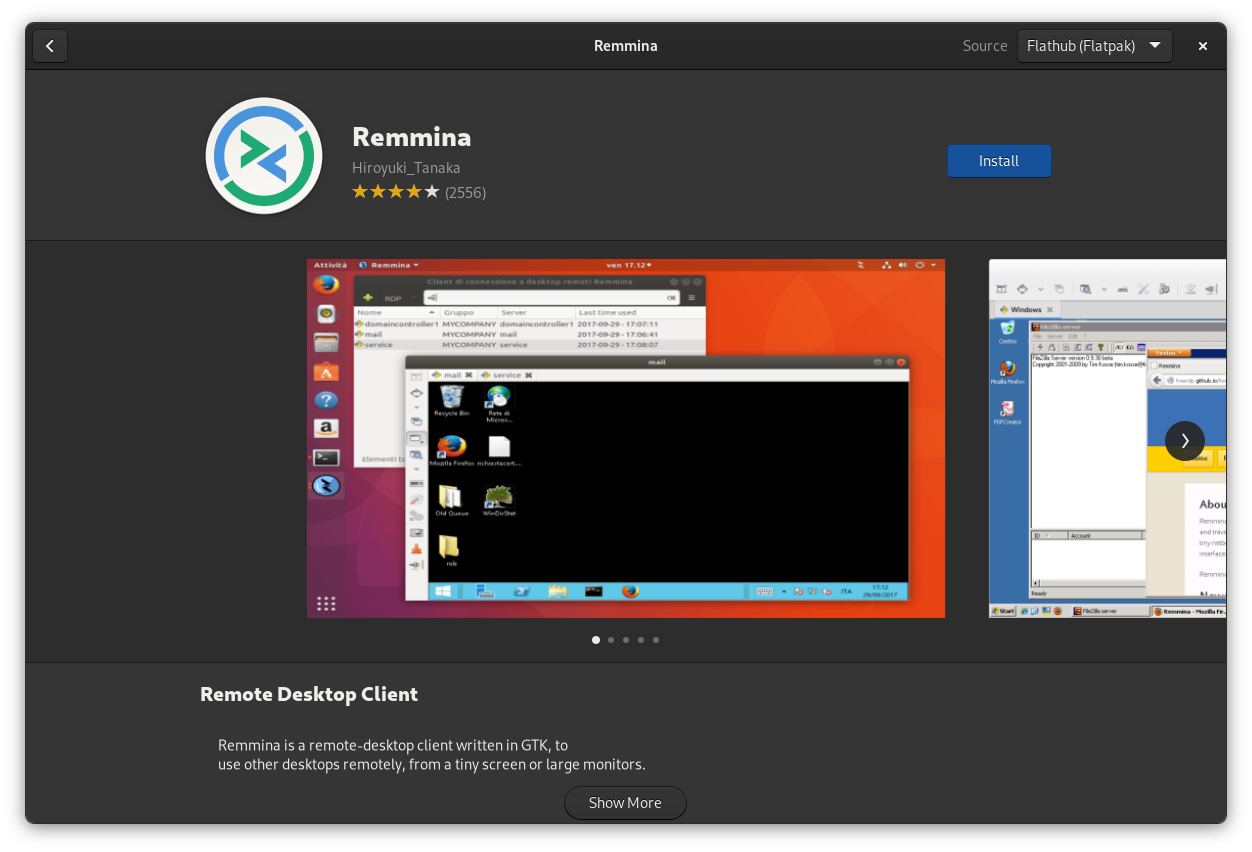
You can just install and launch it. Note that this is the process for adding an RDP connection in Remmina, but it is similar to almost every other RDP client app you will likely find.
Hit the plus button in the upper-left corner to add a connection. In the name field, name the connection what you like, and enter the remote computers IP address, along with your remote user account's username and password. Remember, if your computers are on the same network, you want to use their local IP address, not the one you would see on a site like "whatsmyip.com."
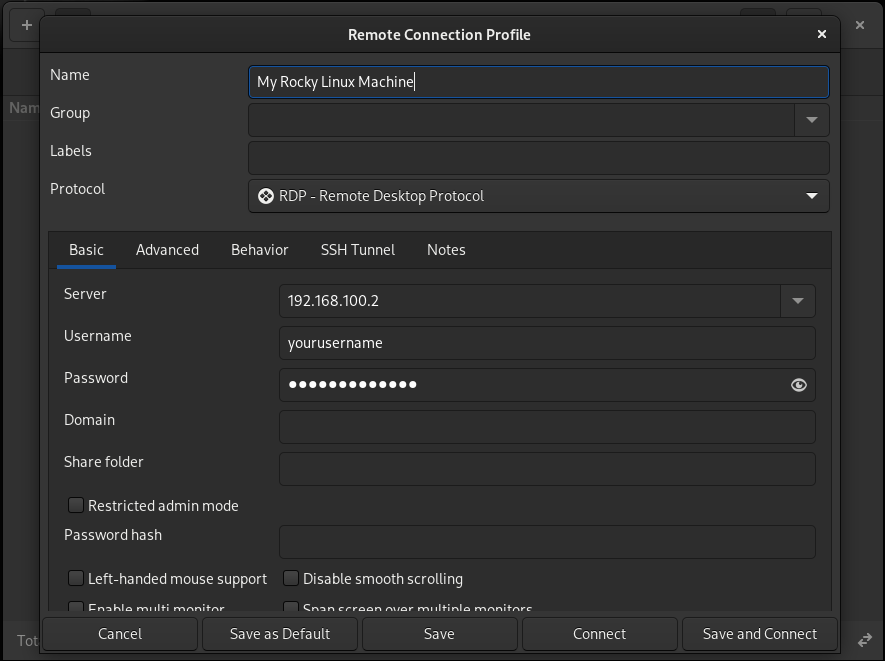
If your computers are not on the same network, I hope you know how to do port forwarding or that the remote computer has a static IP. However, that is beyond the scope of this document.
Scroll down for options like multi-monitor support, custom resolutions, and more. Also, your RDP client's "Network connection type" option lets you balance bandwidth usage with image quality.
Use LAN for the best quality if your computers are on the same network.
Then, click Save and Connect.
This is what it looks like with the Windows Remote Desktop Connection client. The author wrote this document on his local Rocky Linux server with RDP.
Conclusion
You only need to know this to run RDP on Rocky Linux and share it on your desktop. This will work if you only need to access some files and apps remotely.
Author: Ezequiel Bruni
Contributors: Steven Spencer, Ganna Zhyrnova, Zhang Zhuyue