Nerd Fonts - Fonts for Developers
What are Nerd Fonts?
 Nerd Fonts is a collection of modified fonts aimed at developers. In particular, "iconic fonts" such as Font Awesome, Devicons, and Octicons are used to add extra glyphs.
Nerd Fonts also takes the most popular programming fonts, such as MonoLisa or SourceCode Pro, and modifies them by adding a group of glyphs (icons). A font patcher is available if the font you would like to use has not already been edited. There is also a preview feature to see how the font should look in the editor. Check out the project's main site for more information.
Download
Fonts are available for download at:
https://www.nerdfonts.com/font-downloads
Installation procedure
The installation of Nerd Fonts in Rocky Linux is done entirely from the command line thanks to the implementation of the procedure provided by the project repository ryanoasis/nerd-fonts. The procedure uses git to retrieve the required fonts and fc-cache for their configuration.
Note
This method can be used on all linux distributions that use fontconfig for system font management.
To begin, retrieve the necessary files from the project repository:
git clone --filter=blob:none --sparse git@github.com:ryanoasis/nerd-fonts
This command downloads only the necessary files, omitting the fonts contained in patched-fonts so as not to weigh down the local repository with fonts that will later not be used, thus allowing for selective installation.
This guide will use the IBM Plex Mono font, which offers a clean and slightly typographic display, features that make it particularly suitable for writing Markdown documentation.
Visit the dedicated site for an overview and preview of available fonts.
Go to the newly created folder and then download the font set with the commands:
cd ~/nerd-fonts/
git sparse-checkout add patched-fonts/IBMPlexMono
The command will download the fonts to the patched-fonts folder and once finished you can install them with the install.sh script provided, type:
./install.sh IBMPlexMono
Reserved Name
The font during installation is renamed to BlexMono to comply with the SIL Open Font License (OFL) and, in particular, the reserved name mechanism.
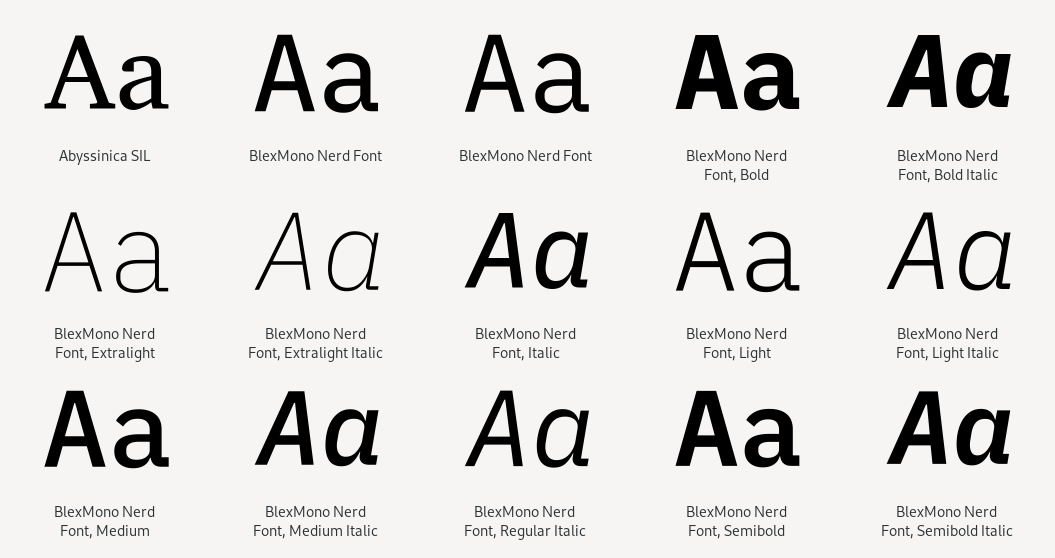
The install.sh script copies the fonts to the user folder ~/.local/share/fonts/ and invokes the fc-cache program to register them on the system. Once finished, the fonts will be available for the terminal emulator; in particular, we will find the following fonts installed:
NerdFonts/
├── BlexMonoNerdFont-BoldItalic.ttf
├── BlexMonoNerdFont-Bold.ttf
├── BlexMonoNerdFont-ExtraLightItalic.ttf
├── BlexMonoNerdFont-ExtraLight.ttf
├── BlexMonoNerdFont-Italic.ttf
├── BlexMonoNerdFont-LightItalic.ttf
├── BlexMonoNerdFont-Light.ttf
├── BlexMonoNerdFont-MediumItalic.ttf
├── BlexMonoNerdFont-Medium.ttf
├── BlexMonoNerdFont-Regular.ttf
├── BlexMonoNerdFont-SemiBoldItalic.ttf
├── BlexMonoNerdFont-SemiBold.ttf
├── BlexMonoNerdFont-TextItalic.ttf
├── BlexMonoNerdFont-Text.ttf
├── BlexMonoNerdFont-ThinItalic.ttf
├── BlexMonoNerdFont-Thin.ttf
Configuration
At this point, the Nerd Font of your choice should be available for selection. To select it, you must refer to the desktop you are using.
If you are using the default Rocky Linux desktop (Gnome), to change the font in the terminal emulator, you just need to open gnome-terminal, go to "Preferences", and set the Nerd Font for your profile.
Author: Franco Colussi
Contributors: Steven Spencer, Ganna Zhyrnova, Christine Belzie