HOWTO: STIG Rocky Linux 8 Fast - Part 1
Terminology Reference
- DISA - Defense Information Systems Agency
- RHEL8 - Red Hat Enterprise Linux 8
- STIG - Secure Technical Implementation Guide
- SCAP - Secure Content Automation Protocol
- DoD - Department of Defense
Introduction
In this guide we are going to cover how to apply the DISA STIG for RHEL8 for a New Installation of Rocky Linux 8. As multi-part series, we will also be covering how to test STIG compliance, adapt STIG settings, and apply other STIG content in this environment.
Rocky Linux is a bug for bug derivative of RHEL and as such the content published for the DISA RHEL8 STIG is in parity for both operating systems. Even better news, applying STIG settings is built into the Rocky Linux 8 anaconda installer, under Security Profiles. Under the hood this is all powered by a tool called OpenSCAP, which lets you both configure the system to be compliant with the DISA STIG (fast!), and also test the systems compliance after you’ve installed.
I’ll be doing this on a virtual machine in my environment, but everything here would apply the exact same way on bare iron.
Step 1: Create the Virtual Machine
- 2G memory
- 30G disk
- 1 core

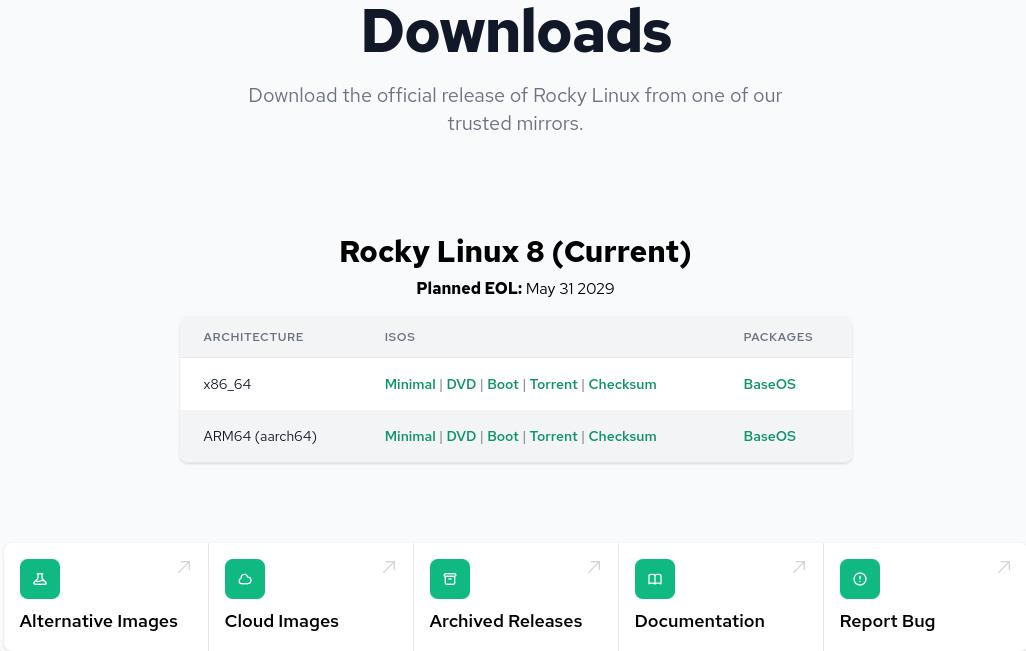
Step 2: Download the Rocky Linux 8 DVD ISO
Download Rocky Linux DVD. Note: The minimal ISO does not contain the content needed to apply the STIG for Rocky Linux 8, you need to use the DVD or a network install.
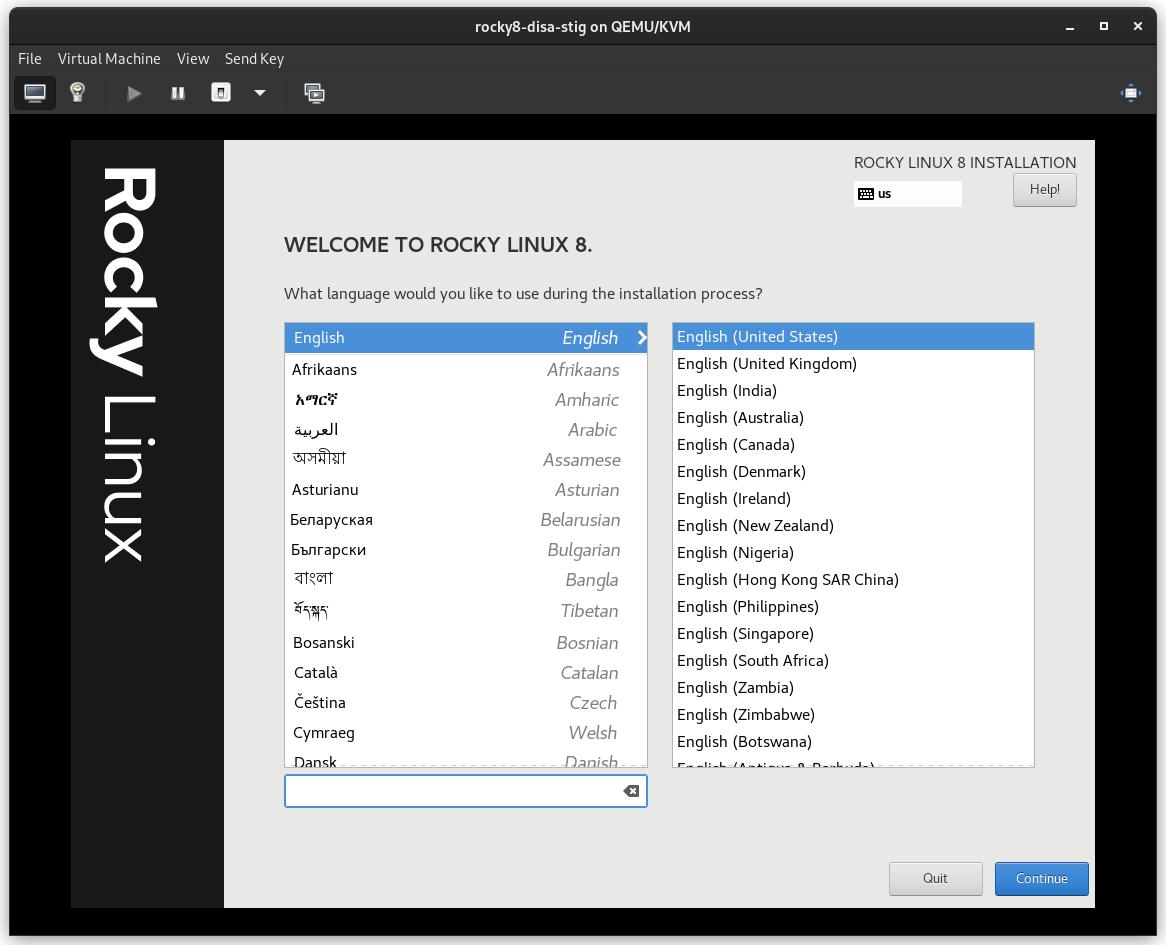
Step 3: Boot the Installer
Step 4: Select Partitioning FIRST
This is probably the most complicated step in the installation, and a requirement to be compliant with the STIG. You will need to partition the operating system's filesystem in a way that will probably create new problems. In other words: You’re going to need to know exactly what your storage requirements are.
Pro-Tip
Linux lets you resize filesystems, which we’ll cover in another article. Suffice to say, this is one of the bigger issues applying the DISA STIG on bare iron, frequently requiring full re-installs to solve, so over spec the size you need here.
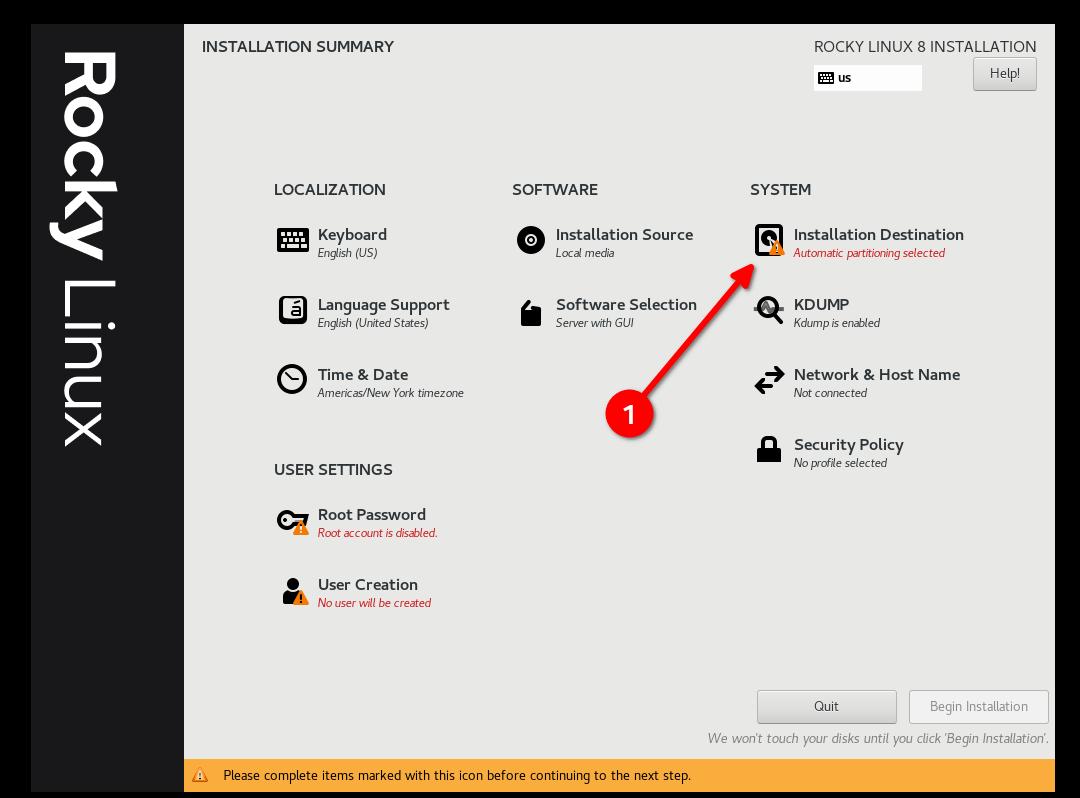
- Select "Custom" and then "Done"

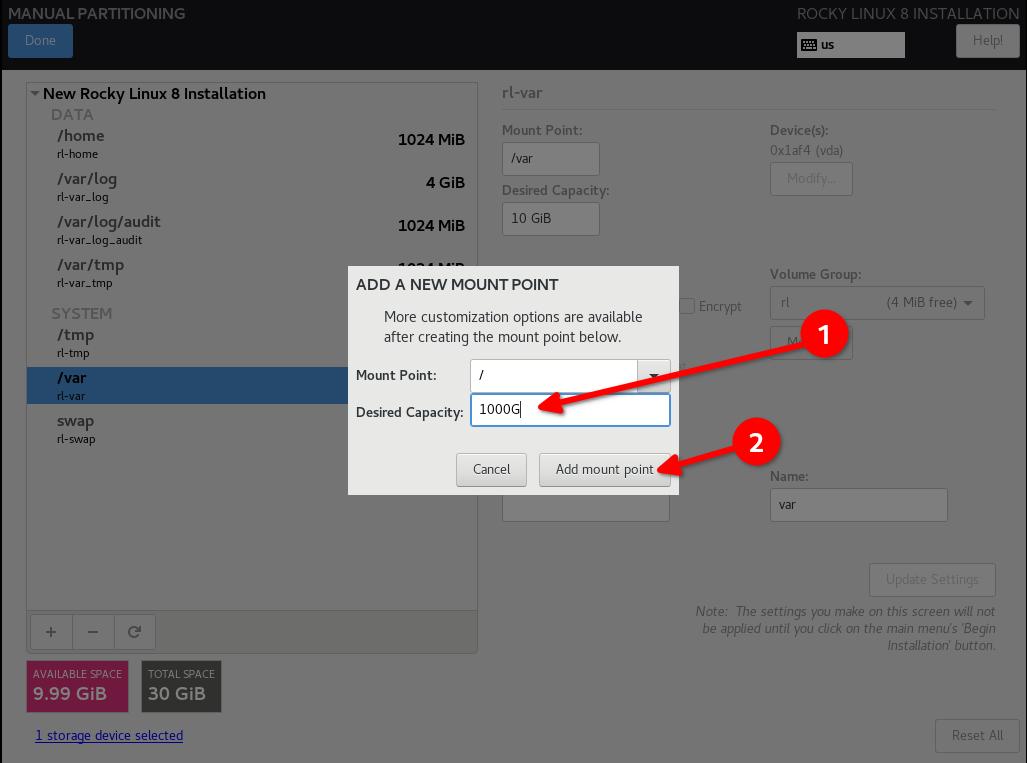
- Start Adding Partitions

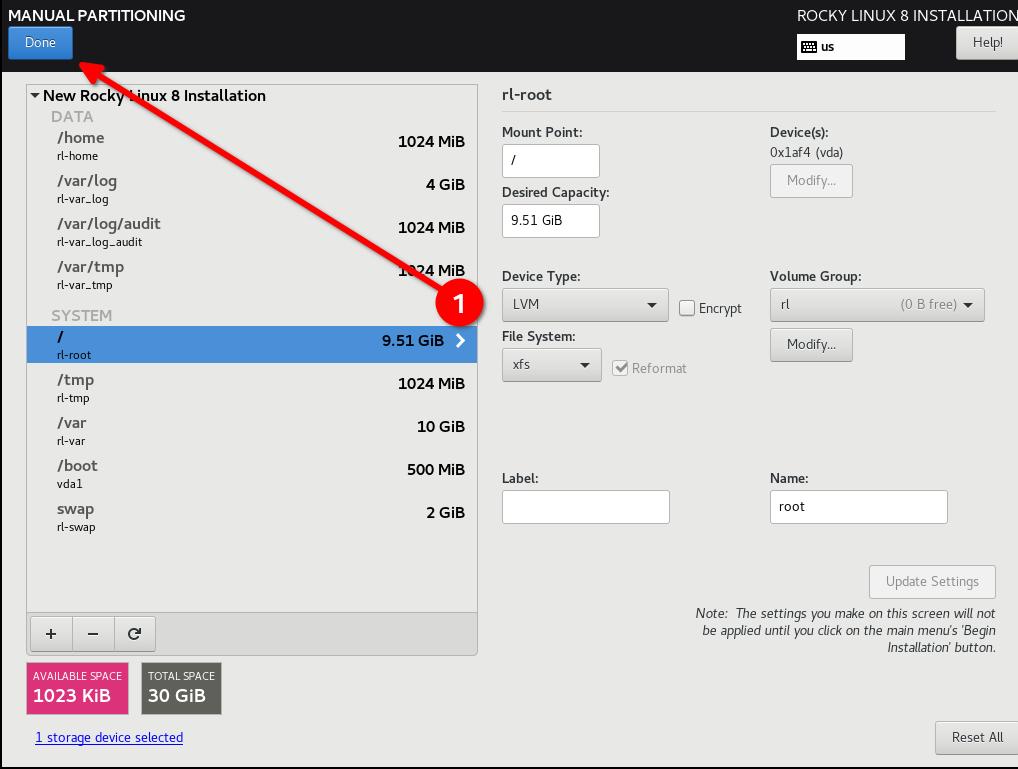
DISA STIG partitioning scheme for a 30G disk. My use case is as a simple web server:
- / (10G)
- /boot (500m)
- /var (10G)
- /var/log (4G)
- /var/log/audit (1G)
- /home (1G)
- /tmp (1G)
- /var/tmp (1G)
- Swap (2G)
Pro-Tip
Configure / last and give it a really high number, this will put all the slack disk space left on / and you will not have to do any math.
Pro-Tip
Re-iterating from the previous Pro-Tip: OVER SPEC your filesystems, even if you have to grow them again later.
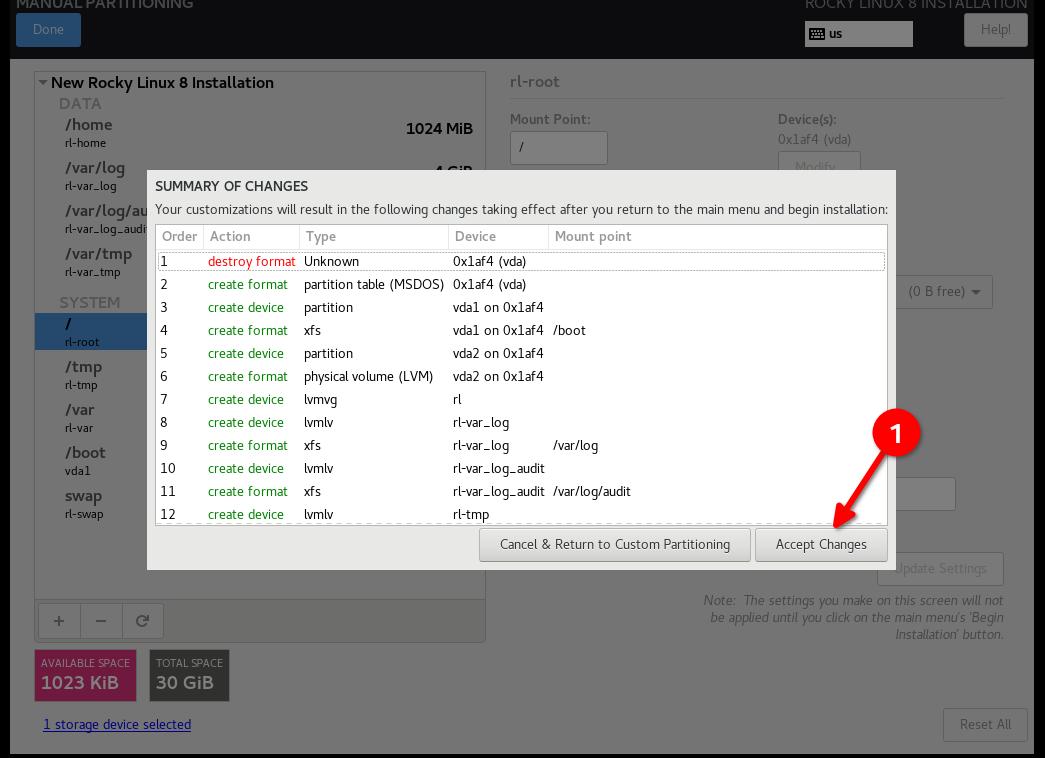
- Click "Done", and "Accept Changes"
Step 5: Configure software for your environment: Server install without a GUI
This will matter in Step 6, so if you are using a UI or a workstation configuration the security profile will be different.

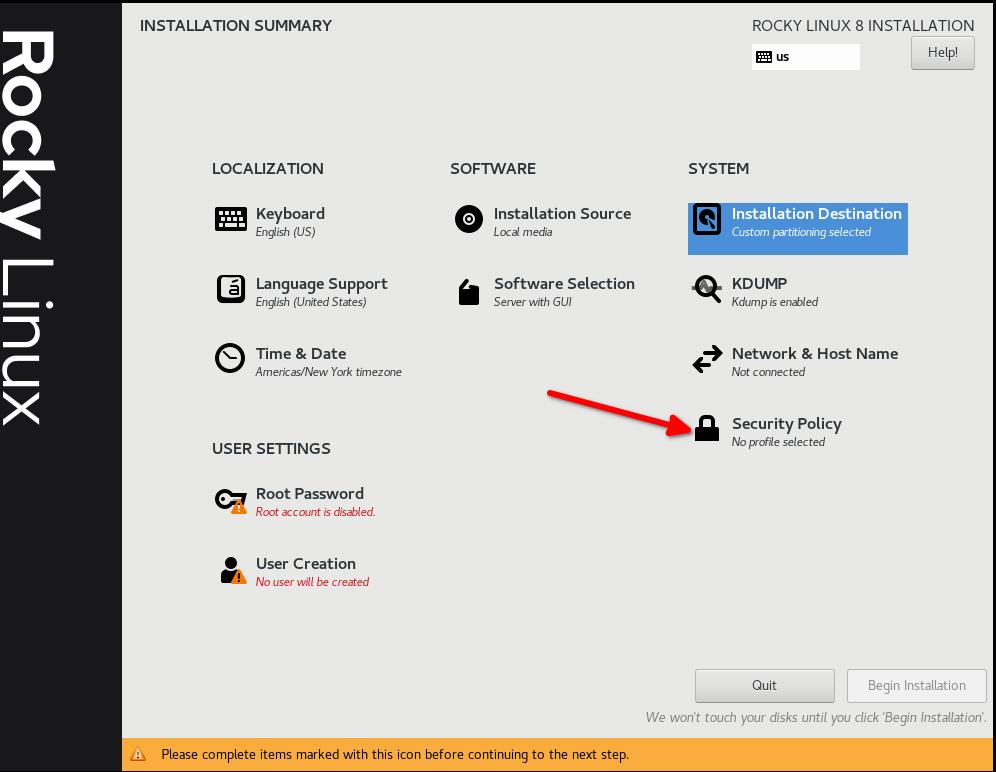
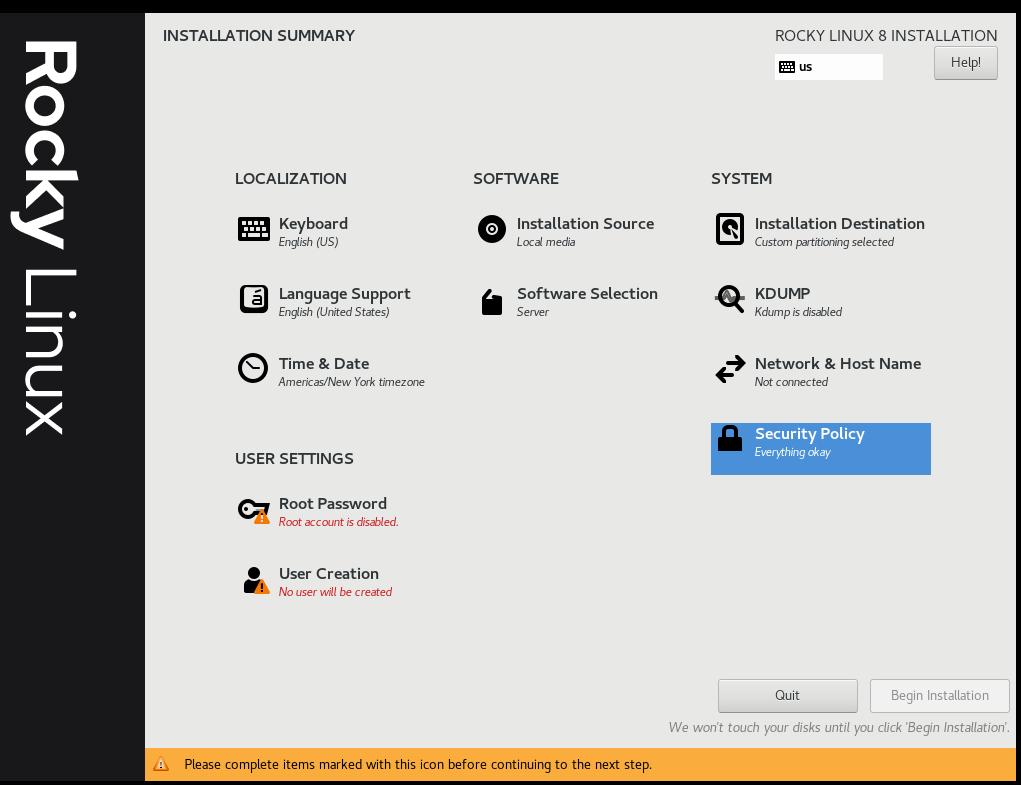
Step 6: Select Security Profile
This is going to configure a number of security settings on the system based on the selected policy, leveraging the SCAP framework. It will modify the packages you selected in Step 5, adding or removing components needed. If you did select a GUI install in Step 5, and you use the non-GUI STIG in this step, it will remove the GUI. Adjust accordingly!
Select the DISA STIG for Red Hat Enterprise Linux 8:
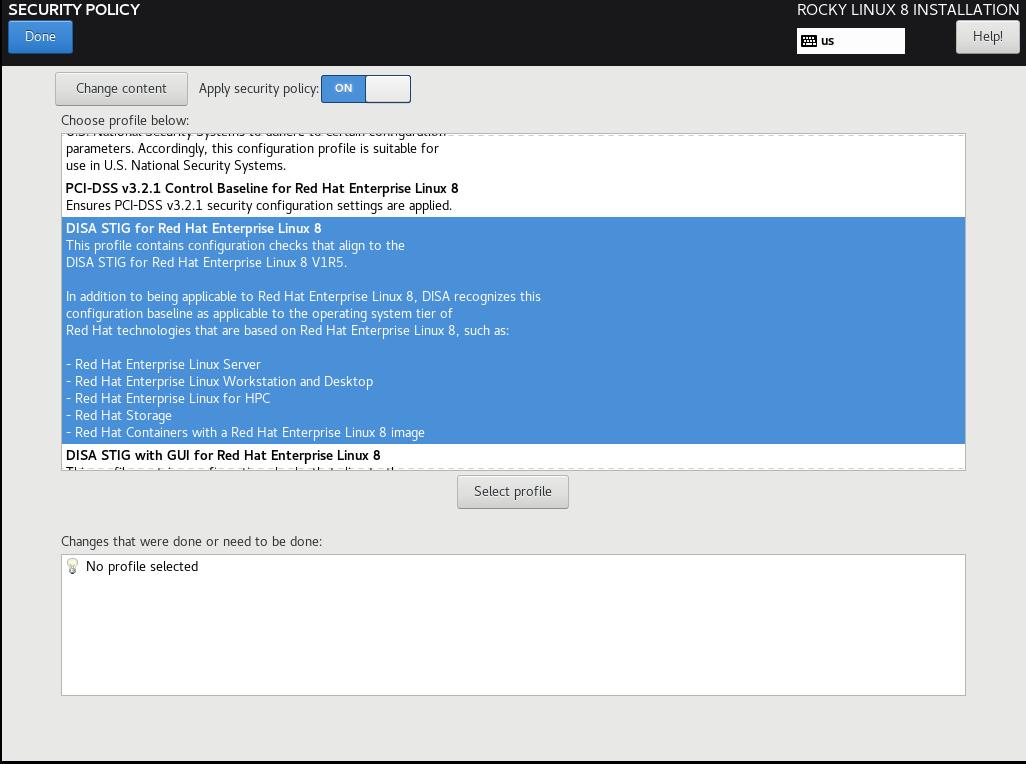
Click "Select Profile", and note the changes it is going to make to the system. This will set options on mount points, add/remove applications, and make other configuration changes:


Step 7: Click "Done", and Continue To Final Setup
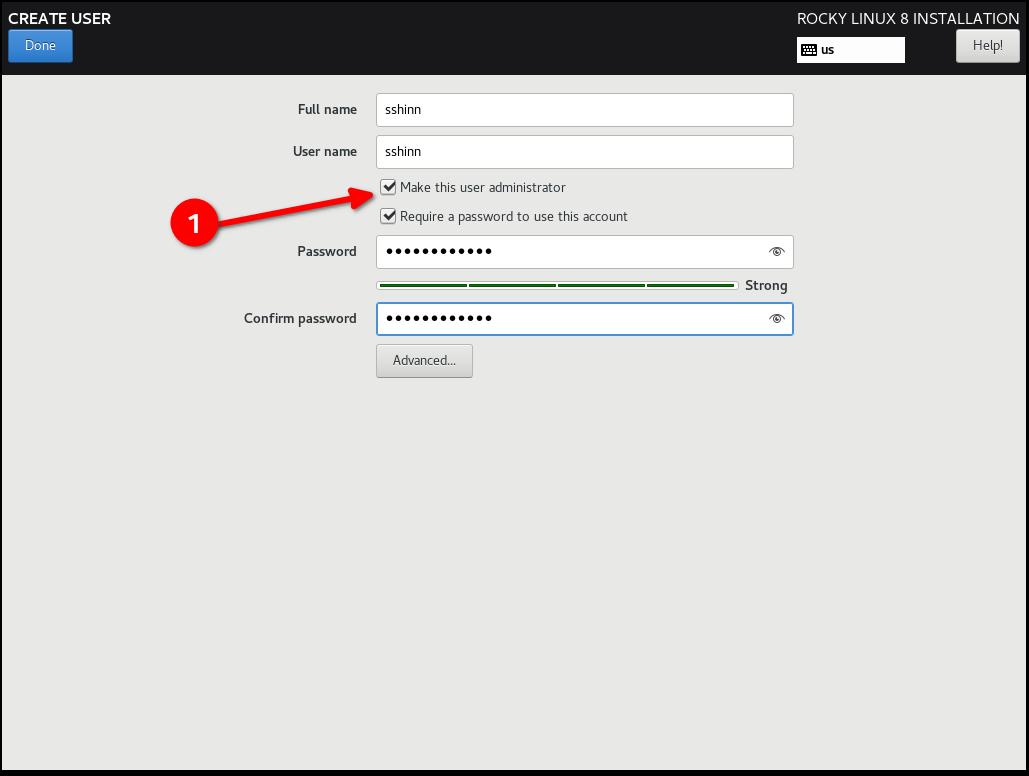
Step 8: Create a user account, and set that user to administrator
In later tutorials we can get into joining this to a FreeIPA enterprise configuration. For now, we’ll treat this as a standalone. Note that I am not setting a root password, rather we give our default user sudo access.
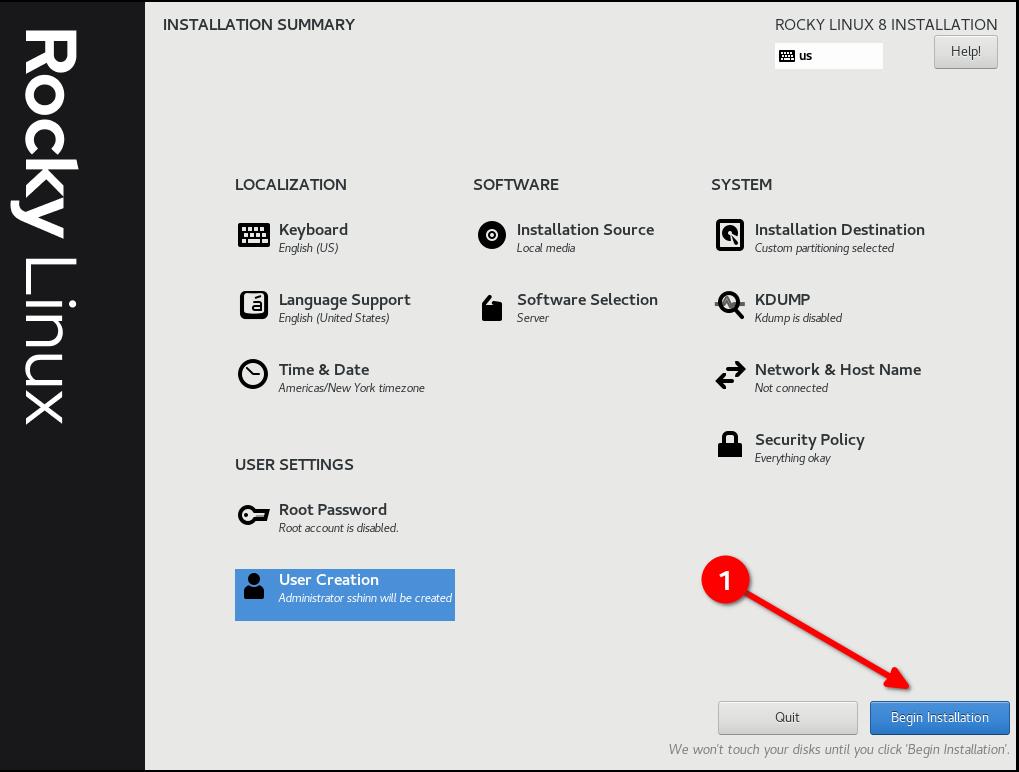
Step 9: Click "Done", and then "Begin Installation"
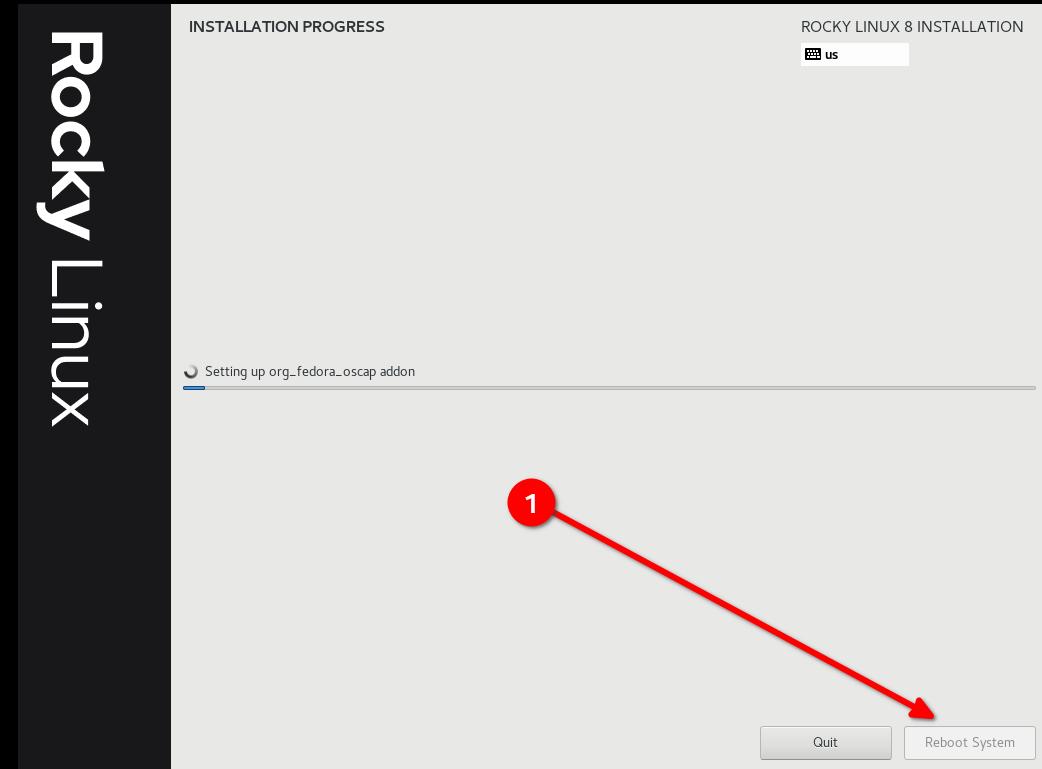
Step 10: Once the installation is completes, click "Reboot System"
Step 11: Log in to your STIG'd Rocky Linux 8 System
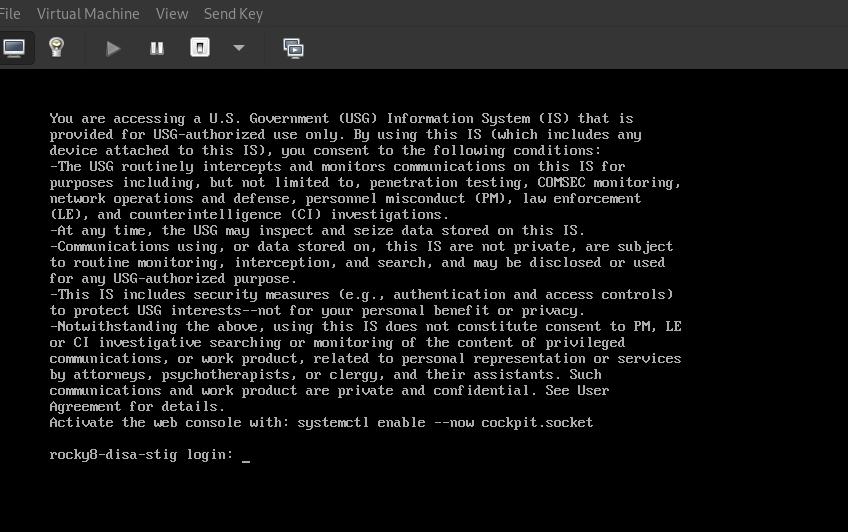
If all went well, you should see the default DoD warning banner here.
About The Author
Scott Shinn is the CTO for Atomicorp, and part of the Rocky Linux Security team. He has been involved with federal information systems at the White House, Department of Defense, and Intelligence Community since 1995. Part of that was creating STIG’s and the requirement that you use them and I am so very sorry about that.
Author: Scott Shinn
Contributors: Steven Spencer, Ganna Zhyrnova