Installing the Kitty terminal emulator
Introduction
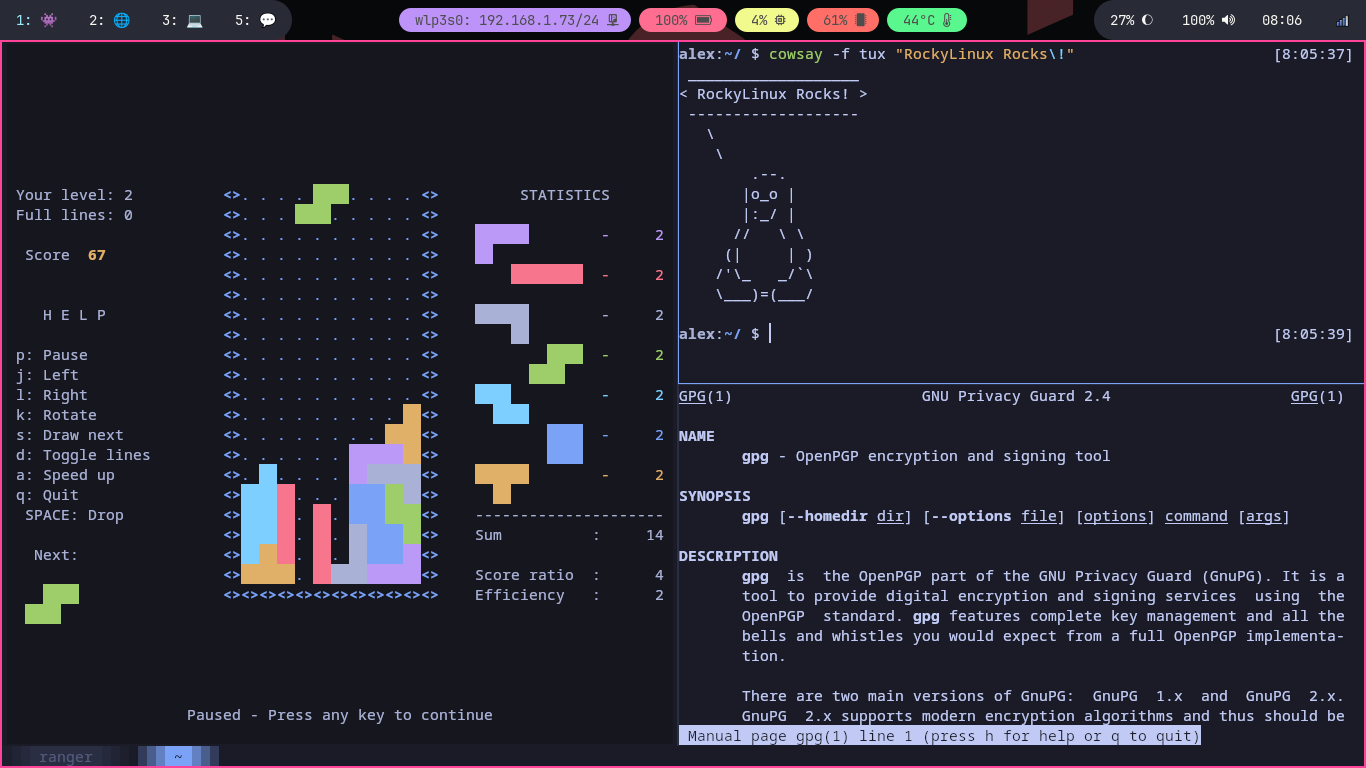
Kitty is a blazing fast terminal emulator on steroids, anything you can possibly imagine is customizable in Kitty.
You can use tab management, tiling, image previews, and many more options, just within this terminal emulator.
You can even replace tmux or even a Window Manager with Kitty (if you work mostly within a terminal).
Assumptions
- You have a Rocky Linux workstation or server with GUI
- You are an administration with
sudoprivileges
Installing Kitty
First, install the EPEL repository (Extra Packages for Enterprise Linux):
dnf install -y epel-release
Next, install Kitty:
dnf install -y kitty
Once installed, you can start Kitty.
Quick Overview
Configuration file
Once you have started Kitty you can open Kitty configuration file with Ctrl+Shift+F2.
You can also find the configuration file at $HOME/.config/kitty.
This document is not going to go deep into the configuration file itself. Just know that you can change any default shortcuts, or anything related to the appearance, in the configuration.
Tabs
You can create a new tab with Ctrl+Shift+T.
You can close a tab with Ctrl+Shift+W or Ctrl+Shift+Q.
You can select tabs with Ctrl+Shift+Left or Ctrl+Shift+Right.

Tiling
Press Ctrl+Shift+Enter to open a new pane or window. You can press it many times to create a tiling layout.
You can switch layouts with Ctrl+Shift+L.
You can select windows or panes with Ctrl+Shift+[ or Ctrl+Shift+]. If you prefer, you can just click the pane or window with your mouse.
Conclusion
Kitty offers many features without additional configuration.
If you already have a configured window manager, zsh, or tmux on your workstation, you probably do not need Kitty. Consider the fact that you can combine zsh shortcuts, tmux tiling, and many window manager features, just in one terminal emulator.
But, if you have not tried any of these power tools yet, the author would definitely recommend that you start with Kitty.
Author: Alex Zolotarov
Contributors: Steven Spencer