Installing Rocky Linux 9
This is a detailed guide for installing a 64-bit version of the Rocky Linux distribution on a standalone system. We will perform a server-class installation and walk through the installation and customization options.
Operating System Installation Prerequisites
Download the ISO to use for this installation of Rocky Linux.
You can download the latest ISO image for the version of Rocky Linux for this installation here:
https://www.rockylinux.org/download/
To download the ISO directly from the command line on an existing Linux-based system, use the wget command:
wget https://download.rockylinux.org/pub/rocky/9/isos/x86_64/Rocky-9.6-x86_64-minimal.iso
Rocky Linux ISOs follow this naming convention:
Rocky-<MAJOR#>.<MINOR#>-<ARCH>-<VARIANT>.iso
For example, Rocky-9.6-x86_64-minimal.iso
Note
The Rocky Project website lists several mirrors located around the world. Select the mirror that is geographically closest to you. The list of official mirrors can be found here.
Verifying the Installation Program ISO File
If you've downloaded the Rocky Linux ISO(s) on an existing Linux distribution, you can use the sha256sum utility to verify that the file(s) you downloaded are not corrupt. We will demonstrate how to verify the Rocky-9.6-x86_64-minimal.iso file by checking its checksum.
Download the file that contains the official checksums for the available ISOs.
While still in the folder that contains the downloaded Rocky Linux ISO, download the checksum file for the ISO, type:
wget -O CHECKSUM https://download.rockylinux.org/pub/rocky/9/isos/x86_64/CHECKSUMUse the
sha256sumutility to verify the integrity of the ISO file against corruption or tampering.sha256sum -c CHECKSUM --ignore-missingThis checks the integrity of the previously downloaded ISO file, provided it is in the same directory. You should see this output:
Rocky-9.6-x86_64-minimal.iso: OK
The Installation
Tip
Before installing, the system’s Unified Extensible Firmware Interface (UEFI) or Basic Input/Output System (BIOS) must be preconfigured to boot from the correct medium.
If you set the computer up to boot from the media with the ISO file, you can begin the installation.
Insert and boot from the installation medium (e.g., optical disk, USB flash drive).
Once the computer has booted, you see the Rocky Linux 9.6 welcome splash screen.

If you do not press any key, the installation program starts a countdown, after which the installation process automatically executes the default, highlighted option:
Test this media & install Rocky Linux 9.6You can also press Enter at any time to start the process immediately.
A quick media verification step takes place.
This media verification step can save you the trouble of starting the installation only to discover halfway through that the installation program has to stop due to faulty installation media.After the media check is completed and the media is successfully verified as usable, the installation program automatically proceeds to the next screen.
Select the language you want to use to install this screen. For this guide, we select English (United States). Then click the continue button.
Installation Summary
The Installation Summary screen is an all-in-one area where you make important decisions about installing the system.
The screen is roughly divided into the following sections:
- LOCALIZATION
- SOFTWARE
- SYSTEM
- USER SETTINGS
We will delve into each of these sections next and make any necessary changes.
Localization Section
This section customizes items related to the system's geographic location. This includes – Keyboard, Language Support, Time and Date.
Keyboard
In this guide's demo system, we accept the default value (English US) and make no changes.
However, if you need to make any changes here, from the Installation Summary screen, click the keyboard option to specify the system's keyboard layout. Using the + button, you can add additional keyboard layouts if you need to in the ensuing screen and even select your preferred order.
When you finish with this screen, click done.
Language Support
The Language Support option on the Installation Summary screen lets you specify support for additional languages.
We will accept the default value, English (United States), and make no changes. Click "Done".
Time & Date
Click the Time & Date option on the main Installation Summary screen to bring up another screen that allows for the selection of the timezone where the machine is. Scroll through the list of regions and cities and select the area closest to you.
Depending on your installation source, the Network Time option might be ON or OFF by default. Accept the default ON setting. This allows the system to automatically set the correct time by using the Network Time Protocol (NTP).
Click done after making any changes.
Software Section
Under the Software section of the Installation Summary screen, you can select or change the installation source as well as additional packages (applications) that get installed.
Installation Source
Because the installation uses a Rocky Linux 9.6 ISO image, you will notice that Local Media is automatically specified under the Installation Source section of the main Installation Summary screen. You can accept the preset defaults.
Tip
The installation Source area allows you to perform a network-based installation (for example, if you use the Rocky Linux boot ISO - Rocky-9.6-x86_64-boot.iso). For a network-based installation, you must first ensure that a network adapter on the target system is configured correctly and can access the internet. To perform a network-based installation, click Installation Source and then select the On the network radio button. Once selected, choose the correct protocol and type in the URI for the installation source. Click Done.
Software Selection
Clicking the Software Selection option on the main Installation Summary screen presents you with the installation section where you can select the exact software packages installed on the system. There are two software selection areas:
- Base Environment: Minimal Installation and Custom operating system
- Additional software for Selected Environment: Selecting a Base Environment on the left side presents a variety of related additional software to install for the given environment on the right side.
Select the Minimal Install (Basic functionality) option.
Click done at the top of the screen.
System Section
Use the System section of the Installation Summary screen for customizing and making changes to things related to the underlying hardware of the target system. This is where you create your hard disk drive partitions or volumes, specify the file system, specify the network configuration, enable or disable KDUMP, or select a Security Profile.
Installation Destination
From the Installation Summary screen, click the Installation Destination option. This takes you to the corresponding task area.
You will see a screen displaying all the candidate disk drives available on the target system. If you have only one disk drive on the system, as on our sample system, you see the drive listed under Local Standard Disks with a checkmark beside it. Clicking the disk icon toggles the disk selection checkmark on or off. Keep it checked to select the disk.
Under the Storage Configuration section:
Select the Automatic radio button.
Click done at the top of the screen.
Once the installation program determines that you have a usable disk, it returns to the Installation Summary screen.
Network & Host Name
The following important task of the installation procedure under the System area deals with network configuration, where you can configure or tweak network-related settings for the system.
Note
After you click on the Network & Hostname option, all correctly detected network interface hardware (such as Ethernet, wireless network cards, etc.) will be listed in the left pane of the network configuration screen. Depending on your specific hardware setup, Ethernet devices in Linux have names similar to eth0, eth1, ens3, ens4, em1, em2, p1p1, enp0s3, and so on.
You can configure each interface using DHCP or manually set the IP address.
If you choose to configure manually, ensure that you have all the required information ready, such as the IP address, netmask, and other relevant details.
Clicking the Network & Hostname button in the main Installation Summary screen opens the corresponding configuration screen. Here, you can configure the system's hostname.
Note
You can easily change the system hostname later on after the OS has been installed.
The following important configuration task pertains to the system's network interfaces.
- Verify that the left pane lists an Ethernet card (or any network card).
- Click any of the detected network devices in the left pane to select it.
The selected network adapter's configurable properties appear in the right pane of the screen.
Note
On our sample system, we have two Ethernet devices (ens3 and ens4), all of which are in a connected state. The type, name, quantity, and state of the network devices on your system may differ from those on our demo system.
Verify that the switch of the device you want to configure is in the ON (blue) position in the right pane.
We will accept all the defaults in this section.
Click done to return to the main Installation Summary screen.
Warning
Pay attention to the IP address of the server in this section of the installer. Suppose you do not have physical or easy console access to the system. In that case, this information will be helpful later when you need to connect to the server to continue working on it after the operating system (OS) installation is complete.
User Settings Section
Use this section to create a password for the root user account and to create new administrative or non-administrative accounts.
Root Password
Click the Root Password field under User Settings to start the Root Password task screen.
Warning
The root superuser is the most privileged account on the system. If you choose to use or enable it, you must protect this account with a strong password.
In the Root Password text box, set a strong password for the root user.
Enter the same password again in the Confirm text box.
Click done.
User Creation
To create a user:
Click the User Creation field under User Settings to start the Create User task screen.
This task area is for creating a privileged (administrative) or non-privileged (non-administrative) user account.Info
Creating and using a non-privileged account for day-to-day tasks on a system is a best practice in system administration.
We will create a regular user that can invoke superuser (administrator) powers when needed.
Complete the fields in the Create User screen with the following information:
- Full name:
rockstar - Username:
rockstar - Make this user administrator: Checked
- Require a password to use this account: Checked
- Password:
04302021 - Confirm password:
04302021
- Full name:
Click done.
Installer Phase
Once you are satisfied with your choices for the various installation tasks, the next phase of the installation process will begin: the actual installation.
Start the Installation
Once satisfied with your choices for the various installation tasks, click the Begin Installation button on the main Installation Summary screen.
The installation will begin, and the installation program will show the progress of the installation. After the installation begins, various tasks will run in the background, including partitioning the disk, formatting the partitions or LVM volumes, checking for and resolving software dependencies, and writing the operating system to the disk.
Note
If you do not wish to continue after clicking the Begin Installation button, you can still safely exit the installation without losing data. To quit the installer, simply reset your system by clicking the Quit button, pressing Ctrl-Alt-Delete on the keyboard, or pushing the reset or power switch.
Complete the Installation
After the installation program has completed its work, you will see a final installation progress screen with a complete message.
Finally, complete the entire procedure by clicking the Reboot System button. The system restarts.
Log In
The system is now set up and ready for use. You will see the Rocky Linux console.

To log onto the system:
Type
rockstarat the login prompt and press Enter.At the Password prompt, type
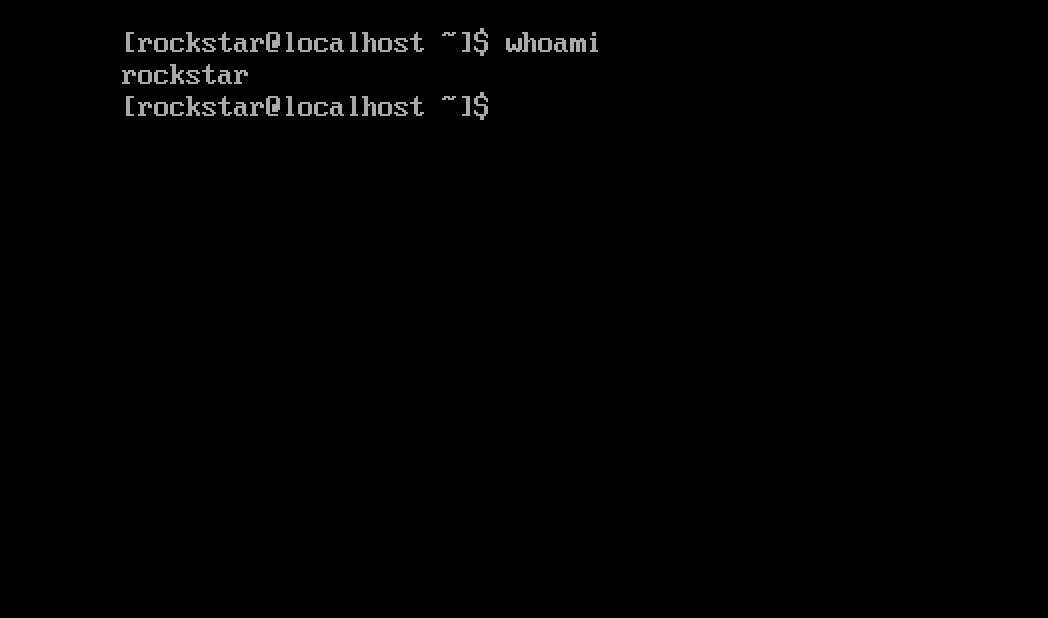
04302021(rockstar’s password) and press Enter (the password will not be echoed to the screen, that is normal).Run the
whoamicommand after login.
This command shows the name of the currently logged-in user.
Author: Wale Soyinka
Contributors: Steven Spencer, Ganna Zhyrnova