Caddy Web Server
Introduction
Caddy is a web server designed for modern web applications. Caddy is simple to configure and has automatic Let's Encrypt, so your websites are always secure by default. It is the author's go-to web server.
Here is a short rundown of Caddy's features:
- A basic web server
- A reverse proxy for directing traffic to multiple sites
- Modules for many workloads, including TCP, SSH, and more
- A built-in load balancer for managing traffic to multiple websites
- Built-in, automated Let's Encrypt support
- An API to re-configure the server programmatically
- PHP FastCGI support
- And IPv6
Prerequisites and assumptions
You will need:
- An internet-connected Rocky Linux machine or server.
- A basic familiarity with the command line.
- The ability to run commands as the root user or with
sudo. - A text editor of your choice, whether graphical or command-line based. For this tutorial, the author uses
vim. - A domain name or other hostname pointed to your server's public IP address.
Installing Caddy
First, ensure your machine has the latest updates:
sudo dnf update
Then, install the epel-release software repository:
sudo dnf install -y epel-release
If you are running Rocky Linux 10, enable the Copr repository:
sudo dnf copr enable @caddy/caddy
Next, install the caddy web server:
sudo dnf install -y caddy
Configuring the firewall
If you try to view a web page at your machine’s IP address or domain name from another computer, you will probably get nothing. That will be the case if you have a firewall up and running.
To open up the necessary ports to actually "see" your web pages, you will use Rocky Linux's built-in firewall, firewalld. The firewalld command for doing this is firewall-cmd.
To open up the http and https services, the services that handles web pages, run:
sudo firewall-cmd --permanent --zone=public --add-service=http
sudo firewall-cmd --permanent --zone=public --add-service=https
Breaking this down:
- The
-–permanentflag tells the firewall to apply this configuration every time the firewall restarts, and when the server restarts. –-zone=publictells the firewall to allow incoming connections to this port from everyone.- Lastly,
--add-service=httpand--add-service=httpstellsfirewalldto pass all HTTP and HTTPS traffic to the server.
These configurations will not take effect until you force the issue. To do that, tell firewalld to reload its configurations:
sudo firewall-cmd --reload
Note
Now, there is a very small chance that this will not work. In those rare cases, make firewalld do your bidding with the old turn-it-off-and-turn-it-on-again.
systemctl restart firewalld
To ensure allowance of the ports, run firewall-cmd --list-all. A properly-configured firewall will look a bit like this:
public (active)
  target: default
  icmp-block-inversion: no
  interfaces: enp9s0
  sources:
  services: cockpit dhcpv6-client ssh http https
  ports:
  protocols:
  forward: no
  masquerade: no
  forward-ports:
  source-ports:
  icmp-blocks:
  rich rules:
That should be everything you need, firewall-wise.
Configuring Caddy
Unlike traditional web servers such as Apache and Nginx, Caddy's configuration format is significantly simpler. Gone are the days where you had to configure the nitty-gritty, such as your web server's threading model or SSL certificates, unless you want to.
To edit the Caddy configuration file:
sudo vim /etc/caddy/Caddyfile
A minimum static web server configuration can be similar to this:
example.com {
    root * /usr/share/caddy/example.com
    file_server
}
Replace "example.com" with a hostname pointed to your server.
You must also add a website to the folder in Caddy's "root" directory. For simplicity's sake, add a one-page static website:
mkdir -p /usr/share/caddy/example.com
echo '<h1>Hi!</h1>' | sudo tee /usr/share/caddy/example.com/index.html
After that, enable Caddy's systemd service:
sudo systemctl enable --now caddy
Within a minute, Caddy will obtain SSL certificates from Let's Encrypt. Then, you can view the website you just set up in a browser:
It should have an SSL padlock that should work in every modern browser, and not just that, but also an A+ rating at Qualys SSL Server Test.
Optional: PHP FastCGI
As mentioned earlier, Caddy supports FastCGI support for PHP. The good news is that unlike Apache and Nginx, Caddy handles PHP file extensions automatically.
To install PHP, first add the Remi repository (note: if you are running Rocky Linux 8.x or 9.x, substitute in 8 or 9 next to the "release-" below):
sudo dnf install https://rpms.remirepo.net/enterprise/remi-release-10.rpm
Next, we need to install PHP (note: if you are using another version of PHP, substitute your desired version for php83):
sudo dnf install -y php85-php-fpm
If you require additional PHP modules (e.g., GD), add them to the above command.
Then, we need to configure PHP to listen on a TCP socket:
sudo vim /etc/opt/remi/php85/php-fpm.d/www.conf
Next, find the line:
listen = /var/opt/remi/php85/run/php-fpm/www.sock
Replace it with this:
listen = 127.0.0.1:9000
You can now enable and start php-fpm:
sudo systemctl enable --now php85-php-fpm
Then save and exit the www.conf file, and open the Caddyfile:
sudo vim /etc/caddy/Caddyfile
Navigate to the server block we created earlier:
example.com {
    root * /usr/share/caddy/example.com
    file_server
}
Add the following line after the "file_server" line:
php_fastcgi 127.0.0.1:9000
Your PHP-enabled server block will look like this:
example.com {
    root * /usr/share/caddy/example.com
    file_server
    php_fastcgi 127.0.0.1:9000
}
Then save and exit the Caddyfile, and restart Caddy:
sudo systemctl restart caddy
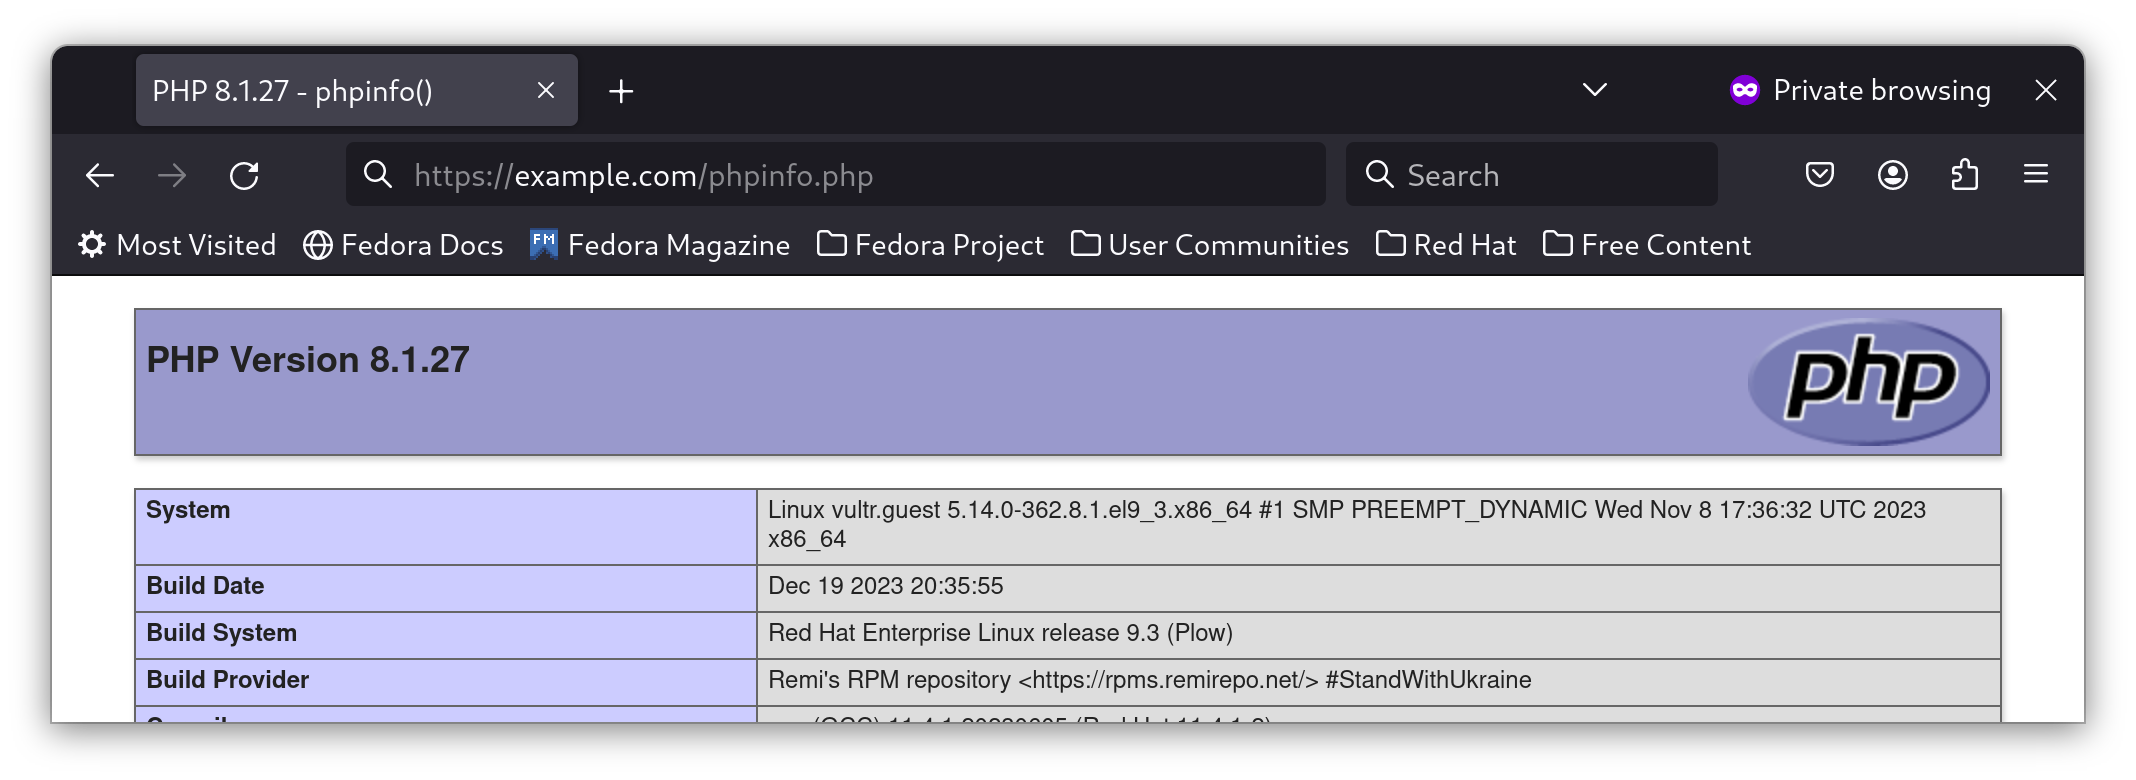
To test if PHP works, let's add a simple PHP file:
echo "<?php phpinfo(); ?>" >> /usr/share/caddy/rockyexample.duckdns.org/phpinfo.php
Open your browser to the file you created, and you should be presented with PHP information:
Conclusion
The basic installation and configuration of Caddy is incredibly easy. Gone are the days when you spent hours configuring Apache. Yes, Nginx is certainly an improvement, but it still lacks modern but essential features such as Let's Encrypt and Kubernetes ingress support that Caddy builds in, whereas on Nginx (and Apache) you must add them separately.
The author uses Caddy and has done so since 2019 for their go-to web server and it is just so good. In fact, whenever I deal with Apache, Nginx or IIS, it is almost like taking a time machine back to 2010 or earlier.
Author: Neel Chauhan
Contributors: Steven Spencer, Ganna Zhyrnova