Desktop Sharing via x11vnc+SSH
Introduction
x11vnc is a powerful VNC program. What makes x11vnc different from other VNC programs is an administrator can grab a user's existing X session rather than be forced to create a new one. This makes X11VNC ideal for providing remote support to Linux desktops.
This guide teaches you how to set up an X11vnc server and how to connect to it remotely.
Note
One of the main benefits of using x11vnc over SSH is that it eliminates the need to open any additional ports on your machine, thereby minimizing the attack surface.
Assumptions
For this guide, the assumption is that you have the following:
- Rocky Linux Workstation
sudoprivileges
Setting up the VNC server
To capture your X session, you must install the x11vnc server on your Rocky workstation.
Disable Wayland
First, you need to disable Wayland. Open the custom.conf file using your text editor of choice:
sudo vim /etc/gdm/custom.conf
Uncomment WaylandEnable=false:
# GDM configuration storage

[daemon]
WaylandEnable=false

[security]

[xdmcp]

[chooser]

[debug]
# Uncomment the line below to turn on debugging
#Enable=true
Restart gdm service:
sudo systemctl restart gdm
Install and configure x11vnc
Enable the EPEL repository:
sudo dnf install epel-release
Create a password for x11vnc:
x11vnc -storepasswd ~/.x11vnc.pwd
Create a new file with your text editor of choice. You will use this to create a service to run x11vnc:
sudo vim /etc/systemd/system/x11vnc.service
Copy and paste the following text into the file, then write and quit:
Note
Replace the rfbauth path with the path to the password file you created earlier. Also, replace the User and Group values with the user to whom you intend to provide remote support.
[Unit]
Description=Start x11vnc at startup
After=display-manager.service

[Service]
Type=simple
Environment=DISPLAY=:1
Environment=XAUTHORITY=/run/user/1000/gdm/Xauthority
ExecStart=/usr/bin/x11vnc -auth /var/lib/gdm/.Xauthority -forever -loop -noxdamage -repeat -rfbauth /home/server/.x11vnc.pwd -rfbport 5900 -shared
User=server
Group=server

[Install]
WantedBy=multi-user.target
Enable and start the x11vnc service:
sudo systemctl enable --now x11vnc.service
Connecting to the VNC server from your Rocky workstation
Install the EPEL repository
sudo dnf install epel-release
Install a VNC client
Install TigerVNC. The server is not used, but you will use the client:
sudo dnf install tigervnc
Create the SSH Tunnel

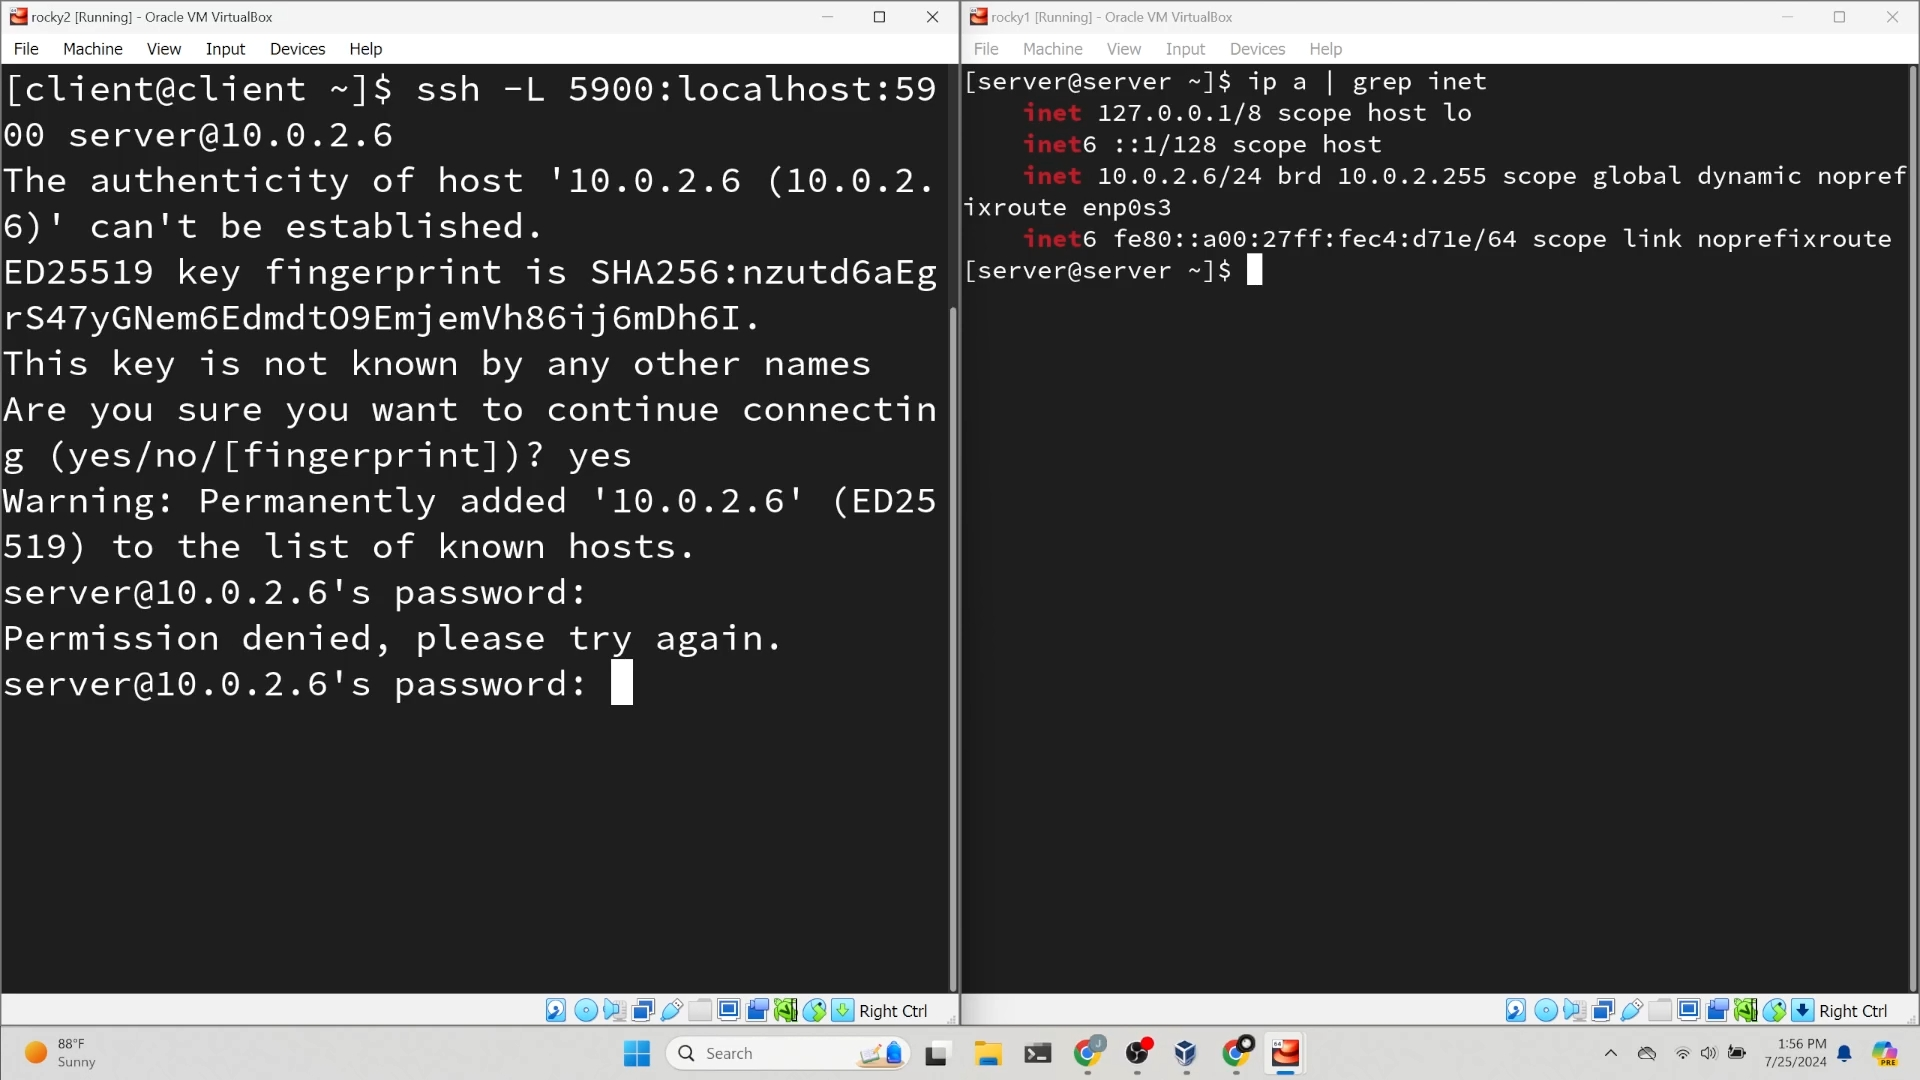
Create an SSH tunnel to connect to the VNC server securely:
ssh -L 5900:localhost:5900 REMOTEIP
Launch the VNC Viewer
Open your VNC viewer with the following command:
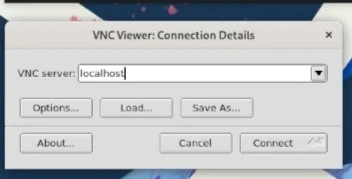
vncviewer

Connect to the VNC server by entering 127.0.0.1 or localhost into TigerVNC and connect.

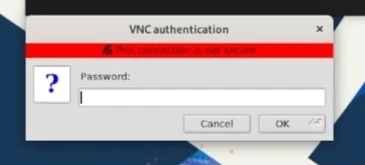
Enter the x11vnc password you created earlier.

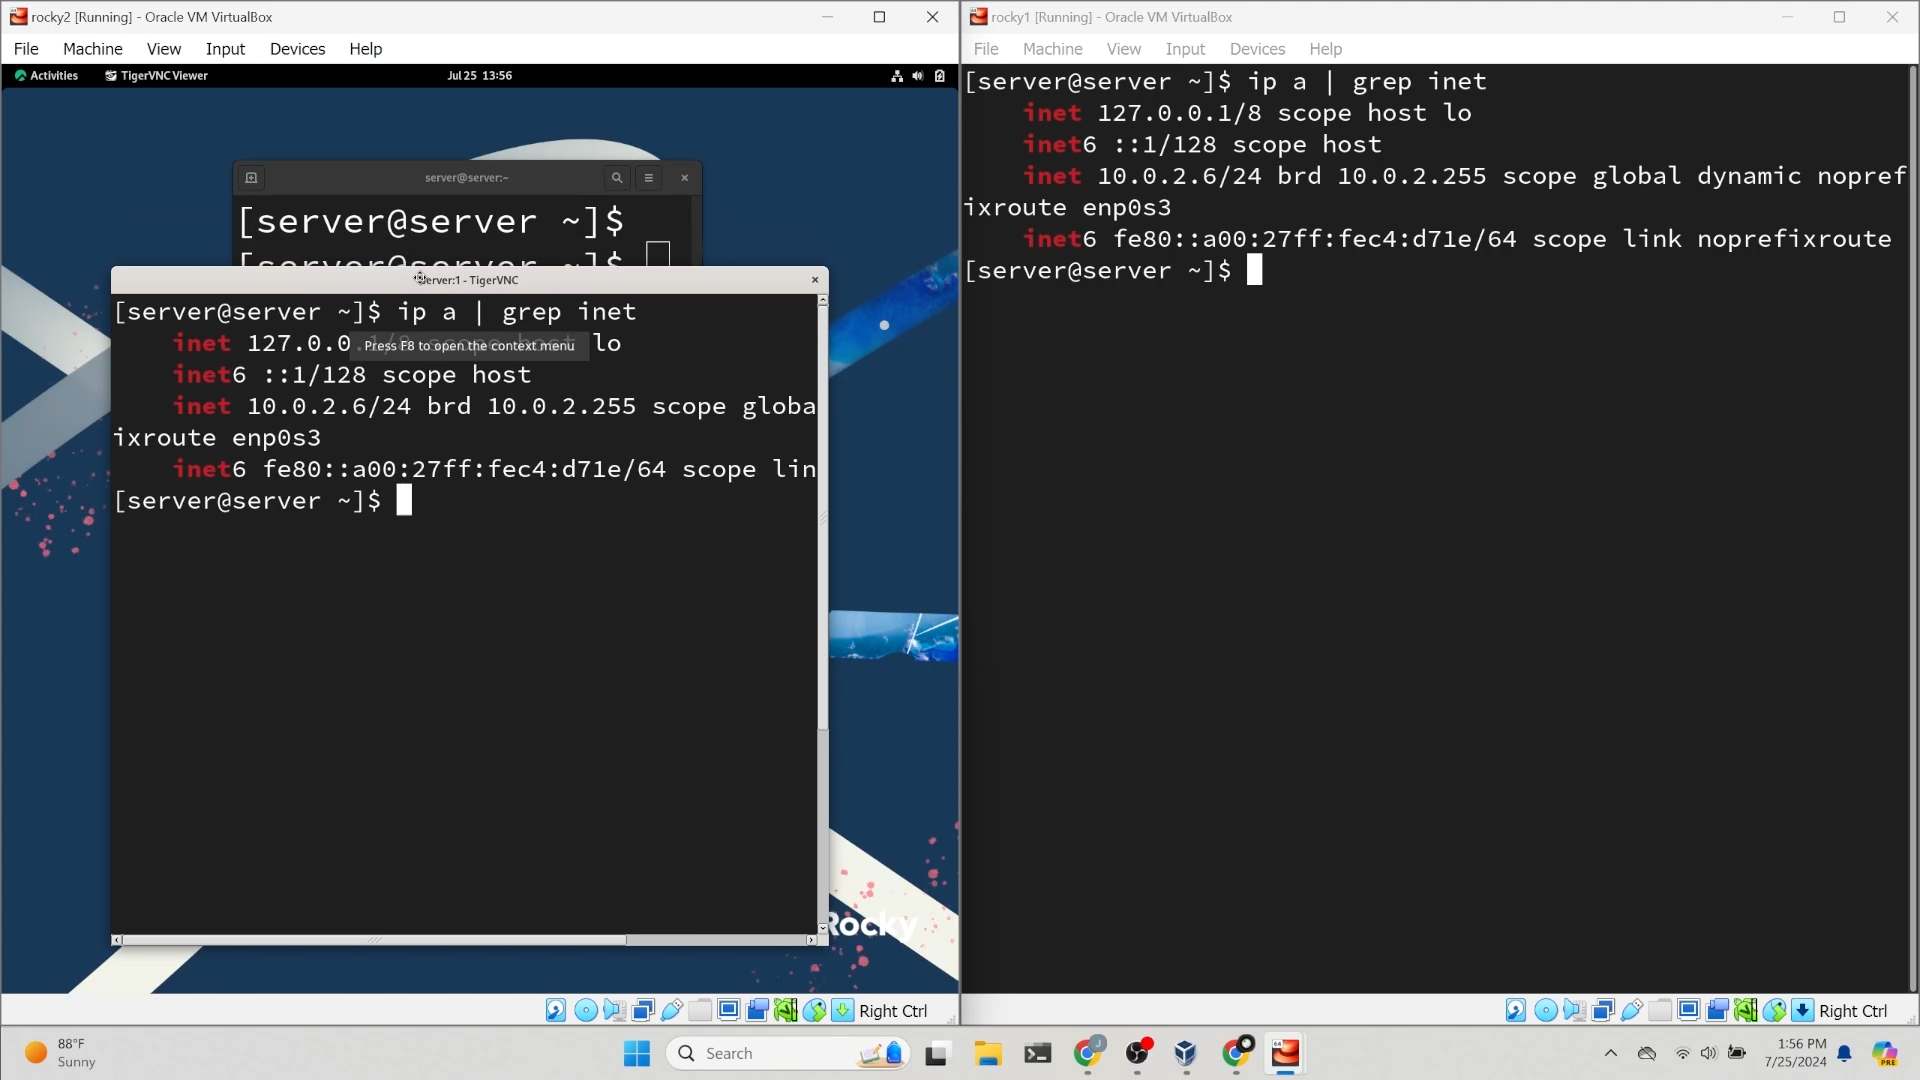
Congratulations! You can now remotely control the desktop!
Connecting to a machine across the internet
So far, this article has shown you how to set up an x11vnc server and connect to it using VNC forwarded through an SSH tunnel. It is important to note that this method will only work for computers on the same local area network (LAN). Assuming you want to connect to a computer on a different LAN. A way to accomplish this is to set up a VPN. Below are a few guides on how to set up a VPN:
Conclusion
Congratulations! You have successfully set up an x11vnc server and connected to it using a TigerVNC client. This solution is ideal for remote support, as it shares the same X session as the user, ensuring a seamless support experience.
Author: Joseph Brinkman
Contributors: Steven Spencer, Ganna Zhyrnova