How to Set up Nginx for Multiple Websites on Rocky Linux
Introduction
Here it is, my promised guide to Nginx multisite setups on Rocky Linux. I'm going to start off with a note for beginners; the rest of you know what you're here for, so scroll on down.
Hi Newbies! One of the things that Nginx does very well is direct traffic from one central point to multiple websites and apps on one server, or on several other servers. This feature is called a "reverse proxy", and the relative ease with which Nginx does this is one of the reasons I started using it.
Here I'll be showing you how to manage multiple websites on a single Nginx installation, and how to do it in a simple and organized way that will let you make changes quickly and easily.
For those looking for a similar setup for Apache, take a look at this guide.
I'll be explaining a lot of details... but in the end, the whole process basically involves setting up some folders, and making some small text files. We won't be using overly-complicated website configurations for this guide, so relax with a coffee and have some fun. Once you know how to do it, it'll only take minutes to do every time. This one's easy.*
* For given values of "easy".
Prerequisites and Assumptions
This is everything you'll need:
- A Rocky Linux server connected to the internet, with Nginx already running on it. If you haven't gotten that far, you can follow our guide to installing Nginx first.
-
Some comfort with doing things on the command line, and a terminal-based text editor like
nanoinstalled.In a pinch
... you could use something like Filezilla or WinSCP — and a regular GUI-based text editor — to replicate most of these steps, but we'll be doing things the nerdy way in this tutorial.
-
At least one domain pointed at your server for one of the test websites. You can use either a second domain or a subdomain for the other.
Tip
If you're doing all of this on a local server, adjust your hosts file as necessary to create simulated domain names. Instructions below.
-
We are assuming that you're running Nginx on a bare metal server or regular VPS, and that SELinux is running. All instructions will be compatible with SELinux by default.
- All commands must be run as root, either by logging in as the root user, or using
sudo.
Setting up Your Folders and Test Sites
The website folders
First, you're going to need a couple of folders for your website files. When you first install Nginx, all of the "demo" website files will be in /usr/share/nginx/html. That's fine if you're hosting just the one site, but we're going to get fancy. Ignore the html directory for now, and just navigate its parent folder:
cd /usr/share/nginx
The test domains for the sake of this tutorial will be site1.server.test and site2.server.test, and we're going to name those website folders accordingly. You should change those domains to whatever you're using, of course. However (and here's a trick I picked up from Smarter PeopleTM), we're going to write the domain names "backwards".
eg. "yourwebsite.com" would go in a folder called com.yourwebsite. Mind you, you can literally name these folders whatever you want, but there's a good reason for this method, which I've outlined below.
For now, just make your folders:
mkdir -p test.server.site1/html
mkdir -p test.server.site2/html
So that command will make, for example, the test.server.site1 folder, and put another folder called html inside of it. That is where you're going to put the actual files you want to serve via the web server. (You could also call it "webroot" or something like that.)
This is so you can put website-related files that you don't want to make public in the parent directory, while still keeping everything in one place.
Note
The -p flag tells the mkdir command to create any missing folders in the path you just defined, so you don't have to make each folder one at a time.
For this test, we're keeping the "websites" themselves very simple. Just make an HTML file in the first folder with your favorite text editor:
nano test.server.site1/html/index.html
Then paste in the following bit of HTML:
<!DOCTYPE html>
<html lang="en">
<head>
    <meta charset="UTF-8">
    <meta http-equiv="X-UA-Compatible" content="IE=edge">
    <meta name="viewport" content="width=device-width, initial-scale=1.0">
    <title>Site 1</title>
</head>
<body>
    <h1>This is Site 1</h1>
</body>
</html>
Save and close your file, then repeat the steps with the test.server.site2 folder, changing "Site 1" to "Site 2" in the HTML code above. This is just so we can be sure everything is working as intended later on.
Your test websites are done, let's move on.
The configuration folders
Now let's go to the Nginx settings and configuration folder, which is where we'll be working for the rest of this guide:
cd /etc/nginx/
If you run the ls command to see what files and folders are in here, you'll see a bunch of different things, most of which are irrelevant today. The ones to note are these:
nginx.confis the file that contains, you guessed it, the default Nginx configuration. We'll be editing that later.conf.dis a directory where you can put custom configuration files. You could use this for websites, but it's better to use it for feature-specific settings that you want on all of your websites.default.dis a directory where your website config might go if you were only running one site on the server, or if your server has a "primary" website. Leave it alone for now.
We want to create two new folders called sites-available and sites-enabled:
mkdir sites-available
mkdir sites-enabled
What we're going to do is put all of our website configuration files in the sites-available folder. There, you can work on the configuration files as long as you need to, until you're ready to activate the files with a symbolic link to the sites-enabled folder.
I'll show you how that works below. For now, we're done with making folders.
Why you (might) want to write your domains backwards:
Simply put, it's an organizational thing that's especially useful when using the command line with tab completion, but still pretty useful in GUI-based apps. It's designed for people who are running a lot of websites or apps on a server.
Basically, all of your website folders (and configuration files) will get organized alphabetically; by the top level domain first (eg. .com, .org, etc), then the primary domain, and then by any subdomains. When you're searching through a long list of domains, it can be easier to narrow down what you're looking for this way.
It also makes it easier to sort out your folders and config files via command line tools. To list all folders associated with a particular domain, you might run:
ls /usr/share/nginx/ | grep com.yoursite*
Which would output something like:
com.yoursite.site1
com.yoursite.site2
com.yoursite.site3
Setting up Your Configuration Files
Editing nginx.conf
By default, Rocky Linux's implementation of Nginx is open to all HTTP traffic, and directs it all to the demo page you might have seen in our guide to installing Nginx. We don't want that. We want traffic from the domains we specify to go to the websites we specify.
So from the /etc/nginx/ directory, open up nginx.conf in your favorite text editor:
nano nginx.conf
First, find the line that looks like this:
include /etc/nginx/conf.d/*.conf;
And add this bit just below it:
include /etc/nginx/sites-enabled/*.conf;
That will load in our website configuration files when they're ready to go live.
Now head down to the section that looks like this, and either comment it out with the hash sign ++#++, or delete it if you feel so inclined:
server {
    listen       80;
    listen       [::]:80;
    server_name  _;
    root         /usr/share/nginx/www/html;

    # Load configuration files for the default server block.
    include /etc/nginx/default.d/*.conf;

    error_page 404 /404.html;
    location = /404.html {
    }

    error_page 500 502 503 504 /50x.html;
    location = /50x.html {
    }
}
What that would look like "commented out":
#server {
#    listen       80;
#    listen       [::]:80;
#    server_name  _;
#    root         /usr/share/nginx/www/html;
#
#    # Load configuration files for the default server block.
#    include /etc/nginx/default.d/*.conf;
#
#    error_page 404 /404.html;
#    location = /404.html {
#    }
#
#    error_page 500 502 503 504 /50x.html;
#    location = /50x.html {
#    }
#}
If you're a beginner, you might want to keep the commented code around for reference, and that goes for the example HTTPS code that's already commented out further down in the file.
Save and close the file, then restart the server with:
systemctl restart nginx
Now no one will see the demo page, at least.
Adding the website configuration files
Now let's make your test websites available on the server. As previously mentioned, we're going to to this with symbolic links so we have an easy way of turning the websites on and off at will.
Note
For absolute newbies, symbolic links are basically a way of letting files pretend to be in two folders at once. Change the original file (or "target"), and it's changed everywhere that you've linked to it. If you use a program to edit the file via a link, the original gets changed.
However, if you delete a link to the target, nothing at all happens to the original file. This trick is what allows us to put the website configuration files in a working directory (sites-available), and then "activate" them by linking to those files from sites-enabled.
I'll show you what I mean. Make a configuration file for the first website like so:
nano sites-available/test.server.site1.conf
Now paste in this code. This is about the simplest working Nginx configuration you can have, and should work fine for most static HTML websites:
server {
    listen 80;
    listen [::]:80;

    # virtual server name i.e. domain name #
    server_name site1.server.test;

    # document root #
    root        /usr/share/nginx/test.server.site1/html;

    # log files
    access_log  /var/log/nginx/www_access.log;
    error_log   /var/log/nginx/www_error.log;

    # Directives to send expires headers and turn off 404 error logging. #
    location ~* ^.+\.(ogg|ogv|svg|svgz|eot|otf|woff|mp4|ttf|rss|atom|jpg|jpeg|gif|png|ico|zip|tgz|gz|rar|bz2|doc|xls|exe|ppt|tar|mid|midi|wav|bmp|rtf)$ {
        access_log off; log_not_found off; expires max;
    }
}
And heck, everything from the document root on down is technically optional. Useful and recommended, but not strictly required for the website to function.
Anyway, save and close the file, then go into sites-enabled directory:
cd sites-enabled
Now, create a symbolic link to the configuration file you just made in the sites-available folder.:
ln -s ../sites-available/test.server.site1.conf
Test your configuration with the nginx -t command, and if you get a message saying everything is okay, reload the server:
systemctl restart nginx
Then point your browser at the domain you're using for this first site (in my case: site1.server.test), and look for that "This is Site 1" message we put in the HTML file. If you have curl installed on your system, you could run curl site1.server.test and see if the HTML code loads in your terminal.
Note
Some browsers will (with all the best intentions) force you to use HTTPS when you type your server domain into the address bar. If you don't have HTTPS configured, that'll just throw errors at you.
Make sure to manually specify "http://" in your browser address bar to avoid this issue. If that doesn't work, clear the cache, or use a less picky browser for this part of the testing. I recommend Min.
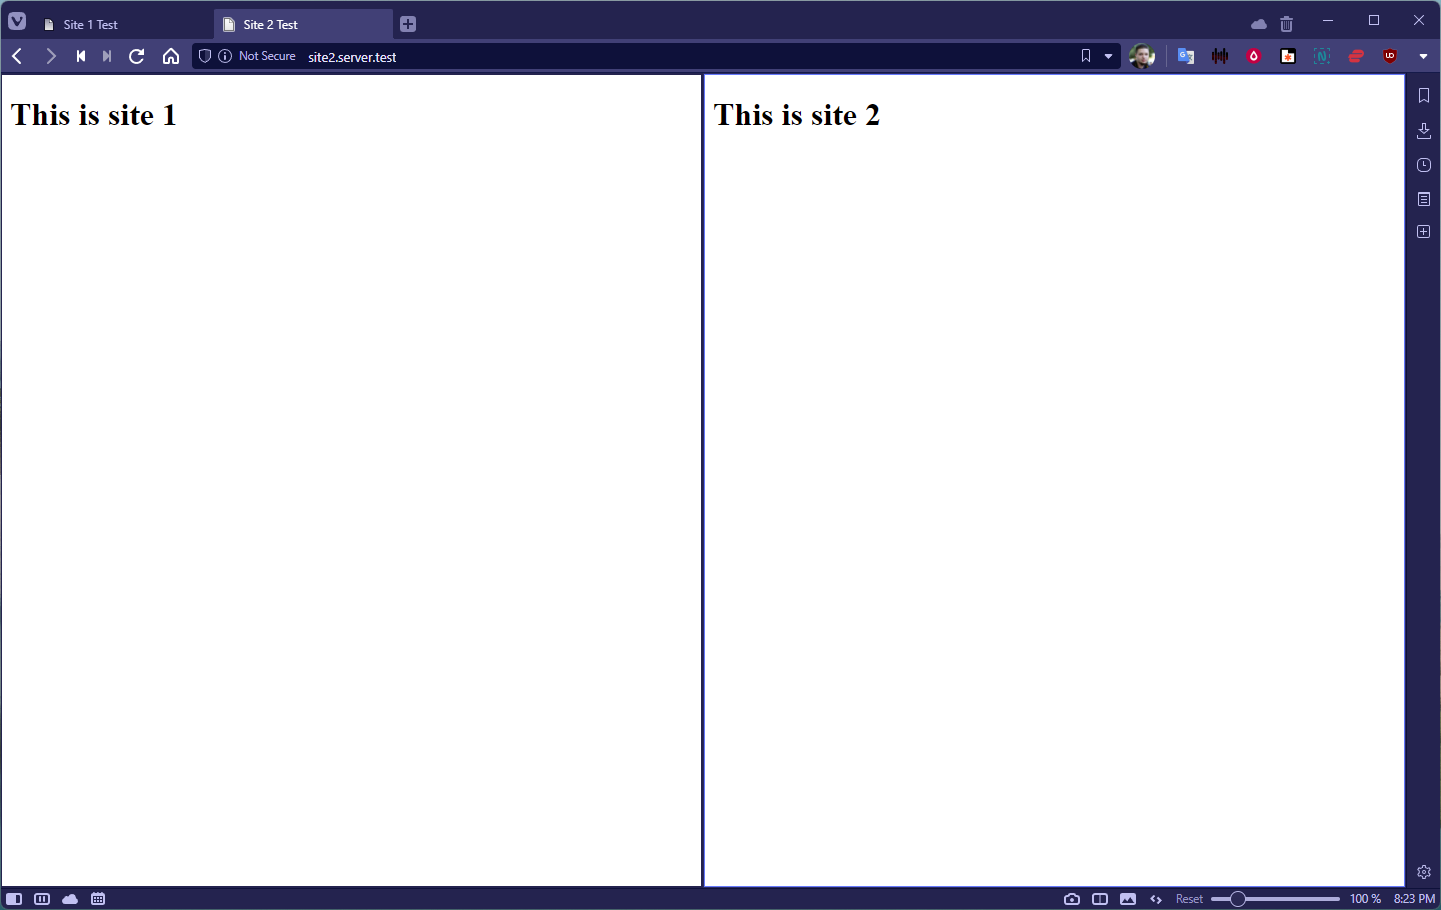
If all of that goes right, repeat the steps above, changing the names of the files and the content of the configuration files as you go. "site1" to "site2" and all of that. Once you have configuration files and symbolic links for both Site 1 and Site 2, and have restarted Nginx, it should look like this:
Note
You can also create links from outside of the sites-enabled directory with the long form of the ln -s command. It would look like ln -s [source-file] [link].
In this context, that's:
ln -s /etc/nginx/sites-available/test.server.site1.conf /etc/nginx/sites-enabled/test.server.site1.conf
Disabling a website
If you need to stop one of your websites to work on it before taking it live again, just delete the symbolic link in sites-enabled:
rm /etc/nginx/sites-enabled/test.server.site1.conf
Then restart Nginx as usual. To take the site back online, you'll need to re-create the symbolic link, and restart Nginx again.
Optional: Editing Your Hosts File
This part's definitely for beginners. Everyone else can probably skip.
So this section only applies if you're trying out this guide in a local development environment. That is, if you're running your test server on your workstation, or on another machine in your local home or business network.
Since pointing external domains at your local machines is a hassle (and potentially dangerous if you don't know what you're doing), you can set up some "fake" domains that will work just fine on your local network, and nowhere else.
The easiest way to do this is with the hosts file on your computer. The hosts file is literally just a text file that can override DNS settings. As in, you can manually specify a domain name to go with any IP address you want. It'll only work on that one computer, though.
So on Mac and Linux, the hosts file is in the /etc/ directory, and can be edited via the command line super easily (you'll need root access). Assuming you're working on a Rocky Linux workstation, just run:
nano /etc/hosts
On Windows, the hosts file is located at C:\Windows\system32\drivers\etc\hosts, and you can just use whatever GUI text editor you want as long as you have Admin access.
So if you're working on a Rocky Linux computer, and are running your Nginx server on the same machine, you'd just open up the file, and define the domains/IP addresses you want. If you're running your workstation and test server on the same machine, that'd be:
127.0.0.1           site1.server.test
127.0.0.1           site2.server.test
If you're running your Nginx server on another machine on the network, just use the address of that machine, eg.:
192.168.0.45           site1.server.test
192.168.0.45           site2.server.test
Then you'll be able to point your browser to those domains and it should work as intended.
Setting Up SSL Certificates for Your Sites
Go check out our guide to getting SSL certificates with Let's Encrypt and certbot. The instructions there will work just fine.
Conclusion
Remember, most of the folder/file organization and naming conventions here are technically optional. Your website configuration files mostly just have to go anywhere inside /etc/nginx/ and nginx.conf needs to know where those files are.
The actual website files should be somewhere in /usr/share/nginx/, and the rest is gravy.
Try it out, do some ScienceTM, and don't forget to run nginx -t before you restart Nginx to make sure you didn't miss a semi-colon or anything. It'll save you a lot of time.
Author: Ezequiel Bruni
Contributors: Steven Spencer, Ganna Zhyrnova