Plugins Manager
The management of plugins in NvChad 2.0 is done by folke/lazy.nvim, this plugin is installed during the first installation from the bootstrap procedure. The plugin allows you to perform all common operations on plugins, such as installing, updating, etc.
Main Features
- Management of all operations on plugins from a unified interface.
- Optimized plugin performance due to caching and compilation of Lua module bytecode.
- Automatic check and installation of missing plugins at startup, a very useful feature when transferring a configuration from one machine to another.
- Profiler for consulting plugin loading times. Allows you to monitor and troubleshoot problems caused by faulty plugins.
- Synchronization of plugins across multiple workstations by storing the revision of all installed plugins in the lazy-lock.json file.
Preliminary Operations
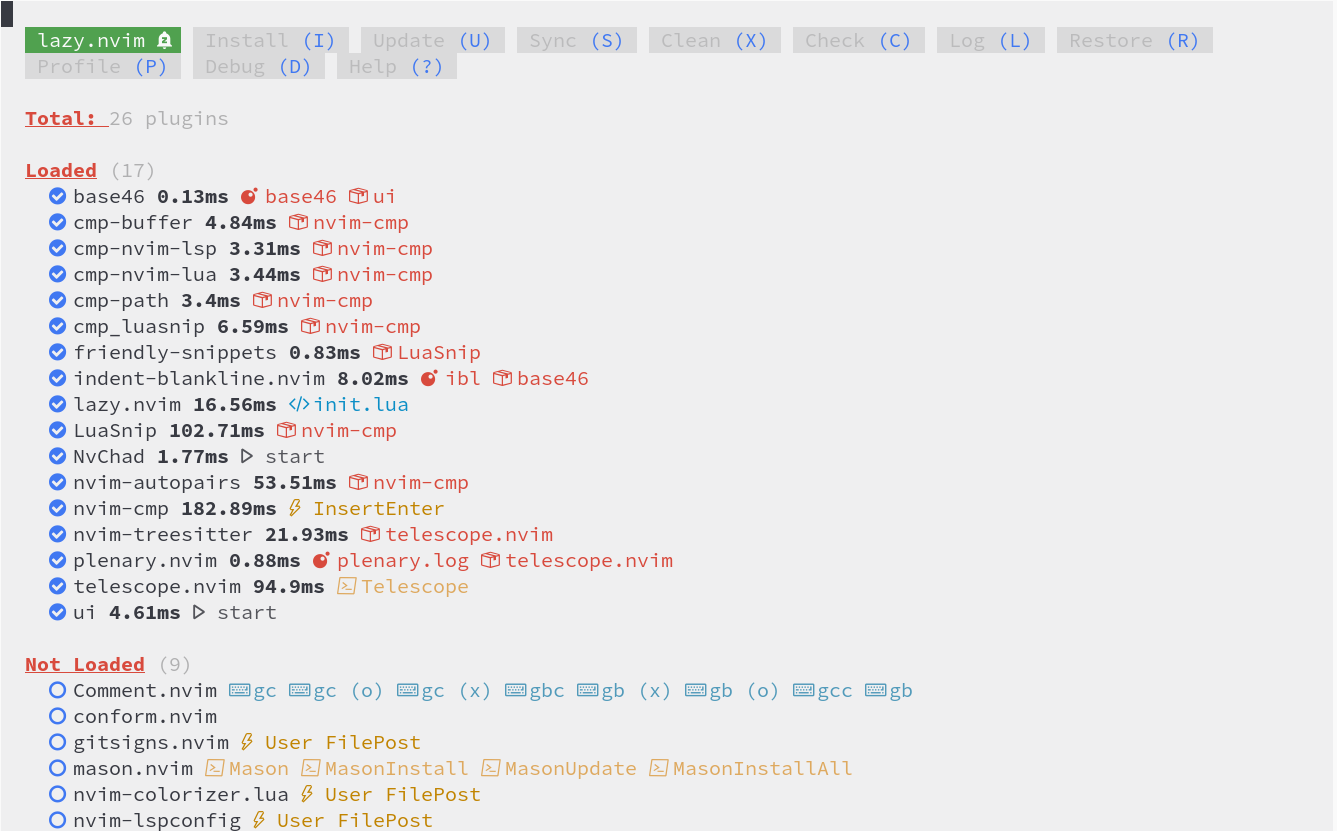
lazy.nvim integrates an environment health check feature that can be invoked with the command :checkhealth lazy. The command should return something like this in a new buffer:
lazy: require("lazy.health").check()
========================================================================
## lazy.nvim
  - OK: Git installed
  - OK: no existing packages found by other package managers
  - OK: packer_compiled.lua not found
  - WARNING: {nvim-lspconfig}: overriding <config>
Although not strictly necessary, checking the build environment before we start working on our custom configuration allows us to exclude this variable from any errors or malfunctions that might occur in the plugins themselves or in writing their configurations.
It may also be interesting to consult the inline help provided by the plugin itself. To open it we can use the :Lazy help command or invoke it from the plugin interface by typing ?.
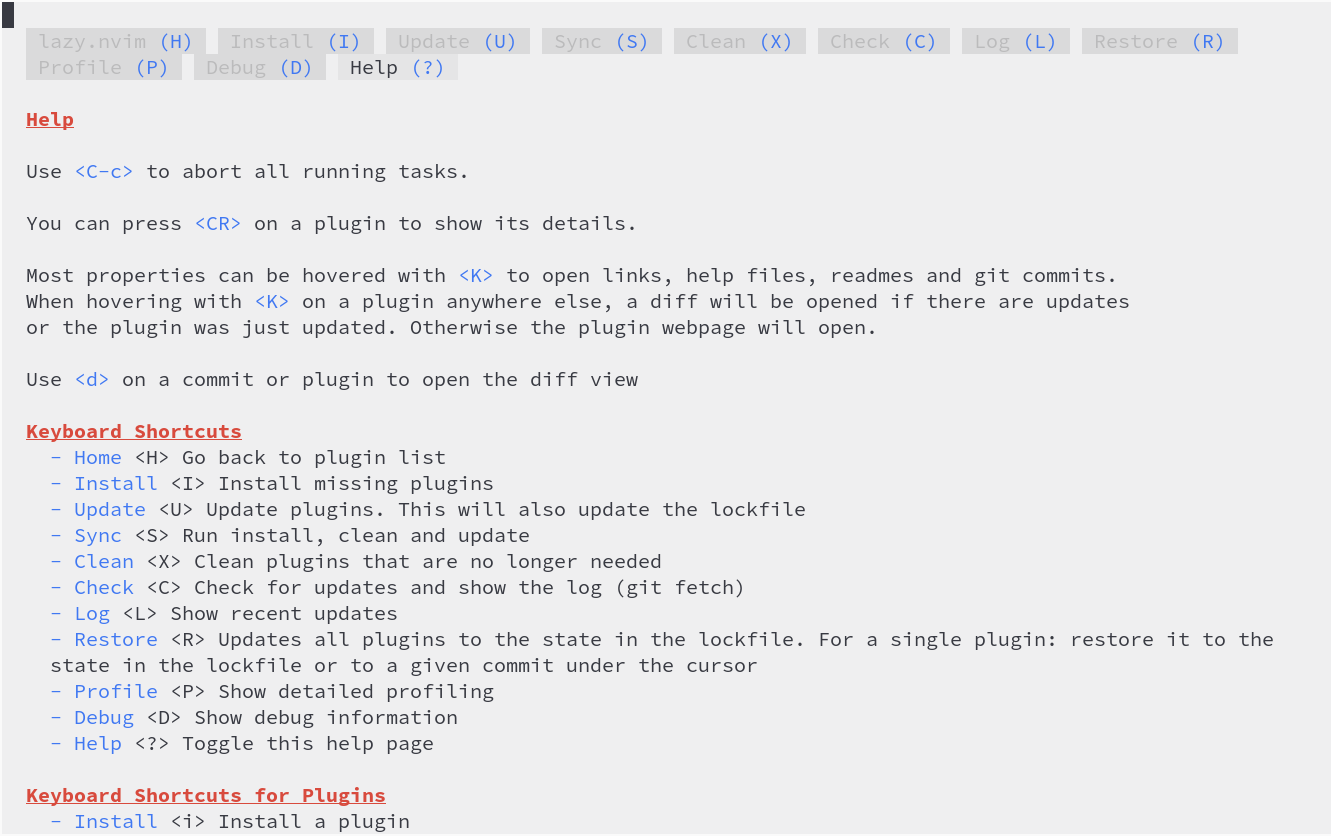
Help provides an introduction to interface navigation, controls, and their functions.
Now after checking out the environment and gaining basic knowledge we can move on to creating our own configuration. The purpose clearly is to add functionality to the editor to meet our needs, and since this is achieved by including plugins in the NvChad configuration we will start by adding a plugin.
Inserting a Plugin
While management of installed plugins can be conveniently performed from the lazy.nvim interface, inserting a new plugin requires manual editing of the lua/plugins/init.lua file.
In this example we will install the natecraddock/workspaces.nvim plugin. This plugin allows you to save and later use work sessions (workspaces) so you can access them quickly. We open the file with:
nvim ~/.config/nvim/lua/plugins/init.lua
and we insert the following code after the plugin better-escape.nvim:
    -- Workspaces
    {
        "natecraddock/workspaces.nvim",
        cmd = { "WorkspacesList", "WorkspacesAdd", "WorkspacesOpen", "WorkspacesRemove" },
        config = function()
            require("workspaces").setup {
        hooks = {
            open = "Telescope find_files",
        },
      }
    end,
    },
Once the file is saved we will receive a notice requesting our approval:
# Config Change Detected. Reloading...

- **changed**: `lua/plugins/init.lua`
This is thanks to the mechanism built into lazy.nvim that checks the status of the plugins and its configurations and thus allows operations on the plugins to be performed without having to exit the editor.
Clearly we will answer "yes."
Now if we open the plugin manager with the :Lazy command we will find that our plugin has been recognized and is ready to be installed. To install it, simply type I
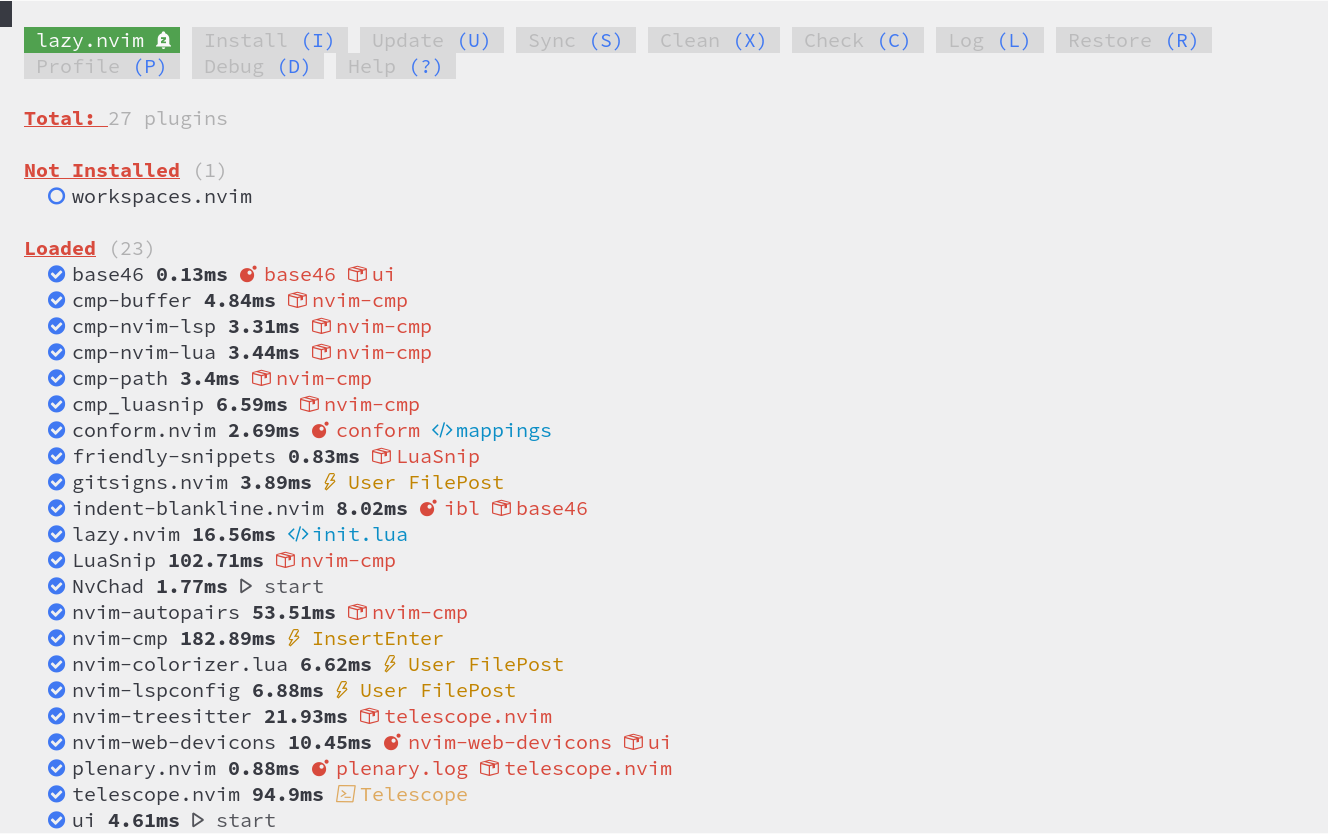
At this point it will be lazy.nvim that will take care of downloading the repository in the path .local/share/nvim/lazy/ and performing the build. Once the installation is finished we will have a new folder named workspaces.nvim:
.local/share/nvim/lazy/workspaces.nvim/
├── CHANGELOG.md
├── doc
│   ├── tags
│   └── workspaces.txt
├── LICENSE
├── lua
│   ├── telescope
│   │   └── _extensions
│   │       └── workspaces.lua
│   └── workspaces
│       ├── init.lua
│       └── util.lua
├── README.md
└── stylua.toml
We will now have plugin functionality that can be invoked with the commands set in the array:
cmd = { "WorkspacesList", "WorkspacesAdd", "WorkspacesOpen", "WorkspacesRemove" },
Input also involves adding a string to the lazy-lock.json file for status tracking and subsequent updates. The function of the lazy-lock.json file will be described in the corresponding section below.
"workspaces.nvim": { "branch": "master", "commit": "dd9574c8a6fbd4910bf298fcd1175a0222e9a09d" },
Removing a plugin
As with installation, removing a plugin from the configuration goes through manually editing the lua/plugins/init.lua file. To follow the example we will remove the newly installed plugin.
We open our editor and remove the plugin from the configuration. This can be done conveniently by selecting the rows to be deleted with the mouse and then pressing x to delete them and Ctrl + s to save the file.

Again we will receive a notice about the modification of the init.lua file to which we will answer "yes" and once we open Lazy we will have our plugin marked as to be removed. Removal is done by pressing the X key.
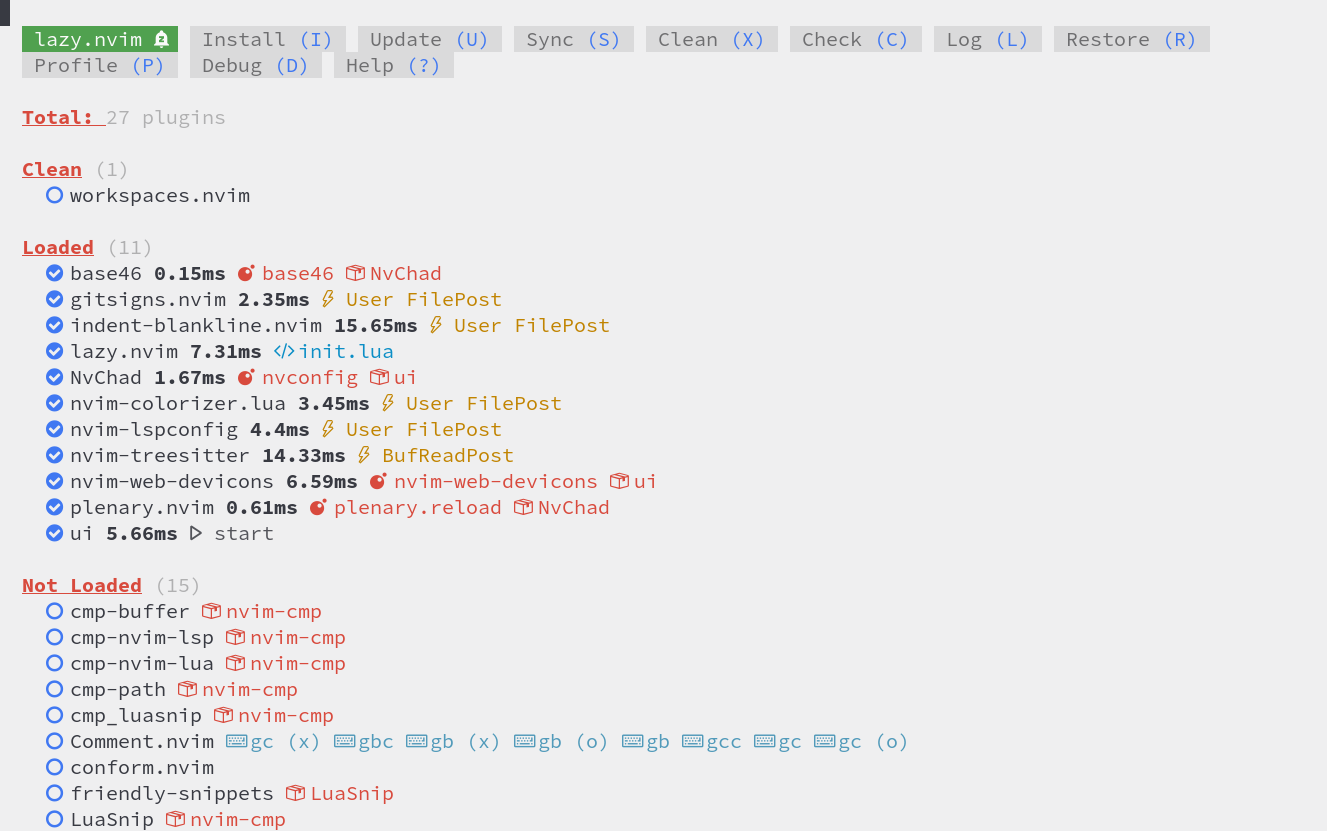
Removing a plugin basically consists of removing the folder created during installation.
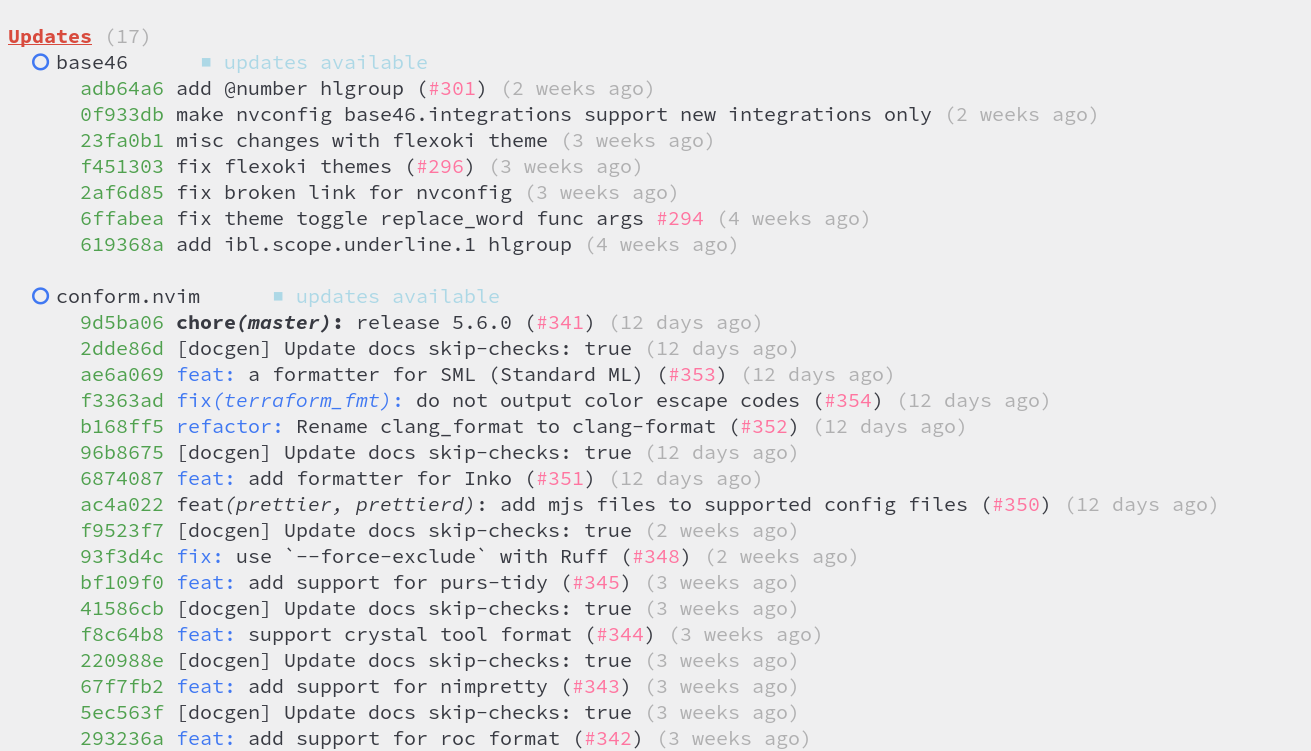
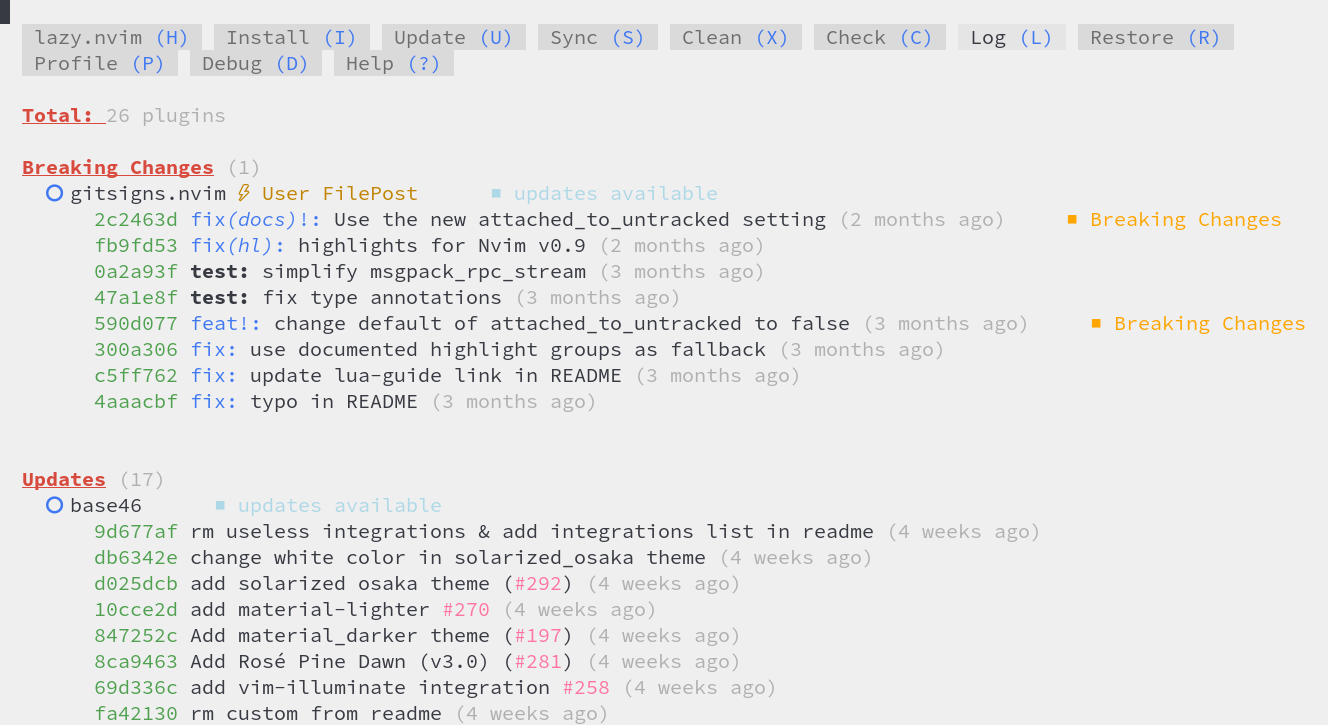
Updating Plugins
Once the plugins are installed and configured they are managed independently by lazy.nvim. To check for updates, just open the manager and type C. Lazy will check the repositories of the installed plugins (git fetch) and then it will present us with a list of updatable plugins that, once checked, can be updated all in one go with U or individually after selecting them with u.
Note
Even if not present in the screenshot above, if there are plugins with commits including "breaking changes" these will be displayed first.
There is also the possibility of running the entire update cycle with just the Sync command. From the interface by typing S or with the command :Lazy sync we will invoke the function, which consists of the concatenation of install + clean + update.
The update process, whether done individually or cumulatively, will also modify the lazy-lock.json file. In particular, commits will be modified to synchronize them with the state of the repository on GitHub.
Additional Features
In writing the plugin, special attention was paid to performance and code efficiency, and to give us a way to evaluate the startup times of the various plugins. We are provided with a profiler that can be invoked with the :Lazy profile command or with the P key from the interface.
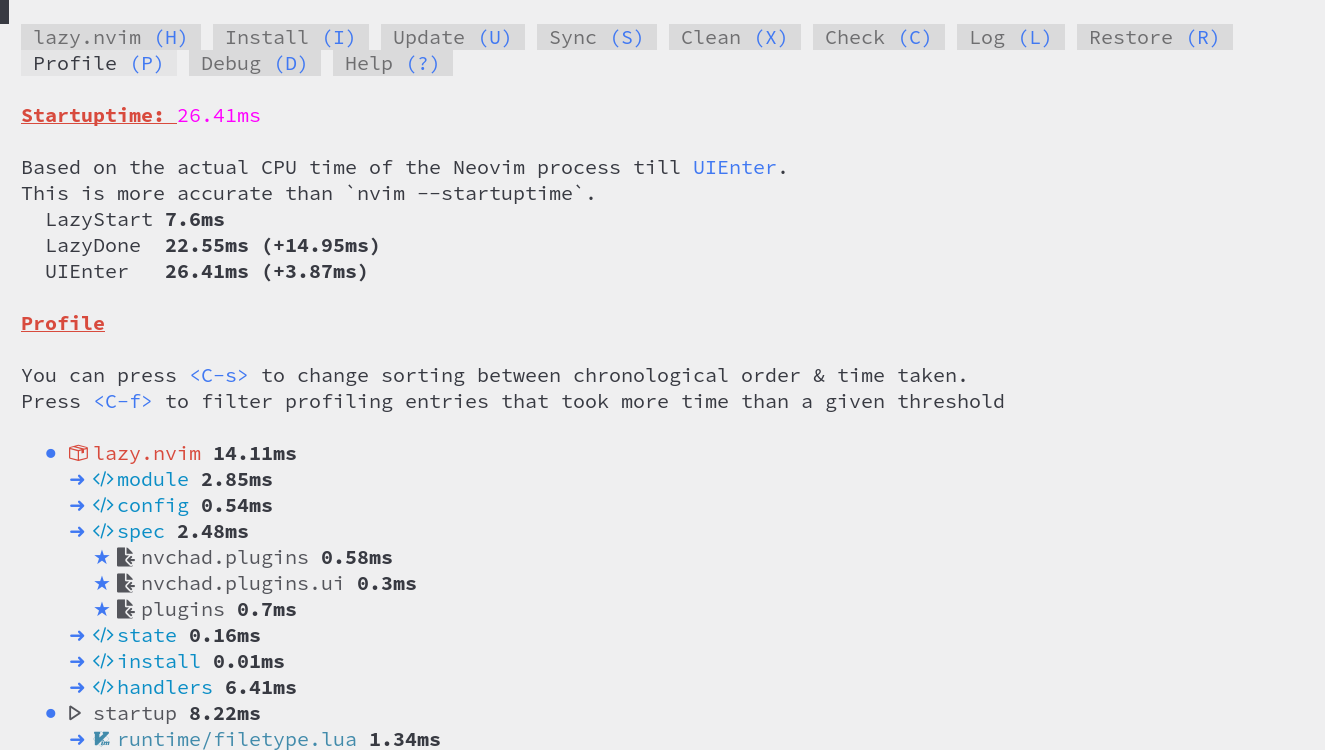
Here, we can see the loading times of the various plugins that can be sorted with the key combination Ctrl + s by entry in the configuration or by loading time. We can also perform searches on plugins' loading time by setting a minimum threshold in milliseconds with the combination Ctrl + f.
This information can be useful in troubleshooting if the editor slows down abnormally.
The plugin also provides a display of the last operations performed on the plugins, a display that can be called up with the L key from the interface or with the :Lazy log command from the editor itself.
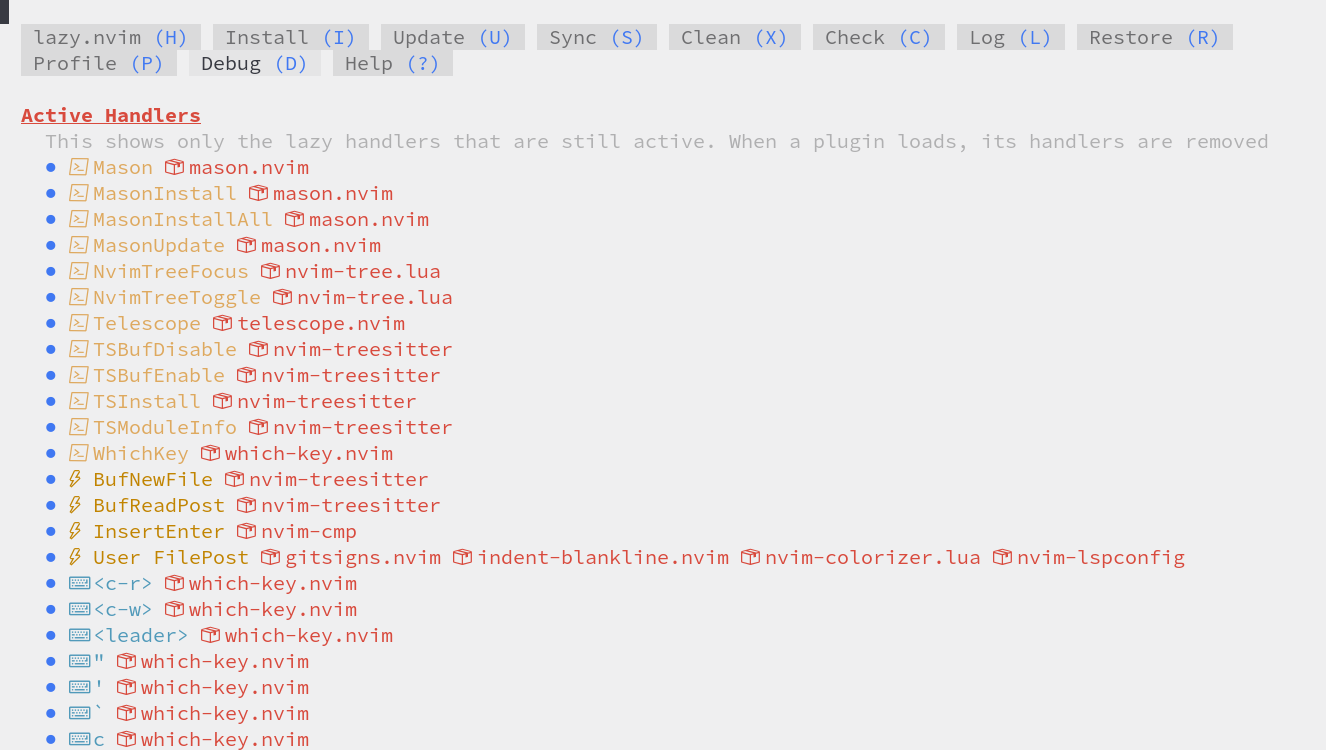
It also integrates a debugging feature that allows us to check active lazy-loading handlers and what is in the module cache. To activate it we can use the D key from the interface or invoke it with the :Lazy debug command.
Synchronization
Lazy.nvim allows synchronization of all installed plugins by storing their state in a json file. Within it, a string is created for each plugin that contains the name of the folder corresponding to the installed plugin found in ~/.local/share/nvim/lazy/, the corresponding branch, and the commit used for synchronization from the GitHub repository. The file used for this purpose is the lazy-lock.json file located in the root folder of ~/.config/nvim. Below we can see an excerpt of the file:
{
  "Comment.nvim": { "branch": "master", "commit": "8d3aa5c22c2d45e788c7a5fe13ad77368b783c20" },
  "LuaSnip": { "branch": "master", "commit": "025886915e7a1442019f467e0ae2847a7cf6bf1a" },
  "base46": { "branch": "v2.0", "commit": "eea1c3155a188953008bbff031893aa8cb0610e9" },
  "better-escape.nvim": { "branch": "master", "commit": "426d29708064d5b1bfbb040424651c92af1f3f64" },
  "cmp-buffer": { "branch": "main", "commit": "3022dbc9166796b644a841a02de8dd1cc1d311fa" },
  "cmp-nvim-lsp": { "branch": "main", "commit": "0e6b2ed705ddcff9738ec4ea838141654f12eeef" },
  "cmp-nvim-lua": { "branch": "main", "commit": "f3491638d123cfd2c8048aefaf66d246ff250ca6" },
  "cmp-path": { "branch": "main", "commit": "91ff86cd9c29299a64f968ebb45846c485725f23" },
  "cmp_luasnip": { "branch": "master", "commit": "18095520391186d634a0045dacaa346291096566" },
...
Thanks to the commit storage, we can see exactly the state of the plugin in the repository at the time of installation or update. This allows us, through the restore function, to bring it back or bring it to the same state also in the editor. The function, callable with the R key from the interface or with :Lazy restore, updates all plugins in the editor to the state defined in the lazy-lock.json file.
By copying the lazy-lock.json file from a stable configuration somewhere safe, we have the ability to restore the editor to that condition should an update create problems. By exporting it instead to another workstation, we can use it to configure the editor with the same functionality.
If we put it under a version control instead, we can achieve configuration synchronization among all the workstations we use.
Now after illustrating the plugins manager we can move on to analyze the user interface.
Author: Franco Colussi
Contributors: Steven Spencer, Ganna Zhyrnova